
Related Manuals for Cornelius ICE MAKER


Summary of Contents for Cornelius ICE MAKER
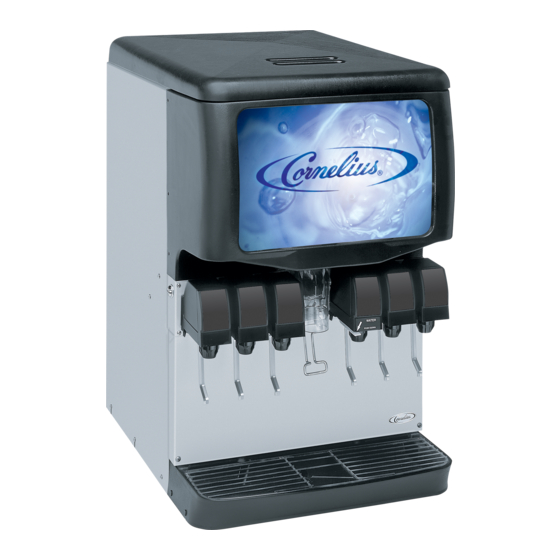
- Page 1 ICE MAKER Use & Care Guide Table of Contents ..........2 2217249...
-
Page 2: Table Of Contents
Leveling ..................6 Water Supply Connection ............6 Reversing the Door Swing ............8 Normal Sounds ................9 ICE MAKER USE ................10 How Your Ice Maker Works ............10 Using the Controls ..............10 ICE MAKER CARE................10 Cleaning Exterior Surfaces............10 Cleaning the Ice Maker System ..........11 Cleaning the Condenser ............11... -
Page 3: Ice Maker Safety
IMPORTANT SAFETY INSTRUCTIONS WARNING : To reduce the risk of fire, electric shock, or injury when using your ice maker, follow these basic precautions : Plug into a grounded 3 prong outlet. -
Page 4: Parts And Features
PARTS AND FEATURES 1. Upper Access Panel 6. Lower Access Panel 2. Cutter Grid Cover 7. Control Panel 3. Water Pan 8. Ice Level Sensor 4. Model Serial Number Label 9. Magnetic Door Catch (on left cabinet wall) 5. Ice Retainer Baffle... -
Page 5: Ice Maker Installation
You should choose a location where the floor is even. It is removed by rubbing a small amount of liquid dish soap over important for the ice maker to be level in order to work the adhesive with your fingers. Wipe with warm water and properly. -
Page 6: Leveling
2. Push up on the top front of the ice maker, and then locate the have a properly grounded, 3 prong wall receptacle installed by a leveling screws that are on the bottom front of the product. - Page 7 5. Now you are ready to connect the copper tubing. Use ¹⁄₄ in. (6.35 mm) OD soft copper tubing for the cold water supply. Measure from the connection at the front of the ice maker to the cold water pipe. Add 3 ft (91.4 cm) to ensure that you have the proper length.
-
Page 8: Reversing The Door Swing
1. Plug in ice maker or reconnect power. 2. Recheck the ice maker to be sure that it is level. See the “Leveling” section. 3. Push the ice maker into position so that the ice maker drain tube is positioned over the PVC drain reducer. -
Page 9: Normal Sounds
Top Hinge Rattling noises may come from the flow of the refrigerant or the water line. Items stored on top of the ice maker can also make noises. The high efficiency compressor may make a pulsating or high pitched sound. -
Page 10: Ice Maker Use
The amount of melting varies with room temperature. How Your Ice Maker Works When you first start your ice maker, the water pan will fill and the system will rinse itself before starting to make ice. The rinsing process takes about five minutes. -
Page 11: Cleaning The Ice Maker System
5. Replace the lower access panel using the four screws. or no ice. 6. Plug in ice maker or reconnect power. NOTE: Severe scale buildup may require repeated cleaning with a fresh quantity of cleaning solution. -
Page 12: Cleaning The Interior Components
2. Screws 13. Plug in ice maker or reconnect power. 6. Unplug the ice level sensor from the right side of the cutter grid. Pull the ice level sensor down and forward away from Vacation and Moving Care the cutter grid. -
Page 13: Troubleshooting
See the “Condenser” section. 7. Drain water from water pan by removing the drain cap. Is there scale buildup in the ice maker? If there is white 8. If the room temperature will drop below 32°F (0°C), remove scale buildup in the ice maker’s water or freezing system, you... - Page 14 The parts warranty period is one year (12 months) from the date of installation or 15 months from the date of shipment by CORNELIUS whichever time period elapses first.
-
Page 15: Warranty
) Explain ___________________________________________________________________________________________ Upon receipt of this card, your Ice Maker will be registered to contain the protection of the warranty of defective workmanship and/or material. This warranty is effective from the date of original installation by the dealer and is not transferable. - Page 16 NO POSTAGE NECESSARY IF MAILED IN THE UNITED STATES BUSINESS REPLY MAIL FIRST CLASS MAIL PERMIT NO. 82 MASON CITY, IA POSTAGE WILL BE PAID BY ADDRESSEE IMI CORNELIUS INC. 2421 15th Street S.W. P.O. Box 1527 Mason City, Iowa 50401-9952...
Need help?
Do you have a question about the ICE MAKER and is the answer not in the manual?
Questions and answers