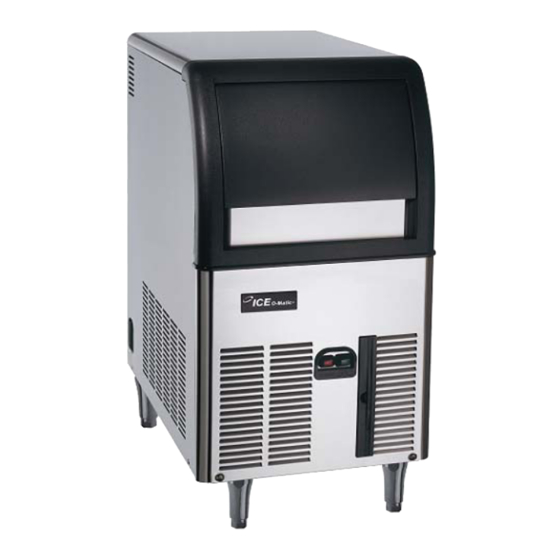
Ice-O-Matic Ice Undercounter Series Cubers ICEU070A Service And Installation Manual
Ice undercounter series cubers
Hide thumbs
Also See for Ice Undercounter Series Cubers ICEU070A:
- Service & parts manual (7 pages) ,
- Pricing and specification manual (16 pages)

Related Manuals for Ice-O-Matic Ice Undercounter Series Cubers ICEU070A


Summary of Contents for Ice-O-Matic Ice Undercounter Series Cubers ICEU070A
- Page 1 SERVICE AND INSTALLATION MANUAL ICE UNDERCOUNTER SERIES CUBERS MODEL-ICEU070A Ice-O-Matic 11100 East 45th Ave Denver, Colorado 80239 Part Number 9081374-01 Date 2/08...
-
Page 3: Table Of Contents
ICEU070A INTRODUCTION This manual provides the specifications and the step-by-step procedures for the installation, startup, operation, maintenance and cleaning for the ICEU070A ice machine. NOTE. To retain the safety and performance built into this ice machine, it is important that installation and maintenance be conducted in the manner outlined in this manual. -
Page 4: Specifications
They meet or exceed the standards of agencies like NSF and UL. Ice-O-Matic assumes no liability or responsibility of any kind for products manufactured by Ice-O-Matic that have been altered in any way, including the use of any part and/or other components not specifically approved by Ice-O-Matic. -
Page 5: General Information And Installation
To keep your Ice-O-Matic ice machine at peak performance levels, periodic maintenance checks must be carried out as indicated on the Maintenance and Cleaning section of this manual. -
Page 6: Water Supply And Drain Connections
20 psig. Connect the tubing to the 3/4" GAS / BSPP thread water inlet fitting at the back of the ice maker. An adapter is available, the part numbers are: Water Inlet Adapter-1011411-64 and Water Inlet Adapter O-Ring-1011411-65. -
Page 7: Final Check List
Check for correct model and serial number against the serial plate and mail the registration card to the factory. 12. Has the owner been given the name and the phone number of the authorized Ice-O-matic Service Agency serving him? Page 5... -
Page 8: Operating Instructions
Operating Instructions Start Up After having correctly installed the ice maker and completed the plumbing and electrical connections, perform the following “Start-up” procedure. A. Remove the condenser air filter then remove the front panel, Locate the cleaning switch on the control box. -
Page 9: Operational Checks
If the ice cubes are shallow and cloudy, it is possible that the ice maker runs short of water during the end of the freezing cycle or, the quality of the supplied water requires the use of an appropriate water filter or conditioner. -
Page 10: Component Description
ICEU070A Component Description Water Pump The water pump operates continually throughout the freezing cycle. The pump forces the water from the sump to the spray system and through the spray nozzles so it sprays into the inverted cup molds to be frozen into crystal clear ice cubes. Water Inlet Solenoid Valve The water inlet solenoid valve is energized only during the defrost cycle. -
Page 11: Operation - Electrical Sequence
ICEU070A Operation - Electrical Sequence The following charts illustrate which switches and components are ON or OFF during the two phases of the icemaking cycle. Refer to the wiring diagram for reference. Electrical components Compressor Water Pump Fan Motor Hot Gas Valve Inlet Water Valve Electrical Controls Evaporator Thermostat (contacts 3-4) -
Page 12: Freeze Cycle
Freeze Cycle Average Discharge Pressure · A/C: 100 to 155 PSIG Suction Pressure · End Freeze Cycle: 0 to 1.5 PSIG Refrigerant Metering Device: · Capillary tube Refrigerant Charge (R-134a) · 9.5 oz. The thermostat sensing bulb is located into a plastic tube (bulb holder) secured by two clips directly to the evaporator serpentine. -
Page 13: Cleaning Switch
ICEU070A Cleaning Switch Located on the bottom side of the control box, it is used to energize the water inlet and the hot gas valves to fill the sump of the machine with water when needed. Green Master Switch Push Button Located in the front of the machine it’s used to switch ON and OFF the unit by pushing its green push button. -
Page 14: Service Diagnosis
Service Diagnosis SYMPTOM POSSIBLE CAUSE Unit will not run Blown fuse Main switch in OFF position Bin thermostat set improperly Loose electrical connections Red Alarm light ON Too Hi Condensing Temperature Red Alarm light Blinking Condenser sensor out of order Twice Compressor cycles Low voltage... -
Page 15: Service Diagnosis
ICEU070A Service Diagnosis SYMPTOM POSSIBLE CAUSE Irregular cubes size & some Some jets plugged cloudy Shortage of water Unit not leveled Poor pumping Cubes too large Cube size control set improperly Decreased ice capacity Inefficient compressor Leaky water valve Non-condensable gas in system Poor air circulation or excessive hot location... -
Page 16: Maintenance And Cleaning Instructions
Put a scoop full of ice cubes in contact with the bin thermostat bulb for at least one minute. This should cause the ice maker to shut off. Within few seconds after the removal of the ice from bin thermostat bulb, the ice machine restarts. -
Page 17: Cleaning Water System
ICEU070A Cleaning Water System 1. Remove the ice from the bin. 2. Remove the air filter and then the front panel. 3. Rotate control knob counter clockwise to the Off position. 4. Turn off the water supply to the ice machine. 5. - Page 18 23. Rotate the control knob to the Normal position. 24. Operate the machine with the cleaning toggle switch in the Operation position for 4 minutes. 25. Switch the cleaning toggle switch to the Cleaning position and operate the machine for 1 minute.
- Page 19 Page 17...
-
Page 20: Warranty
Customer, that part of any such machine that becomes defective. In the event that the Warranty Registration Card indicating the installation date has not been returned to Ice-O-Matic, the warranty period will begin on the date of shipment from the Company. Irrespective of the actual installation date, the product will be warranted for a maximum of seventy-two (72) months from date of shipment from the Company.
Need help?
Do you have a question about the Ice Undercounter Series Cubers ICEU070A and is the answer not in the manual?
Questions and answers
I had a power surge. Would this burn out the circuit board. Is it replaceable? Look like it was burnt are there any replacement parts. Circuit board is located bottom left behind a face plate
The manual does not explicitly state whether a power surge can damage the circuit board in the Ice-O-Matic ICEU070A. However, power surges can generally damage electronic components, including circuit boards. Replacement parts for the ICEU070A are available in the service parts manual.
This answer is automatically generated
@Mr. Anderson
I live near Saskatoon Saskatchewan. Who services in this area. Are there parts available in this area?