Table of Contents
Advertisement
Quick Links
owner's manual
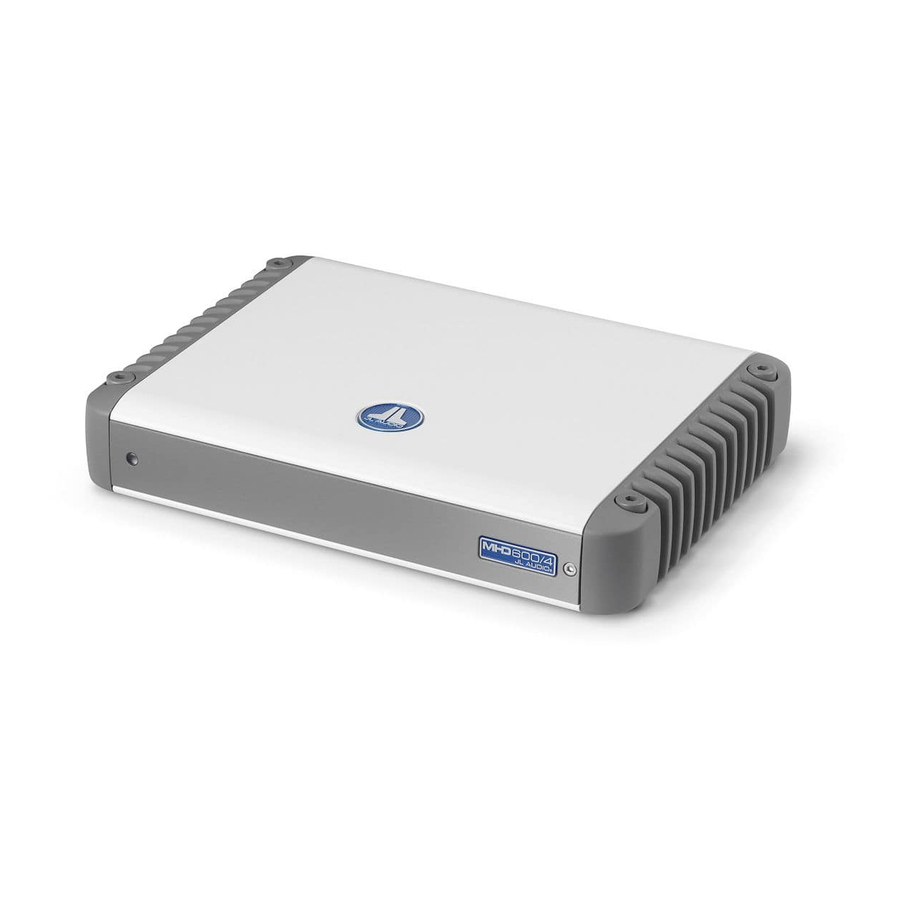
4-Channel Class-D Full-Range Marine Amplifier
Thank you for purchasing a JL Audio amplifier for
your marine sound system.
Your amplifier has been designed and manufactured to exacting
standards in order to ensure years of musical enjoyment in your vessel.
For maximum performance, we highly recommend that you have
your new amplifier installed by an authorized JL Audio dealer. Your
authorized dealer has the training, expertise and installation equipment
to ensure optimum performance from this product. Should you
decide to install the amplifier yourself, please take the time
to read this manual thoroughly so as to familiarize yourself
with its installation requirements and setup procedures.
If you have any questions regarding the instructions in this
manual or any aspect of your amplifier's operation, please contact your
authorized JL Audio dealer for assistance. If you need further assistance,
please call the JL Audio Technical Support Department
at (954) 443-1100 during business hours.
Advertisement
Table of Contents

Summary of Contents for JL Audio MHD600/4
- Page 1 For maximum performance, we highly recommend that you have your new amplifier installed by an authorized JL Audio dealer. Your authorized dealer has the training, expertise and installation equipment to ensure optimum performance from this product.
-
Page 2: Protect Your Hearing
While this amplifier is specially designed +12 VDC Ground Remote for marine applications, it is not waterproof Front Inputs Rear Preouts Remote Level and it should not be mounted where it is Control likely to get wet. 2 | JL Audio - MHD600/4 Owner’s Manual... -
Page 3: Product Description
ProduCt desCriPtion tYPiCal installation sequenCe The JL Audio MHD600/4 is a very powerful 5) As a very powerful (300W x 2) two-channel The following represents the sequence 6) Run speaker wire from the speaker systems to and compact four-channel, full-range amplifier... - Page 4 If only the MHD600/4 is being run from The MHD600/4 uses a conventional +12V connector plug from the amplifier chassis (pull This wire MUST be fused appropriately for safety.
- Page 5 The security cover is secured by a single 2.5 These controls are designed to match the input mm hex-head screw at the far right of the panel. sensitivity of the MHD600/4 to the specific signal +12 VDC Ground Remote Loosen the hex-head screw to release the security...
-
Page 6: Crossover Controls
RCA plugs for each input pair input cables are feeding the amplifier. These “HP” (High-Pass): Configures the or use the JL Audio ECS Speaker Wire to RCA controls will allow you to set the appropriate CH 1&2 filter to attenuate frequencies The filter frequency markings surrounding this adaptor (XB-CLRAIC2-SW). -
Page 7: Preamp Outputs
Control (HD-RLC), you can control the volume Control filter frequency of 80-90 Hz to start). The inputs of one or both channel pairs of the MHD600/4 bi-amplified system with one mHd600/4 of the subwoofer amplifier can be fed from the from the cockpit. -
Page 8: Speaker Outputs
1.5 – 4Ω per channel in stereo (without sacrificing power output or sound For example, if you are using the MHD600/4 quality). When bridged, each channel pair will To bridge a pair of channels, use the “Left +”... -
Page 9: Appendix A: Mhd600/4 Specifications
Amplifier Topology: Class D, switching type with amplifier’s operating status. This LED’s behavior that may require service of the amplifier, its that it may be sent in to JL Audio for service. patented Single-Cycle Control™ technology. is as follows: wiring or the vehicle’s charging system. Audio... - Page 10 15.0 V not recommended 15.0 V not recommended Sens.” with this procedure. This applies to any EQ boost circuit, source unit tone controls or EQ circuits. EQ cuts will not require re-adjustment. 18 | JL Audio - MHD600/4 Owner’s Manual...
- Page 11 Please refer to Appendix C (pages 18, 19) to set the input sensitivity Check your voltage source and grounding point. The power supply for maximum, low-distortion output. of the MHD600/4 will operate with charging system voltages “my amplifier doesn’t turn on” down to 10V. Shutdown problems at higher volume levels Check the fuse(s), not just visually, but with a continuity meter.
- Page 12 22 | JL Audio - MHD600/4 Owner’s Manual...
- Page 13 - marine ProduCts (usa) JL AUDIO warrants this product to be free of defects in materials and workmanship for a period of two (2) years from the original date of purchase. This warranty is not transferable and applies only to the original purchaser from an authorized JL AUDIO dealer.


Need help?
Do you have a question about the MHD600/4 and is the answer not in the manual?
Questions and answers