Table of Contents
Advertisement
Quick Links
OWNER'S MANUAL
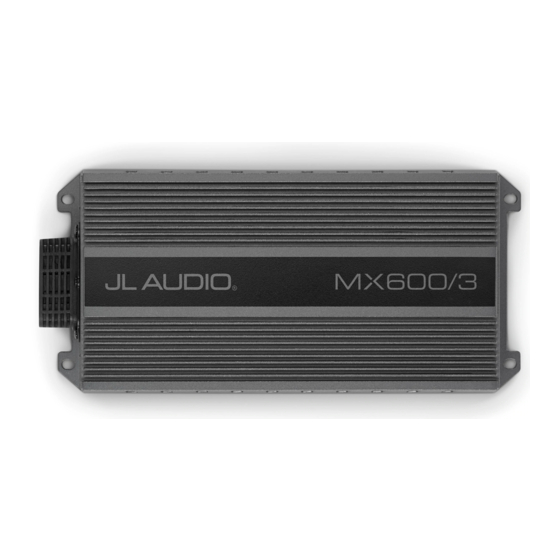
600W 3-Channel Class D System Amplifier
Thank you for purchasing a JL Audio amplifier for
your sound system.
Your amplifier has been designed and manufactured to exacting
standards in order to ensure years of musical enjoyment. For maximum
performance, we highly recommend that you have
your new amplifier installed by an authorized JL Audio dealer. Your
authorized dealer has the training, expertise and installation equipment
to ensure optimum performance from this product. Should you
decide to install the amplifier yourself, please take the time
to read this manual thoroughly to familiarize yourself
with its installation requirements and setup procedures.
If you have any questions regarding the instructions in this
manual or any aspect of your amplifier's operation, please contact your
authorized JL Audio dealer for assistance. If you need further assistance,
please call the JL Audio Technical Support Department
at technical@jlaudio.com or call (954) 443–1100 during business hours.
IPX7
WATER
RESISTANT
Advertisement
Table of Contents

Related Manuals for JL Audio MX600/3


Summary of Contents for JL Audio MX600/3
- Page 1 For maximum performance, we highly recommend that you have your new amplifier installed by an authorized JL Audio dealer. Your authorized dealer has the training, expertise and installation equipment to ensure optimum performance from this product. Should you...
- Page 2 What’s Included (1) Amplifier (4) Stainless steel mounting screws (1) User manual Product Description This is a three-channel, system amplifier utilizing Class D technology for all channels. Installation Applications This amplifier is designed for operation with 12 volt, negative-ground electrical systems.
- Page 3 RCA plugs for each input pair or use the JL Audio ECS Speaker Wire to RCA adaptor (XD-CLRAIC2-SW). Make sure to observe correct polarity in making “High-Level Input”...
- Page 4 Wiring Diagram Connections Power Connections Remote Turn-On Label Wire Color Description Source [REM] +12V Positive (+12V) Power Connection Black Negative (GND) Ground Connection Power Fuse (not included) Connections Blue Positive (+12V) Remote Turn-On Input [+12V] Inputs Label Plug Description Battery [GND] White RCA Ch.
- Page 5 Control Panel Settings and Adjustments The amplifier’s settings and controls are located on the bottom panel beneath a gasketed, protective cover. Remove the four Phillips head screws from the center panel to access the controls and make adjustments. Replace cover when finished and mount the amplifier.
- Page 6 Status LED’s / Protection Circuitry There are two status indicator lights on the wiring end panel of the amplifier. “POWER” (Green): Lights to indicate that the amplifier is turned on and operating normally. “PROTECT” (Red): Lights to indicate the amplifier’s protection circuitry has been triggered to prevent product failure due to any conditions noted in the chart below.
- Page 7 Specifications MX600/3 Main @ Main @ Main @ 4 Ω Sub @ Sub @ Sub @ Rated RMS Power @ 4 Ω 2 Ω Bridged 4 Ω 3 Ω 2 Ω 14.4V, <1% THD+N 75 W x 2 100 W x 2...
- Page 8 Troubleshooting Problem Possible Cause Solution Please refer to Appendix A to set the How to properly set input sensitivity for maximum, low- input sensitivity distortion output. Remove fuse and check with continuity Faulty fuse meter. Replace if necessary. Check “+12V”, “Ground”, and “Remote” Poor connection Amplifier doesn’t leads for pinched wires;...
- Page 9 Appendix A: Input Sensitivity Level Setting Following the directions below will allow the installer to adjust the input sensitivity of each amplifier channel pair in just a few minutes using equipment commonly available in installation bays. Necessary Equipment • Digital AC Voltmeter •...
- Page 10 Target AC Voltage - MX600/3 Nom. Ch.1 & 2 Ch.1 & 2 Impedance (Stereo) (Bridged) 4Ω 17.3 28.3 2Ω 14.1 not recommended Nom. Ch.3/Subwoofer Impedance 4Ω 31.6 3Ω 30.0 2Ω 28.3 Do not increase any “Input Sens.” setting for any amplifier channel or channel pair in the system beyond the maximum level established during this procedure.
- Page 11 Non-defective items received will be returned freight-collect. Customer is responsible for shipping charges and insurance in sending the product to JL Audio. Freight damage on returns is not covered under warranty. For Service Information in the U.S.A. please call...
Need help?
Do you have a question about the MX600/3 and is the answer not in the manual?
Questions and answers