Table of Contents
Advertisement
Quick Links
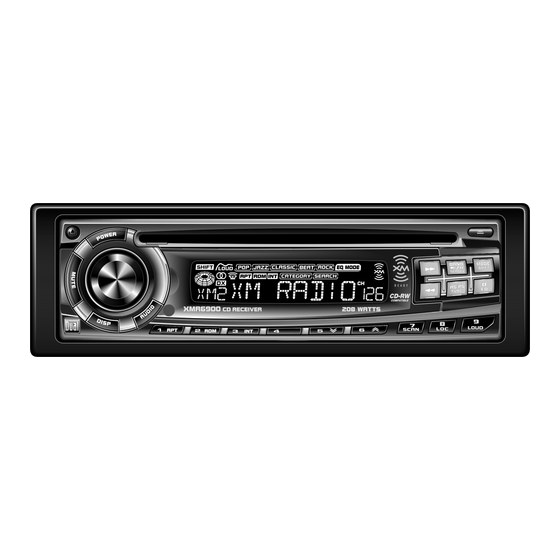
XMR6900
INSTALLATION/OWNERS MANUAL
AM/FM/CD/XM Ready Receiver with Detach Face
An optional XM Satellite Radio Receiver may be connected to the XMR6900.
XM subscription is required for reception. For more information, visit XM's website at
www.xmradio.com or call 1-877-XMRADIO. Not available in Alaska or Hawaii.
Advertisement
Table of Contents

Subscribe to Our Youtube Channel
Related Manuals for Dual Electronics Corporation XMR6900


Summary of Contents for Dual Electronics Corporation XMR6900
- Page 1 INSTALLATION/OWNERS MANUAL AM/FM/CD/XM Ready Receiver with Detach Face An optional XM Satellite Radio Receiver may be connected to the XMR6900. XM subscription is required for reception. For more information, visit XM’s website at www.xmradio.com or call 1-877-XMRADIO. Not available in Alaska or Hawaii.
- Page 2 XMR6900 INSTALLATION Preparation Please read entire manual before installation. Before You Start • Disconnect negative battery terminal. (consult a qualified technician for instructions) • Avoid installing the unit where it would be subject to high temperatures, such as from direct sunlight, or where it would be subject to dust, dirt or excessive vibration.
-
Page 3: Wiring Diagram
XMR6900 INSTALLATION Wiring Diagram FUSE When replacing a fuse, make sure new fuse is the correct type and amperage. Using an incorrect fuse could damage the radio. The XMR6900 uses one 10 amp ATM fuse located beside the wiring connector. -
Page 4: Control Locations
Display Loudness/*Preset 9 Mute An optional XM Satellite Radio Receiver may be connected to the XMR6900. XM subscription is required for reception. For more information, visit XM’s website at www.xmradio.com or call 1-877-XMRADIO. Not available in Alaska or Hawaii. *Presets 7-10 apply to XM Radio operation only. -
Page 5: General Operation
XMR6900 OPERATION General Operation Faceplate Removal Press RELEASE and pull away from the left side to remove. To re-install, insert right side of faceplate first then push left side to secure. Semi-permanent Remove trim ring and install supplied Phillips head #1 screw Faceplate Installation through left side of mounting frame into faceplate. - Page 6 XMR6900 OPERATION General Operation When in AM/FM, CD or AUX mode: Display Press DISP to select between clock and radio frequency (tuner mode), clock and CD elapsed time/track (CD mode), or clock and AUX (AUX mode). When in XM Radio mode: Press DISP to select between channel name, artist name, song title or clock.
- Page 7 XMR6900 OPERATION General Operation Audio Press AUDIO to select between Volume (default), Bass, Treble, Balance & Fader. Bass Press AUDIO until BAS appears Rotate encoder left/right to adjust (+6 maximum / -6 minimum) Treble Press AUDIO until TRE appears Rotate encoder left/right to adjust...
- Page 8 XMR6900 OPERATION AM/FM Tuner Operation Seek Tuning Press TUNE or TUNE momentarily to seek the next strong station. Manual Tuning Press TUNE or TUNE for more than 2 seconds, then release. "MANUAL" will momentarily appear in the display. Press TUNE...
- Page 9 5. Activate your XM Satellite Radio service. To subscribe, log onto http://www.xmradio.com/activation or call 1-800-852-9696. Note: You will need to keep your XMR6900 turned on for at least one hour after requesting activation to receive the full channel line-up. XM Radio - Operation...
- Page 10 XMR6900 OPERATION XM Radio Operation Channel Search by Press FUNC once, the CATEGORY icon will appear on the Category display. Press to choose a different category, then press TUNE or TUNE to choose a channel within that category. Press FUNC for 3 seconds to select the desired channel.
-
Page 11: Cd Player Operation
XMR6900 OPERATION CD Player Operation With the label facing up, insert a standard size CD into the Insert CD CD slot. The CD will automatically begin playback. Press EJECT to eject the CD. The unit will change to previous Eject CD mode of operation (AM, FM, XM or auxiliary input). - Page 12 XMR6900 WARRANTY Limited One-Year Warranty This warranty gives you specific legal rights. You may What to do? also have other rights which vary from state to state. If purchased within the USA: 1. Before you call for service, check your Dual Electronics Corp.
-
Page 13: Specifications
XMR6900 OPERATION Specifications CD Player >92dB Signal-to-noise: 10Hz-20kHz Frequency response: >65dB Channel separation @ 1kHz: D/A converter: 1 Bit FM Tuner Tuning range: 87.5MHz-107.9MHz Usable sensitivity: 8.5dBf 50dB quieting sensitivity: 10dBf Stereo separation @ 1kHz: 40dB Frequency response: 30Hz-13kHz AM Tuner... - Page 14 XMR6900 OPERATION Troubleshooting - General Problem Cause Action Unit will not turn on Yellow wire not connected or incorrect voltage Check connections for proper voltage (no power) Red wire not connected or incorrect voltage (11~16VDC) Black wire not connected Check connection to ground...
- Page 15 XMR6900 OPERATION Troubleshooting - XM Radio Problem Cause Action Your XM Radio receiver is not activated Contact XM as described on page 9 You can not receive any XM channels You can not tune into a You may not be authorized to receive that...
- Page 16 Dual Electronics Corp. 21318 64th Ave. South Kent, WA 98032 Toll Free: 1-866-626-7863 www.dualav.com www.xmradio.com ©2004 Dual Electronics Corp. All rights reserved. The XM name and related logos are trademarks of XM Satellite Radio Inc. NSA0904-V02...
Need help?
Do you have a question about the XMR6900 and is the answer not in the manual?
Questions and answers