
Related Manuals for JVC NX-PS2


Summary of Contents for JVC NX-PS2
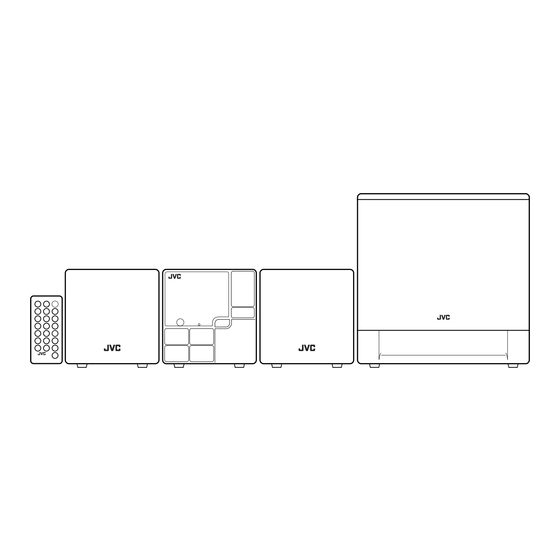
- Page 1 COMPACT COMPONENT SYSTEM NX-PS2 —Consists of CA-NXPS2, SP-NXPS2F and SP-NXPS2W SP-NXPS2F CA-NXPS2 SP-NXPS2F SP-NXPS2W INSTRUCTIONS LVT1723-005A...
- Page 2 Warnings, Cautions and Others CAUTION • Rating label of AC adaptor is placed on the exterior of the bottom. To reduce the risk of electrical shocks, fire, etc.: 1. Do not remove screws, covers or cabinet. CAUTION: 2. Do not expose this appliance to rain or moisture.
-
Page 3: Table Of Contents
Contents Introduction ..........2 Precautions ............2 Getting Started ........3 Connection ............4 Basic Operations ........6 Main Unit .............. 6 Remote Control ............. 8 Setting the Clock and Daily Timer ..11 Setting the Clock ........... 11 Setting the Daily Timer ......... 11 Playing Back from iPod ...... -
Page 4: Introduction
Introduction Thank you for purchasing a JVC product. Please read all instructions carefully before operation, to ensure your complete understanding and to obtain the best possible performance from the unit. Precautions Installation • Install in a place which is level, dry and neither too hot nor too cold–between 5°C and 35°C. -
Page 5: Getting Started
Getting Started Supplied Accessories After unpacking, check to be sure that you have all the following items. The number in parentheses indicates the quantity of each piece supplied. • Remote control (1) • Lithium coin battery CR2025 (1) (The battery has been installed when shipped from the factory.) •... -
Page 6: Connection
Connection Do not connect the AC power cord until all other connections have been made. Subwoofer FM antenna (supplied): Extend it so that you can obtain the best reception. INPUT To a wall outlet Plug the AC power cord only after all connections are complete. - Page 7 To connect the speaker cords Make sure the main unit, main speakers, and subwoofer are connected correctly and firmly. When connecting the speaker cords, match the polarity of the speaker terminals: white cord to (+) and white cord with black stripe to (-). NOTES •...
-
Page 8: Basic Operations
Basic Operations Main Unit Adjust the volume Display STANDBY lamp Select a source Remote control STANDBY/ON button sensor USB MEMORY terminal Operation PHONES jack buttons AUX jack Opening the front panel cover FU NC TI ON ST AN DB Y US B ME MO RY Using Headphones... -
Page 9: Display Information
Display Information While selecting iPod: Volume level Source name Current status ⇔ Clock display While selecting USB MEMORY: Volume level Elapsed playing time Current track number Current group number File information ⇔ Clock display While selecting FM: Volume level Channel number Frequency ⇔... -
Page 10: Remote Control
Remote Control Sleep Timer (P.9) STANDBY/ON button Change the display information Select a source DIMMER/ECO mode (P.9) Adjust the tone (P.10) Adjust the volume FADE MUTING button Operating on the Remote Control Buttons Functions Turns on or off (standby) the power. Changes the display information. - Page 11 Others Buttons Reference pages Buttons Reference pages CLOCK/TIMER set (P.11) – CLOCK/TIMER set (P.11 iPod (P.15) USB MEMORY (P.16) – CLOCK/TIMER set (P.11 FM (P.19) USB MEMORY (P.17) FM (P.19) – AUX (P.20) USB MEMORY (P.16 FM (P.19) – CLOCK/TIMER set (P.11 USB MEMORY (P.17) To dim the display—DIMMER Press while the System is turned on.
- Page 12 To adjust the tone Selects an item as follows: EQ setting (FLAT/ROCK/POP/JAZZ/CLAS) TREBLE BASS − − • Adjust the bass and treble level with VOLUME from 5 to − • Select an EQ setting as follows with VOLUME FLAT ROCK ROCK CLAS JAZZ...
-
Page 13: Setting The Clock And Daily Timer
Setting the Clock and Daily Timer Setting the Clock Activate the clock setting mode (“Clock Adjust” appears). The hour digit of the time indication blinks on the display. • If you have already adjusted the clock before, press the button repeatedly until “Clock Adjust”... - Page 14 Turn off the System (on standby). • To exit from the timer setting, press CLOCK/TIMER as required. • To correct a misentry during the process, press CANCEL. You can return to the previous step. • Do not set to ECO mode after setting Daily Timer. To cancel the Daily Timer Select the current timer settings mode.
-
Page 15: Playing Back From Ipod
Playing Back from iPod This System is equipped with an iPod terminal on the rear panel. You can connect your iPod to the System and enjoy the sound and video from your iPod. CAUTION: Before selecting the video source to play, make the appropriate setting for video output on the iPod. -
Page 16: Connecting Ipod
Connecting iPod Connect the iPod to the System using the docking station (supplied). Make sure the System is turned off when you connect it. How to use the docking station Attach the dock adaptor to the docking station. Dock adaptor (supplied with To detach the dock adaptor from the docking station: iPod or separately purchased) Push the slot then pull up to remove the dock adaptor. - Page 17 For information on operating the iPod, see the iPod instruction manual. • JVC is not responsible for any loss of or damage to iPod that might result from the use of this product.
-
Page 18: Playing Back From Usb Mass Storage Class Device
Playing Back from USB Mass Storage Class Device This system is equipped with a USB MEMORY terminal on the front panel. You can connect a USB mass storage class device such as a USB flash memory device, Digital Audio Player (DAP), etc. to this System. - Page 19 For MP3/WMA playback Set Number select mode. Input the Group number, then input the Track number. Track number Group number Start playback. • To exit from the Number select mode, press CANCEL. NOTES • You cannot send any data to your USB mass storage class device from this System. •...
-
Page 20: Repeat Play
Repeat Play Press repeatedly before you start playback to specify the repeat mode as follows: Repeats the current track. Repeats all tracks. Repeats all tracks in the current group. (no indication) Repeat mode is off. Start playback. Random Play RND appears on the display. •... -
Page 21: Listening To Fm Broadcast
Listening to FM Broadcast Basic Operations To select FM for the source Select FM for the source. • FM can also be selected by the FUNCTION button on the main unit. • If an FM programme is broadcast in stereo, ST (stereo) appears on the display (only when the reception is good). -
Page 22: Playing Back From Other Equipment
Playing Back from Other Equipment Connecting Other Equipment By using a stereo mini plug cord (not supplied), you can connect other equipment with analog audio output jacks, such as Digital Audio Player, a TV, etc. Stereo mini plug cord (not supplied) Portable audio device, Game machine, etc. -
Page 23: Troubleshooting
Troubleshooting If you are having a problem with your System, check this list for a possible solution before calling for service. General: Power does not come on. Power plug is not inserted securely. Plug in securely. (P.4) Adjustments or settings are suddenly cancelled before you finish. There is a time limit. -
Page 24: Specifications
Compatible file system FAT16, FAT32 Mass Approx. 3.5 kg Bus power supply Max. 5 V/500 mA Power Specifications iPod NX-PS2 (System) Compatible iPod types See page 13 – Power Requirements AC 110 V 240 V Bus power supply Max. 5 V/500 mA... - Page 25 © 2007 Victor Company of Japan, Limited 0407NSMMDWBET...
Need help?
Do you have a question about the NX-PS2 and is the answer not in the manual?
Questions and answers