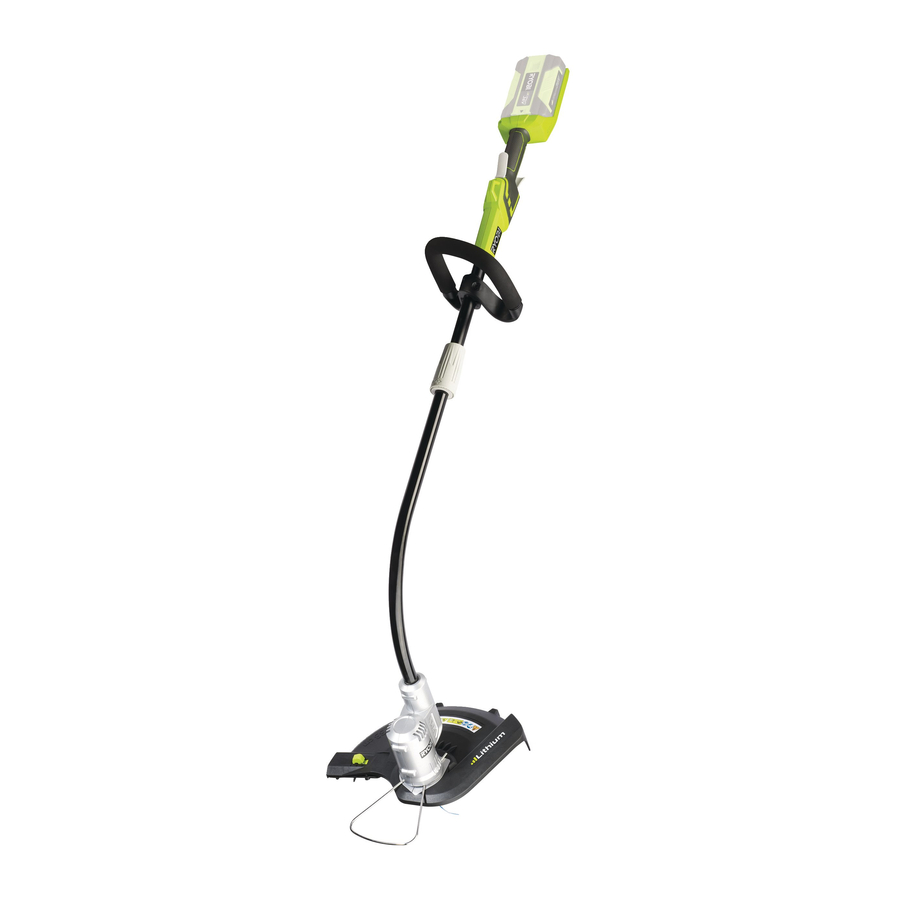
Ryobi RLT36 Operator's Manual
36v cordless line trimmer
Hide thumbs
Also See for RLT36:
- Original instructions manual (113 pages) ,
- Original instructions (5 pages)
Summary of Contents for Ryobi RLT36
- Page 1 RLT36/RLT36B 36V CORDLESS LINE TRIMMER OPERATOR’S MANUAL (Original Instructions) Important! It is essential that you read the instructions in this manual before assembling, maintaining and operating this machine.
- Page 2 RLT36 / RLT36B Fig. 2 Fig. 3 Fig. 4 Fig. 5 330mm / 305mm / 280mm Fig. 1 Fig. 6 Fig. 7 Fig. 8 Fig. 9 Fig. 10 Fig. 11 Fig. 12 Fig. 13 Fig. 14 Fig. 15...
-
Page 3: Intended Use
■ Stop using the machine while people, especially Thank you for buying a Ryobi product. children, or pets are nearby. SaVE THIS MaNUaL FOR FUTURE REFERENCE ■ Only use the machine in daylight or good artificial light. -
Page 4: Personal Safety
English (Original Instructions) PERSONaL SaFETY other condition that may affect the power tool’s operation. If damaged, have the power tool repaired ■ Stay alert, watch what you are doing and use common before use. Many accidents are caused by poorly sense when operating a power tool. - Page 5 English (Original Instructions) SYMBOLS Some of the following symbols may be used on this tool. Please study them and learn their meaning. Proper interpretation of these symbols will allow you to operate the tool effectively and safely. SYMBOL DESIGNaTION/EXPLaNaTION Precautions that involve your safety. Read the operation manual and follow all warnings and safety instructions.
-
Page 6: Specifications
English (Original Instructions) SPECIFICaTIONS Grass deflector Plant protector Model RLT36 RLT36B Battery (RLT36 only) Charger (RLT36 only) Voltage 36 Volts Operator's manual No Load Speed 9,000 - 10,000 rpm WaRNING Cutting head Automatic feed If any parts are damaged or missing do not operate this Cutting Line product until the parts are replaced. -
Page 7: Operation
For complete charging instructions, refer to the Operator’s ■ Install the front handle onto the upper shaft. Manuals for your Ryobi battery pack and charger models. ■ Place the bolt through the front handle and securely NOTE: To avoid serious personal injury, always remove tighten them into the captive nuts on the bracket. -
Page 8: General Maintenance
Tighten securely all fasteners and caps and do not operate this product until all missing or damaged parts NOTE: The cutting line will extend approximately 6.5mm are replaced. Please call Ryobi Customer Service for with each stop and start of the trigger until the cutting line assistance. -
Page 9: Battery Pack Removal And Preparation For Recycling
Wind the cutting line around the upper aCCESSORY part of the spool clockwise, as shown by the arrows on RAC126 - Complete spool for RLT36 (1pcs) the spool. Place cutting line in the slot on upper spool BaTTERY PaCk REMOVaL aND PREPaRaTION FOR flange, leaving about 15cm. -
Page 10: Troubleshooting
English (Original Instructions) TROUBLESHOOTING Problem Possible cause Solution String is welded to itself. Lubricate with silicone spray. Install more string. Refer to string Not enough string on spool. replacement earlier in this manual. String will not advance when using the auto-feed head. - Page 11 Subject to the guarantee condition below, this Ryobi guarantee does not cover damage, malfunction or tool (hereinafter called “the product”) is guaranteed by failure resulting from misuse, neglect, abuse, or used TECHTRONIC INDUSTRIES AUSTRALIA for a purpose for which it was not designed or is not LIMITED (hereinafter called “the Company”) to be free...


Need help?
Do you have a question about the RLT36 and is the answer not in the manual?
Questions and answers