
Subscribe to Our Youtube Channel
Related Manuals for King Canada 8324N


Summary of Contents for King Canada 8324N
-
Page 1: Instruction Manual
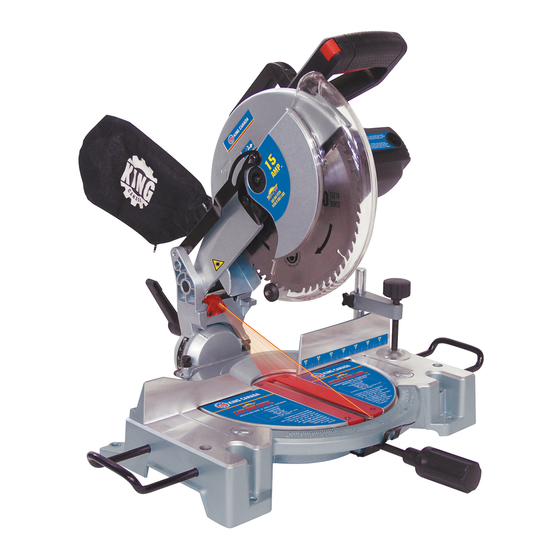
10” COMPOUND MITER SAW WITH LASER GUIDE *Enhanced Laser Effect MODEL: 8324N INSTRUCTION MANUAL COPYRIGHT © 2011 ALL RIGHTS RESERVED BY KING CANADA TOOLS INC. -
Page 2: Warranty Information
LIMITED TOOL WARRANTY King Canada makes every effort to ensure that this product meets high quality and durability standards. King Canada warrants to the original retail consumer a 2-year limited warranty as of the date the product was purchased at retail and that each product is free from defects in materials. -
Page 3: General Safety Instructions For Power Tools
GENERAL SAFETY INSTRUCTIONS FOR POWER TOOLS VOLTAGE WARNING: Before connecting the tool to a power source (receptacle, outlet, etc.) be sure the voltage supplied is the same as that specified on the nameplate of the tool. A power source with voltage greater than that for the specified tool can result in SERIOUS INJURY to the user - as well as damage to the tool. - Page 4 ADDITIONAL SAFETY INSTRUCTIONS FOR YOUR COMPOUND MITER SAW 1. WARNING: USE ONLY CROSS-CUTTING SAW BLADES. 19. MAKE SURE blade is not contacting workpiece before switch is WHEN USING CARBIDE TIPPED BLADES, DO NOT USE turned on. BLADES WITH DEEP GUILLETS AS THEY CAN DEFLECT AND CONTACT GUARD.
-
Page 5: Tool Specifications
12-16 EXTENSION CORDS The use of any extension cord will cause some loss of power. Use the FIGURE 2 TOOL SPECIFICATIONS Model ......................................8324N Voltage ....................................110V-120V Input power ....................................15 Amp. No load speed ..................................4,800 RPM Blade size..................................10” x 80 teeth Arbor size ......................................5/8”... - Page 6 ASSEMBLY UNPACKING Due to modern mass production techniques, it is unlikely that your King Canada power tool is faulty or that a part is missing. If you find anything wrong, do not operate the tool until the parts have been replaced or the fault has been rectified.
-
Page 7: Operating Controls
OPERATING CONTROLS STARTING AND STOPPING SAW To turn the saw "ON" press in the safety button (A) Fig.7 and then pull the large trigger switch (B). To turn the saw "OFF" release trigger switch. LOCKING CUTTING ARM IN THE DOWN POSITION. FIGURE 7 When transporting the miter saw, the cutting arm should always be locked in the down position. - Page 8 ADJUSTMENTS ADJUSTING FENCE 90 DEGREES TO BLADE 1. DISCONNECT THE SAW FROM THE POWER SOURCE. 2. Place the cutting arm in the 90 degree straight cut-off position, as shown in Fig.11, and tighten the table lock knob. 3. Using a square (A) Fig.11, place one end of the square against the blade and the other end against the fence, as shown.
- Page 9 ADJUSTMENTS & CHANGING BLADE LASER GUIDE SYSTEM Your compound miter saw comes equipped with a laser guide system which allows quick and accurate set-ups and cuts. This laser guide system is battery powered, therefore we suggest that the laser guide be turned off while not in use to save battery life.
- Page 10 CHANGING BLADE & MAINTENANCE CHANGING THE BLADE continued... 6. Press the spindle lock button (A) Fig.18 using one hand. Rotate the blade until the spindle locks. 7. Using a 13mm wrench, remove the arbor bolt (A) Fig.19. (Loosen in a clock- wise direction as the arbor bolt has a left hand thread).
Need help?
Do you have a question about the 8324N and is the answer not in the manual?
Questions and answers