Table of Contents
Advertisement
Quick Links
Advertisement
Table of Contents

Subscribe to Our Youtube Channel
Related Manuals for PowerBass XAX 5670FD


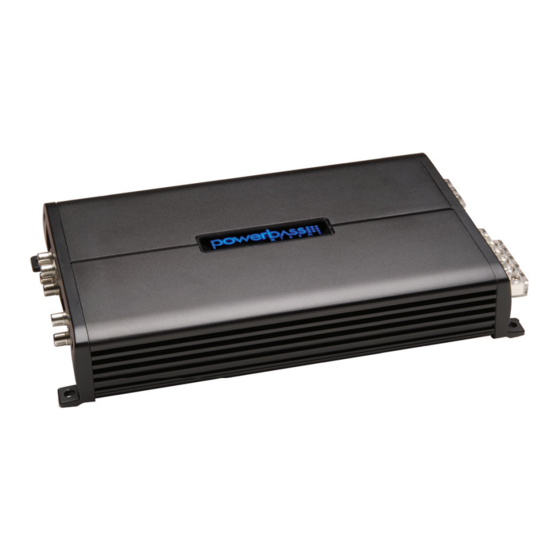
Summary of Contents for PowerBass XAX 5670FD
-
Page 1: Owners Manual
XAX 5670FD XTREME SERIES MINI AMPLIFIER Owners Manual Please read through this manual to familiarize yourself with your new amplifi er. Should your PowerBass Xtreme mobile amplifi er ever require service, you will need to have the original dated receipt. - Page 2 In the interest of safety, PowerBass USA highly recommends listening at lower volume levels when driving.
-
Page 3: Technical Features
TECHNICAL FEATURES • FRD (Full Range Class-D) technology • Philips/NXP Chip Set • Ultra Low Current Draw • High Damping Control Circuit • High Efficiency SMD Circuit Technology • Double Sided Copper Plated PCB • Digital Sound Optimization Circuitry • Dead Zero Switching •... -
Page 4: Preparing For Installation
Soldering iron • Electronic (not Acid Core) Solder INSTALLATION PRECAUTIONS NOTE: Proceed only if you are a qualified installer, otherwise; see your Authorized PowerBass Dealer to professionally install this amplifier. Always wear protective eyewear when using tools. • Turn off all stereo and other electrical devices before you begin. -
Page 5: Mounting The Amplifier
(volume) to maintain operation. For this reason the amplifier should be mounted in a location which will allow air to circulate freely. The compact size of the PowerBass XAX Series amplifier allows greater flexibility in mounting. -
Page 6: Mounting Location
The best places to mount your amplifier are: The floor of the trunk, under a seat, or on the back of the rear seat. For alternate installation locations, please consult your authorized PowerBass Dealer. *** WARNING *** •... -
Page 7: Control Panel Layout
CONTROL PANEL LAYOUT Fig.2 Panel Layout 1. Line INPUT (RCA) Jacks/CH 1 and CH 2 These RCA style input jacks are for use with source units that have RCA line level inputs. A source unit with a minimum of 0.5 volt is required for proper operation. However, this input will accept levels up to 6Vrms. CH1 and CH2 are commonly used for the FRONT Left and Right Channels. - Page 8 5. HPF (High Pass Filter) Control/CH 3 and CH 4 This control is continuously adjustable from 15Hz through 250Hz at 12dB per octave and is used in conjunc- tion with CH3 and CH4 only 6. BASS EQ Control/Subwoofer This equalization circuit is used to enhance the low frequency response of the vehicles interior. Variable up to 18dB of boost for the Subwoofer channel centered at 45Hz, the BASS EQ control can be adjusted to meet your own personal taste.
- Page 9 20. GND (Ground Input Connection) A good quality Ground is required for your PowerBass Xtreme amplifier to operate at peak performance. A short length of cable (no more than 3-feet) the same gauge as the Power Cable should be used to attach the GND terminal directly to the chassis of the vehicle.
- Page 10 Remember, bigger wire is better! For best results we recommend a PowerBass ampli- fier install kit, available at your local PowerBass dealer.
-
Page 11: Power Wiring
These amplifiers are designed to work within a 10 to 16 volt DC range. Before any wires are connected, the vehicles electrical system should be checked for correct voltage supply with the help of a voltmeter. First, check the voltage at the battery with the ignition in the OFF position. The voltmeter should read no less than 12V. - Page 12 Secure the ground cable to the body using a bolt, star washer and nut. Spread silicon over the screw and bare metal to prevent rust and possible water leaks. NOTE: The Ground must be capable of carrying the same amount of current as the positive wire. Now it’s time to connect the power and ground cables to the amplifier.
-
Page 13: Rca Interconnects
RCA INTERCONNECTS CAR RADIO REAR FRONT Fig.4 Low Level Input using RCA Choose the correct length and style of RCA interconnects for your needs. Always use high quality RCA audio cables (not supplied) for signal connections—those with multiple layers of shielding or a twisted pair variety for better noise rejection. - Page 14 Single RCA OUT BUTTON POSITION (Button OUT) Single RCA Output on the Radio (Rear only) In the event the car radio (head unit) you are using Y adaptors has only 1-set of RCA preamp outputs, you will need to split the signal using “Y” adaptors on the Right and Left channels as shown above.
- Page 15 Three RCA OUT (Front and Rear plus Subwoofer) BUTTON POSITION (Button IN ) CAR RADIO REAR FRONT Three RCA Outputs from the Radio (Front and Rear plus Subwoofer) This is the optimum configuration for this amplifier by providing 3-sets of discrete signal to the preamp. It will also offer the most flexibility in tuning the system.
-
Page 16: Input Gain Adjustment
USER ADJUSTABLE CONTROLS Input GAIN Adjustment GAIN Input Sensitivity Control Fig.5 GAIN Control This control allows you to match the input level of the amplifier to the output level of your head unit. Matching the input can be accomplished in three simple steps: Set the volume of GAIN on the amplifier to Min (completely counter clock wise). - Page 17 Controller Connection Fig.5 Connection with RJ12 Jack Your PowerBass Xtreme amp includes a remote GAIN control module. It uses standard 6-pin telephone wire and modular (U.S.A. style) telephone connectors. To connect the remote GAIN Control to the amplifier, simply insert one end of the telephone plug into the REMOTE gain input port. Plug the other end into the remote module.
-
Page 18: Speaker Load
SPEAKER WIRING AND CONFIGURATIONS Speaker Load Keep in mind your PowerBass Autosound amplifier is a high power amplifier and not a high current amplifier. In other words this amplifier requires a minimum impedance of 2 ohms STEREO and 4 ohms bridged MONO to operate trouble free. - Page 19 Speaker Output Connections 5 Channel Model ( XAX 5670FD 1. 5-Channel Speaker Output Connection FULL RANGE SPEAKERS 2-OHM 2-OHM minimum minimum SUBWOOFER FULL RANGE SPEAKERS 2-OHM 2-OHM 2-OHM minimum minimum minimum Fig.16 5-CH Speaker Connection / 2 ohms minimum 2. 3-Channel Speaker Output Connection...
-
Page 20: Recommended Wire Sizes
Miscellaneous: ______________________________________________________ This manual is the exclusive property of PowerBass USA, Inc. Any reproduction of this manual, or use other than its intentions is strictly prohibited without the express consent of PowerBass USA, Inc. © Copyright 2012 PowerBass USA, Inc. -
Page 21: Troubleshooting Tips
NOTE: If the Status L.E.D. is activated and glows RED with no speakers connected to the amplifier, and all the power connections are correct, this would indicate an internal problem with the ampli- fier. Contact PowerBass USA or your local dealer. - Page 22 SPECIFICATIONS FOR XTREME MINI AMPLIFIER XAX 5670FD Five Channel Model 4 Ohms Stereo Power (Watts) 100 x 4 + 250 x 1 (4-OHM) 2 Ohms Stereo Power (Watts) 160 x 4 (2 ohms min) + 320 x 1 (2-OHM) 4 Ohms Mono Power (Watts)
- Page 23 Please call (909) 993-5399 for PowerBass Customer Service. You must obtain an RA# (Return Authorization Num- ber) to return any product to PowerBass. The RA number must be prominently marked on the outside of the shipping carton or the delivery will be refused. Please pack your return carefully; we are not responsible for items damaged in shipping.
- Page 24 PowerBass Xtreme – A division of PowerBass USA, Inc. 13936 Mountain Avenue – Chino, CA 91710 Tel. (909) 993-5399 – Fax (909) 993-5393 www.powerbassusa.com...
Need help?
Do you have a question about the XAX 5670FD and is the answer not in the manual?
Questions and answers