Fujitsu R410A Installation Manual
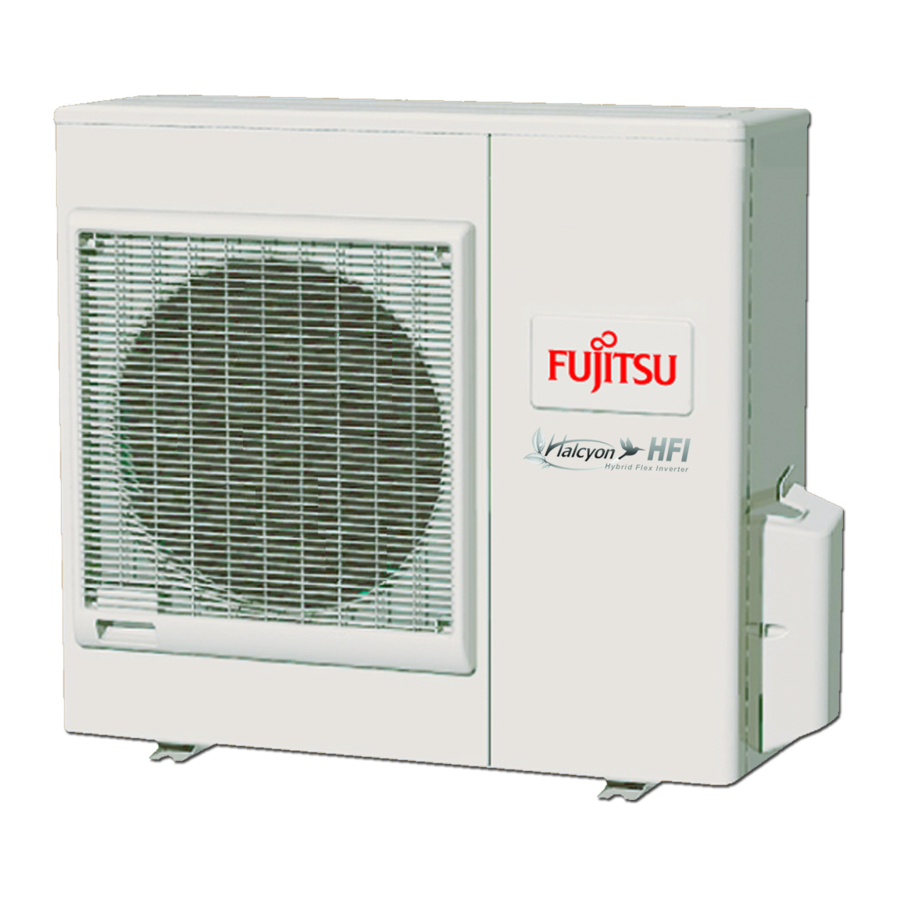
Air conditioner outdoor unit
Hide thumbs
Also See for R410A:
- Service instruction (76 pages) ,
- Operating manual (18 pages) ,
- Installation instruction (14 pages)
Table of Contents
Advertisement
Advertisement
Table of Contents

Related Manuals for Fujitsu R410A


Summary of Contents for Fujitsu R410A
-
Page 1: Air Conditioner
AIR CONDITIONER OUTDOOR UNIT INSTALLATION MANUAL For authorized personnel only. MANUEL D'INSTALLATION Pour le personnel agréé uniquement. MANUAL DE INSTALACIÓN Solo para personal autorizado. PART NO. 9374747115 En-1 9374747115_IM_En.indd 1 20/12/2553 8:58:37... -
Page 2: Table Of Contents
When installing and relocating the air conditioner, do not mix gases other than the Electrical specified refrigerant (R410A) to enter the refrigerant cycle. If air or other gas enters the refrigerant cycle, the pressure inside the cycle will rise to an abnormally high value and cause breakage, injury, etc. -
Page 3: About The Product
Thicknesses of copper pipes used with R410A are as shown in the table. Never use Installation work must be performed in accordance with national wiring standards by copper pipes thinner than that in the table even when it is available on the market. -
Page 4: System Configuration
21 41 System configuration Layout example for the indoor units and outdoor unit Power source Power cable UNIT D 208/230 V ~ 60 Hz 7-12 Connection cable UNIT C UNIT D ø6.35mm, ø9.52mm (ø1/4 in., ø3/8 in.) 7-12 UNIT C ø6.35mm, ø9.52mm (ø1/4 in., ø3/8 in.) UNIT B ø6.35mm, ø9.52mm (ø1/4 in., ø3/8 in.) UNIT A ø6.35mm, ø12.7mm (ø1/4 in., ø1/2 in.) UNIT B... -
Page 5: Installation Work
21 21 Drain installation INSTALLATION WORK Please obtain the approval of the customer when selecting the location of installation and CAUTION installing the unit. Perform drain work in accordance with this Manual, and ensure that the drain water 21 11 Selecting an installation location is properly drained. -
Page 6: Installation Dimensions
21 21 Installation dimensions When an obstruction is present also in the upward area • When there are obstacles at the back, side(s), and top CAUTION Install the unit where it will not be tilted by more than 3˚. However, do not install the unit with it tilted towards the side containing the compressor. -
Page 7: Transportation Of The Unit
When using conventional flare tools to flare R410A pipes, the dimension A should be approximately 1/32 in. more than indicated in the table (for flaring with R410A flare tools) to achieve the specified flaring. Use a thickness gauge to measure the dimension A. -
Page 8: Electrical Wiring
(1) Detach the caps and plugs from the pipes. 41 11 21 How to use adapter (Connection ports of outdoor unit) (2) Center the pipe against the port on the outdoor unit, and then turn the flare nut • When using the ADAPTER, be careful not to overtighten the nut, or the smaller pipe by hand. -
Page 9: Electrical Requirement
21 21 Electrical requirement 21 41 Connection diagrams OUTSIDE CAUTION INDOOR OUTDOOR UNIT Be sure to install a breaker of the specified capacity. INDOOR UNIT A (Inter-unit) TERMINAL Regulation of cables and breaker differs from each locality, refer in accordance with Power lines TERMINAL UNIT A... -
Page 10: Outdoor Unit
(4) Fasten the power supply cable and connection cable with cable clamp. Refrigerant must not be discharged into atmosphere. Use a vacuum pump, gauge manifold and charge hose for R410A exclusively. Using the same vacuum for different refrigerants may damage the vacuum pump or the unit. -
Page 11: Additional Charging
Do not purge the air with refrigerants, but use a vacuum pump to vacuum the installation! There is no extra refrigerant in the outdoor unit for air purging! Use a vacuum pump and gauge manifold and charging hose for R410A exclusively. Using the same vacuum for different refrigerants may damage the vacuum pump or the unit. -
Page 12: Test Run
TEST RUN The test run method may be different for each indoor unit that is connected. Refer to the installation instruction sheet included with each indoor unit. CAUTION Always turn on the power 12 hours prior to the start of the operation in order to ensure compressor protection. - Page 13 9374747115_IM_En.indd 12 20/12/2553 8:59:06...
Need help?
Do you have a question about the R410A and is the answer not in the manual?
Questions and answers