Table of Contents
Advertisement
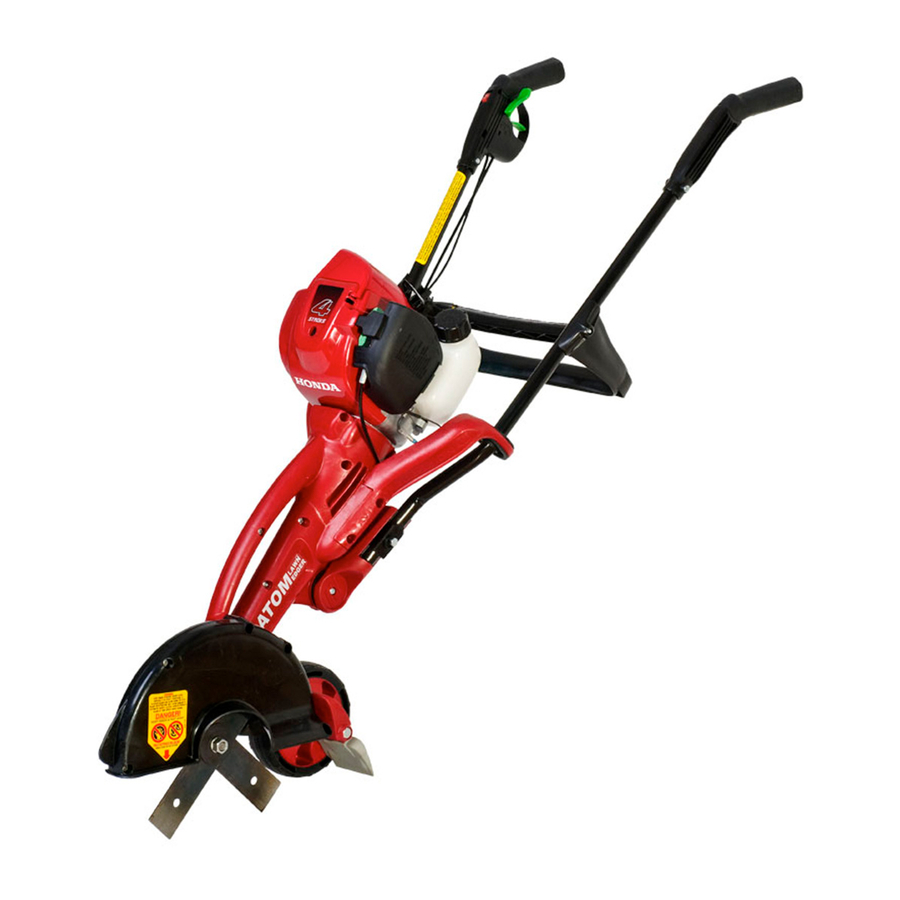
ATOM
PATENTED WORLD'S BEST
LAWN EDGERS
Model 506AV
Honda Powered 35cc 4-Stroke
Gasoline Model
OPERATOR/OWNER
MANUAL
Safety Precautions
Assembling
Operating and
Edging Instructions
Maintenance and
Workshop Manual
ACN 000 583 924
NOTE: For full "Honda" engine instructions and maintenance please refer to separate
"Honda Owners Manual" supplied.
IMPORTANT MANUAL – DO NOT THROW AWAY
Manual always to be available for reference or instructing new operators. Please fill
in details of purchase on back cover page.
®
AS WITH ANY
POWER TOOL
IMPROPER USE
CAN CAUSE
SERIOUS INJURY
MAKE SURE THIS
MANUAL IS READ
AND CAREFULLY
UNDERSTOOD
BEFORE STARTING
OR OPERATING
THIS EQUIPMENT
Advertisement
Table of Contents

Related Manuals for Atom 506AV


Summary of Contents for Atom 506AV
- Page 1 ATOM ® PATENTED WORLD’S BEST LAWN EDGERS Model 506AV Honda Powered 35cc 4-Stroke Gasoline Model OPERATOR/OWNER MANUAL Safety Precautions Assembling Operating and Edging Instructions Maintenance and Workshop Manual ACN 000 583 924 AS WITH ANY POWER TOOL IMPROPER USE CAN CAUSE...
-
Page 2: Table Of Contents
Contact your Atom dealer or the Spark Plug ............11 Atom distributor in your area if you do not understand or Air Filter Maintenance ........11 cannot carry out any of the operating instructions in this Removing Blade Cover ........ -
Page 3: Parts And Controls
Electrical shock. Never touch electrical wires or components while the engine is running. They Safe use of an Atom Lawn Edger involves: are sources of high voltage and can give you 1. The Operator an electrical shock. Replace immediately any 2. - Page 4 Select bare ground for fueling, then move at least 3 circulation damage and tissue necrosis. metres (10 feet) from the fueling spot before starting the engine. Wipe off any spilled fuel before starting your Atom PROPER CLOTHING Edger and check for leakage.
- Page 5 Never touch a hot muffler WARNING as burns will result. Store Atom Edger in a dry, high or blocked location and out of reach of children. WARNING Never store the machine with gasoline inside a building where fumes may reach an open flame or spark (e.g.
-
Page 6: Fuel And Oil
Page 4 – Safe Fueling Instructions. SOURCES. DO NOT SMOKE WHILE FUELING YOUR EQUIPMENT. ENGINE OIL LEVEL Your Atom Edger is powered by a four-stroke, air cooled WARNING engine which requires unleaded gasoline only in the fuel Running the engine with tank. -
Page 7: Starting And Stopping Instructions
FUEL AND OIL (CONTINUED) Use Honda 4-stroke, or an equivalent high detergent, WARNING Fill or add fuel to the tank premium only when the edger is in quality motor oil a horizontal position as shown (Fig. 9). Allow certified to engine to cool down for at least 5 minutes before meet or adding fuel. -
Page 8: Edging Instructions
EDGING INSTRUCTIONS 1. The Atom Edger is very easy and simple to use. For 4. With both arms extended some people, it may take a few edgings to become downwards, as in Fig. - Page 9 (Fig 22). you are familiar with the controls and the 12. Clutch: The Atom Edger is equipped with a handling of the centrifugal clutch. DO NOT run edger at low Atom Edger. speeds (or, if blade is jammed, at high engine...
-
Page 10: Blade Replacement
Tighten nut to 15-20 ft. lbs. (20-27Nm) or hand tight with 8” (200mm) or longer spanner. WARNING USE ONLY ATOM BLADES. 2. Through dust cover hole, place 14mm socket and Other blades have larger place 17mm wrench on blade nut (Fig. 26). -
Page 11: Maintenance Instructions
MAINTENANCE INSTRUCTIONS (CONTINUED) 5. Clean plastic dust cap and housing; press back by CHECKING THE SPARK PLUG gently tapping into place. Clean inside blade cover Remove engine cover by unscrewing 1x5mm hex bolt of any built up dirt. at top of cover (Fig 30). Remove spark plug cap and unscrew spark plug. -
Page 12: Warranty
MAINTENANCE INSTRUCTIONS (CONTINUED) 2. If filter torn or very dirty The loss of engine power that is not corrected by replace. cleaning the air filter and muffler. 3. Wash the filter in detergent The engine operates in an erratic or fuel-rich and water (Fig. -
Page 13: Fuel Filter
Atom Edger. (Fig. 34). Remove air deflector to clean. CHECKING EXHAUST MUFFLER Tighten exhaust screws. If exhaust gasket is leaking, replace gasket. If the engine is low on power, check the muffler. - Page 14 ATOM MODEL 506 LAWN EDGER PARTS LIST KEY # PART # DESCRIPTION KEY # PART # DESCRIPTION 40650 SCREW M5 x 36mm 43953 R.H. AV MOUNT 40652 NUT NYLOC 5mm 43954 MAIN HANDLE BRACKET 40835 N.BEARING 32 x 10 x 12 W/SEAL...
- Page 15 ATOM MODEL 506 LAWN EDGER PARTS LIST...
- Page 16 COMPLETE WORKSHOP MANUAL NOTE This information is for persons with suitable experience should this unit ever require workshop repair. TO REPAIR THROTTLE TRIGGER 3. Carefully push ASSEMBLY new blade shaft #43114 up into bearing and tap 1. Remove through carefully 2 screws so washers, crown holding side...
- Page 17 COMPLETE WORKSHOP MANUAL (CONTINUED) TO REMOVE GEAR ASSEMBLY AND MAIN DRIVE PINION SHAFT 1. Remove blade cover as shown in Fig 28, page 11. 2. Remove 6 screws holding main bearing housing (Fig 48) shown marked. Remove bearing holding screw A. 3.
- Page 18 COMPLETE WORKSHOP MANUAL (CONTINUED) TO REMOVE PINION 4. With a soft hammer, tap casing down until it bottoms on pinion bearing (Fig. 57). 1. Hold shaft in vice 5. Fit bearing location screw (See Fig. 48 marked A) between two pieces of and leave nut loose.
- Page 19 COMPLETE WORKSHOP MANUAL (CONTINUED) TO REPAIR CLUTCH Replace these parts if the Clutch spring is broken, the Clutch fibre is worn or the Clutch bolt or shoe holes are worn. NOTE Re-assemble with clutch shoe arrows pointing anti-clockwise in direction of rotation as viewed from front of engine Fig.
- Page 20 Atom Operator’s Manual. This warranty does not apply to ALLOW THE EXCLUSION OR LIMITATION OF INCIDENTAL OR CONSEQUENTIAL any damage to the Atom Edger that is the result of improper maintenance or to any Atom DAMAGES SO THE ABOVE LIMITATION OR EXCLUSION MAY NOT APPLY TO YOU.
Need help?
Do you have a question about the 506AV and is the answer not in the manual?
Questions and answers