Table of Contents
Advertisement
Quick Links
Advertisement
Table of Contents

Related Manuals for Transcend ESD200


Summary of Contents for Transcend ESD200
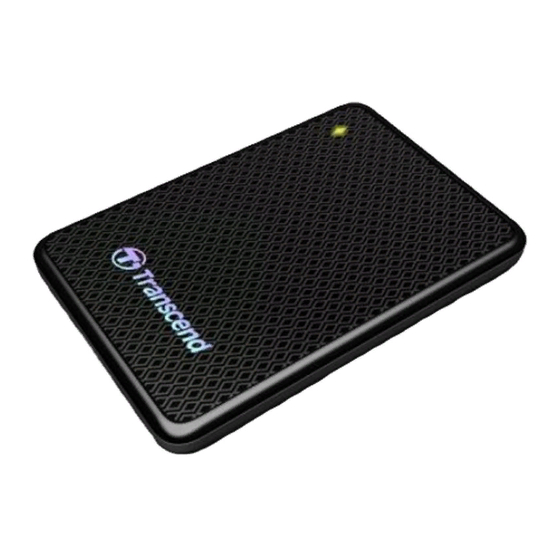
- Page 1 User‟s Manual USB 3.0 Portable Solid State Drive ESD200 (Version 1.0)
-
Page 2: Table Of Contents
........................... 8 ® OS ..........................9 ® Linux ..........................9 Formatting the Solid State Drive︱ ..........10 ® Windows XP/Vista/7/8 ....................10 ® OS ........................... 11 ® Linux ..........................13 Troubleshooting︱ ................14 Specifications︱ ................. 16 Transcend Limited Warranty︱ ............17... -
Page 3: Introduction
With its shock-resistant design, huge storage capacity and real-world transfer speeds up to 10X faster than USB 2.0 (in USB 3.0 mode), the compact ESD200 is ideal for carrying your files, folders, documents, photos, music and videos. In addition, the ESD200 comes with very useful software* that can increase your mobile productivity. -
Page 4: Features
Easy Plug and Play operation – no drivers required USB powered – no external adapter necessary One Touch Auto-Backup button Includes Transcend Elite backup and security software Multicolor LED indicator (power, data transfer, & USB 2.0/3.0 connection type) System Requirements︱... - Page 5 Desktop or notebook computer with a working USB port. One of following Operating Systems: Windows Windows Vista Windows 7 / 8 Linux Kernel 2.6.31 or later OS X 10.4 or later...
-
Page 6: Safety Precautions
ESD200. Use only the USB 3.0 cable that came with the ESD200 to connect it to a computer, and always ensure that the cable you are using is in good condition. NEVER use a cable that is frayed or damaged. -
Page 7: Reminders
Ensure nothing is resting on the USB cable and that the cable is not located where it can be tripped over or stepped on. Reminders Always follow the procedures in the ―Disconnecting from a Computer‖ section to remove the ESD200 from your computer. Product Overview︱ Micro USB 3.0 Port One Touch Auto-Backup Button... -
Page 8: Connecting To A Computer
Connecting to a Computer︱ The ESD200 can be connected to your computer using either USB 2.0 or USB 3.0. To get the best performance results from your SSD, we recommend using the USB 3.0 interface. Micro USB 3.0 USB 2.0 / 3.0... - Page 9 USB cable into the correct port on your computer (USB 3.0 ports are usually color-coded to differentiate them from USB 2.0) Linux users may have to configure the ESD200 manually. To do this, first create a directory for the ESD200 (Example: mkdir /mnt/SSD). Then, mount the ESD200 (Example: mount –a –t msdos /dev/sda1 /mnt/SSD)
-
Page 10: Disconnecting From A Computer
Note: ―New Volume‖ is an example drive. The drive name on your Mac computer may differ Once connected, you can use the ESD200 as an external hard drive to transfer data to and from your computer. Simply drag and drop files or folders onto the Local Disk, Volume, or drive letter that represents the ESD200. -
Page 11: Mac ® Os
WARNING! To prevent data loss, always use this procedure to remove the SSD ® from Windows ® Drag and drop the Disk icon that represents your ESD200 into the trashcan. Then unplug your ESD200 from the USB port. ® Linux Execute umount /mnt/Storejet to un-mount the device. -
Page 12: Formatting The Solid State Drive
2. Unplug all other USB storage devices from your computer. This is to prevent accidentally formatting a different USB drive. 3. In the ―My Computer‖ window, right-click the ESD200 drive icon, then choose ―Format‖. 4. You may choose ―Quick Format‖ or change the volume label if desired. -
Page 13: Mac ® Os
3. If a message window appears like the one below, click the ―Initialize‖ button. If no message appears, go to ―Applications > Utilities ― to open ―Disk Utility‖ 4. In the Disk Utility window, choose your ESD200 from the list on the left. 5. Select the ―Erase‖ tab. - Page 14 7. Input a name for your new drive (otherwise, your drive will be named ―Untitled‖) 8. Click the ―Erase‖ button in the bottom right corner of the window 9. Click ―Erase‖ again to confirm.
-
Page 15: Linux
10. Click the ―Close‖ button to finish and exit. ® Linux 1. Plug the ESD200 into an available USB port on your Linux computer. 2. Unplug all other USB storage devices from your computer. This is to prevent accidentally formatting a different USB drive. -
Page 16: Troubleshooting
My operating system cannot detect the ESD200 Check the following: 1. Is your ESD200 properly connected to the USB port? If not, unplug it and plug it in again. If it is properly connected, try using another available USB port. - Page 17 2. Is the file larger than 4GB? If so, please see below: The ESD200 default file system is FAT32, which allows it to be recognized on most types of computers, game consoles and media playback devices. However, the FAT32 file system does not support large files that exceed 4GB in size.
-
Page 18: Specifications
Specifications︱ 92mm × 62mm × 10.5mm Size (L x W x H) Weight Storage Media NAND Flash Power Supply 5V DC supplied from the USB port USB 3.0 : Up to 5Gb/s Transfer Speed USB 2.0 : Up to 480Mb/s 0℃... -
Page 19: Transcend Limited Warranty
Under special circumstances, Transcend may refund or credit the current value of the product at the time the warranty claim is made. The decision made by Transcend shall be final and binding upon you. Transcend may refuse to provide inspection, repair or replacement service for products that are out of warranty, and will charge fees if these services are provided for out-of-warranty products.
Need help?
Do you have a question about the ESD200 and is the answer not in the manual?
Questions and answers