Table of Contents
Advertisement
Quick Links
Instruction
manual
To learn more about Porter-Cable
visit our website at:
http://www.porter-cable.com
Copyright © 2002 Porter-Cable Corporation
ESPAÑOL: PÁGINA 13
FRANÇAISE : PAGE 25
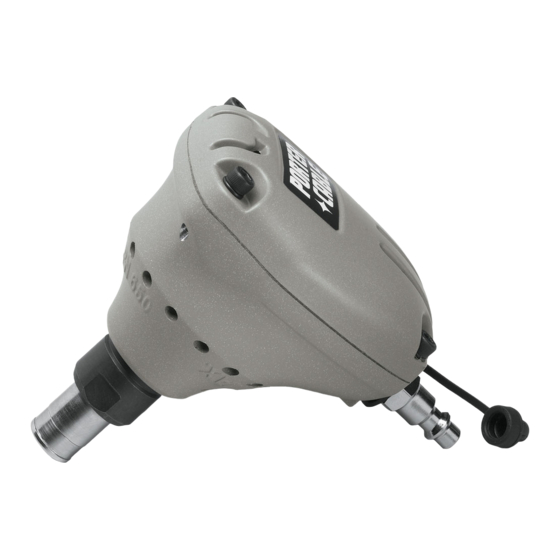
PALM NAILER
MODEL PN650
with GLOVE
IMPORTANT
Please make certain that the person who is
to use this equipment carefully reads and
understands these instructions before
starting operations.
The Model and Serial No. plate is located on the main
housing of the tool. Record these numbers in the
spaces below and retain for future reference.
Model No. ______________________________________
Type ___________________________________________
Serial No. _______________________________________
MODEL PN650
Part No. 901853 - 02-01-02
Advertisement
Table of Contents

Related Manuals for Porter-Cable PN650


Summary of Contents for Porter-Cable PN650
- Page 1 MODEL PN650 MODEL PN650 with GLOVE IMPORTANT Please make certain that the person who is To learn more about Porter-Cable to use this equipment carefully reads and visit our website at: understands these instructions before http://www.porter-cable.com starting operations. The Model and Serial No. plate is located on the main housing of the tool.
- Page 2 Date of Manufacture:___________________________ Fecha de fabricación:, Date de fabrication: Serial No:______________________________________ Número de serie:, Nombre d'ordre...
-
Page 3: General Safety Rules
READ AND FOLLOW ALL INSTRUCTIONS. There are certain applications for which this tool was designed. Porter-Cable strongly recommends that this tool NOT be modified and/or used for any application other than for which it was designed. If you have any questions relative to its application DO NOT use the tool until you have written Porter- Cable and we have advised you. - Page 4 Use clean, dry, regulated, compressed Fig. 6 air at 50 to 120 PSI, (3.4 to 8.3 BAR). Fig. 6. 10. Connect tool to air supply hose with a coupling that automatically removes all pressure from the tool when the coupling is disconnected.
-
Page 5: Employer's Responsibilities
If an in-line oiler is not available: place five or six drops of Porter-Cable Air Tool Oil into the tool’s air inlet at the beginning of each workday. - Page 6 DANGER: All air line components (hoses, connectors, filters, regulators, etc.) must have a minimum working pressure rating of at least 150 PSI (10.3 BAR) or 150% of maximum system potential, whichever is greater. • Do not connect tool to pressure which potentially exceeds 200 PSI (13.7 BAR).
- Page 7 FINISH NAIL GUIDE ASSEMBLY WARNING: Disconnect tool from air supply. 2. The finish nail guide (A) Fig. 17, for driving 1- "(3d) to 2- "(8d) finish nails, is provided with a rubber nose cushion (B) Fig. 17 that will reduce marring of the work surface.
- Page 8 Fig. 19 Fig. 20 HAMMER ASSEMBLY WARNING: Disconnect tool from air supply. 2. To install hammer attachments (A through D) Fig. 21 lay tool on its cap with nail guide pointing upward. Loosen and remove the magnetic nail guide and bushing (Fig. 15) using the 24mm open end wrench supplied. Remove the spring (C) Fig.
-
Page 9: Preparing The Tool
Fig. 25 Fig. 26 8. Align flats on hammer base with Fig. 27 the slots in the hammer head guide bushing until the 30mm open end wrench will engage the flats (A) Fig. 9. Engage the other 30mm open end wrench with the flats on hammer head as shown (B) Fig. -
Page 10: Maintenance
30mm open end wrenches are provided. Loose screws and bushings can cause personal injury or damage tool. If tool is used without an in-line oiler, place 5 or 6 drops of Porter-Cable Air Tool Oil into the air inlet of the tool at the beginning of each workday. -
Page 11: Troubleshooting
Contact a Porter-Cable Service Facility. ACCESSORIES A complete line of accessories is available from your Porter-Cable • Delta Supplier, Porter-Cable • Delta Factory Service Centers, and Porter-Cable Authorized Service Stations. Please visit our Web Site for a catalog or for the name of your nearest www.porter-cable.com... - Page 12 PORTER-CABLE LIMITED ONE YEAR WARRANTY Porter-Cable warrants its nailing and stapling tools for a period of one year from the date of original purchase. We will repair or replace at our option, any part or parts of the product and accessories covered under this warranty which, after examination, proves to be defective in workmanship or material during the warranty period.
- Page 13 Pour obtenir des pièces et accessoires pour les produits Porter-Cable • Delta, s’adresser à tout distributeur Porter- Cable • Delta, centre de service agréé ou centre de service d’usine Porter-Cable • Delta. Si vous n’avez accès à aucun de ces centres, appeler le 888-848-5175 et on vous dirigera vers le centre de service d’usine Porter-Cable •...
Need help?
Do you have a question about the PN650 and is the answer not in the manual?
Questions and answers