Table of Contents
Advertisement
Installation and User's Guide
Installation and User's Guide
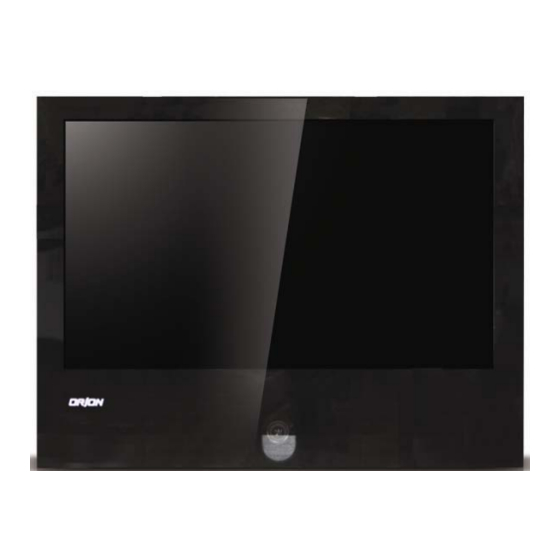
PROFESSIONAL PUBLIC VIEW MONITOR (PVM) LCD
20", 26", 32" TFT-LCD MONITOR
(SECURITY)
http://www.orionimages.com
All contents of this document may change without prior notice, and actual product appearance may differ
from that depicted herein
Advertisement
Table of Contents


Need help?
Do you have a question about the 20" and is the answer not in the manual?
Questions and answers