
Related Manuals for DeLonghi DEDW60SI


Summary of Contents for DeLonghi DEDW60SI
- Page 1 De’Longhi Dishwasher Model DEDW60SI USER GUIDE © 2011 De’Longhi Australia Pty Ltd. Please read this user guide carefully and retain for future reference...
-
Page 2: Table Of Contents
Installation ........ -
Page 3: Parts And Features
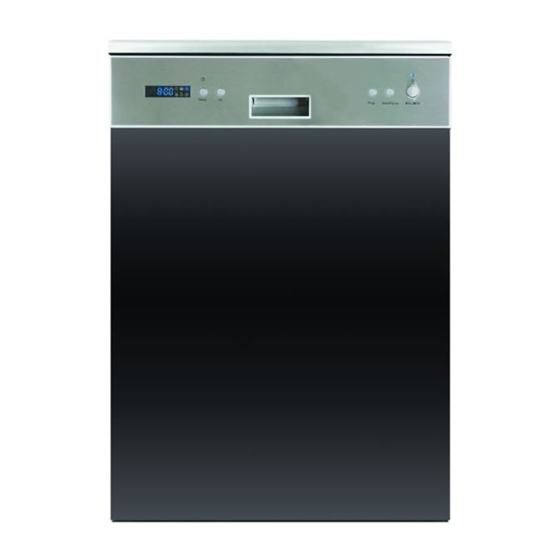
Help us Help You Parts and Features Read this guide carefully, it is intended to help you Model: DEDW60SI operate and maintain your new Dishwasher properly. Keep it handy to answer your questions. If you don't understand something or you need more assistance, please call the De’Longhi Helpline. -
Page 4: De'longhi Safety Precautions
De’Longhi’s Safety Precautions Troubleshooting De’Longhi pride themselves on their innovative range This appliance is designed exclusively for Ÿ Problem Possible Causes Solution of the highest quality consumer products. household use. All other uses are strictly forbidden. De’Longhi ensures all of its products are 100% safe The appliance is not intended for use by persons Ÿ... -
Page 5: Dishwasher Safety Precautions
Troubleshooting Dishwasher Safety Precautions Before Calling for Service, review the following troubleshooting tips. Problem Possible Causes Solution Fuse blown, or the Replace fuse or reset circuit breaker. Remove any other Dishwasher circuit breaker acted appliances sharing the same circuit with the dishwasher doesn’t start Power supply is not Make sure the dishwasher is turned on and the door is... - Page 6 Dishwasher Safety Precautions Care and Cleaning Before the appliance is used, it must Protect against Freezing How to keep your Dishwasher in shape WARNING be properly positioned and installed Please take frost protection measures on the After every wash, turn off the water supply to the Ÿ...
-
Page 7: Installation Safety Precautions
Care and Cleaning Installation Safety Precautions STEP 3: Lift the Fine Filter up. Caring for the Dishwasher Electrical Connection Extension Cord The control panel can be cleaned by using a lightly This appliance should be properly grounded for WARNING: DO NOT USE AN EXTENSION CORD Ÿ... -
Page 8: Installation
Installation Care and Cleaning Cabinet Preparation Aesthetic Fascia Panel Dimensions and Filtering System Filter Assembly installation Choose a place near the sink to facilitate the Ÿ The filter prevents larger remnants of food or other The filter efficiently removes food particles from the installation of inlet and drain hoses. -
Page 9: Tension Adjustment Of The Door
Using Your Dishwasher Installation NOTE: AT THE END OF THE WASH CYCLE Install the hook on the aesthetic fascia panel and Ÿ put the hook into the slot of the outer door of ST4 screw If you open the door during a wash cycle, the machine When the working cycle has finished, the buzzer of the dishwasher (see below). -
Page 10: Cold Water Connection
Installation Using Your Dishwasher Cold Water Connection How to install the mechanical Aqua Stop Hose CONTROL PANEL Connect the cold water supply hose to a threaded Mechanical Aqua Stop Hose preparation. Ÿ Ÿ 3/4(inch) connector and make sure that it is fastened tightly in place. -
Page 11: Positioning The Appliance
Using Your Dishwasher Installation STARTING A WASHING PROGRAM Positioning the Appliance Syphon Connection Wash Cycle Table Position the appliance in the desired location. The Ÿ The waste connection must be at a height of Ÿ back should rest against the wall behind it, and the between 40 cm (minimum) and 100 cm (maximum) from the bottom of the dish. - Page 12 Installation Using Your Dishwasher Levelling the Dishwasher Place level on door and rack track inside the tub as Suitability of items for use in your Dishwasher When loading the dishes and cutlery, please note: Ÿ shown to check that the dishwasher is level. Ÿ...
-
Page 13: Using Your Dishwasher
Using Your Dishwasher Using Your Dishwasher Folding spikes Cutlery Basket BEFORE STARTING THE DISHWASHER When to refill the Rinse Aid Dispenser For better stacking of pots and pans, the spikes can Cutlery should be placed in the cutlery basket with the If there is no rinse-aid warning light in the control The following things should be checked before handles at the bottom. - Page 14 Using Your Dishwasher Using Your Dishwasher How to fill the Rinse Aid Dispenser NOTE: The upper rack has side flaps (pictured at left Loading the Lower Basket above basket). There are 4 (2 on each side). These 1. To open the dispenser, turn the cap to the "open" We recommend that you place large items which are can be adjusted into 2 positions = position 1 (high) (left) arrow and lift it out.
-
Page 15: Before Starting The Dishwasher
Using Your Dishwasher Using Your Dishwasher Loading the Upper Basket Adjusting the Upper Basket Adjusting the Rinse Aid Dispenser concentrated detergents are used can achieve the same results that can otherwise only be achieved The upper basket is designed to hold more delicate Your dishwasher comes with an adjustable top rack The rinse aid dispenser has four scales. -
Page 16: Loading The Dishwasher Basket
Using Your Dishwasher Using Your Dishwasher LOADING THE DISHWASHER BASKET WARNING! Dishwasher detergent is poisonous! Take Use of “2-in-1”, 3-in-1”, “4-in-1” and “5-in-1” How to use the 3-in-1 Program Combination / Compact Detergents. care to keep it out of reach of children. For best performance of the dishwasher, follow these Your dishwasher has a 3-in-1 program which needs loading guidelines.
Need help?
Do you have a question about the DEDW60SI and is the answer not in the manual?
Questions and answers