
Related Manuals for DeLonghi DEDW645SI


Summary of Contents for DeLonghi DEDW645SI
- Page 1 De’Longhi Dishwasher Model DEDW645SI USER GUIDE © 2013 De’Longhi Australia Pty Ltd. Please read this user guide carefully and retain for future reference...
-
Page 2: Table Of Contents
Contents Notes Parts and Features ........De’Longhi Safety Precautions......Dishwasher Safety Precautions . -
Page 3: Parts And Features
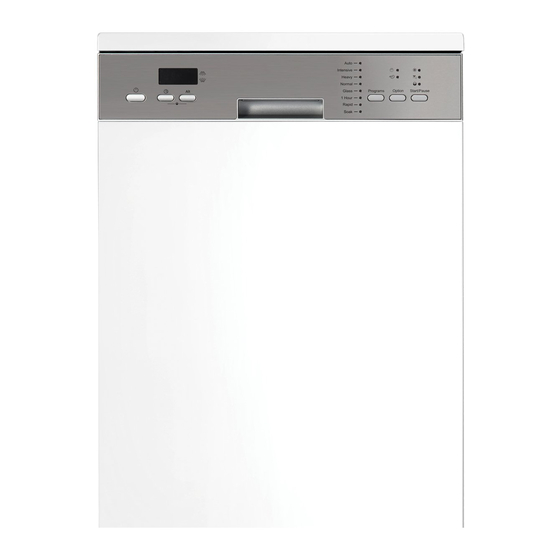
Parts and Features The De’Longhi Dishwasher is warranted against faults How to contact us about a warranty claim Model: DEDW645SI resulting from manufacturing or material defects. The warranty period for normal domestic installation and use is Talk to a De’Longhi representative for further warranty two years from the date of purchase. -
Page 4: De'longhi Safety Precautions
De’Longhi’s Safety Precautions Help us Help You De’Longhi pride themselves on their innovative range This appliance is designed exclusively for Read this guide carefully, it is intended to help you Ÿ of the highest quality consumer products. household use. All other uses are strictly forbidden. operate and maintain your new Dishwasher properly. -
Page 5: Dishwasher Safety Precautions
Troubleshooting Dishwasher Safety Precautions Problem Possible Causes Solution The dishes The dishes were not See notes in " Loading the Dishwasher Baskets ". are not clean loaded correctly. The program was Select a more intensive program. not powerful enough. See" Wash Cycle Table ". Not enough detergent Use more detergent, or change your detergent. - Page 6 Dishwasher Safety Precautions Troubleshooting Before the appliance is used, it must Before Calling for Service, review the following troubleshooting tips. WARNING be properly positioned and installed as described in this manual, so read Problem Possible Causes Solution the manual carefully. To reduce the When using your dishwasher, you should prevent Ÿ...
-
Page 7: Installation Safety Precautions
Care and Cleaning Installation Safety Precautions Caring for the Dishwasher To remove the upper spray arm, hold the nut and Electrical Connection Extension Cord rotate the arm clockwise to remove it. The control panel can be cleaned by using a lightly This appliance should be properly grounded for WARNING: DO NOT USE AN EXTENSION CORD Ÿ... -
Page 8: Installation
Installation Care and Cleaning Cabinet Preparation Aesthetic Fascia Panel Dimensions and Filtering System STEP 1: Turn the filter in anti-clockwise direction. installation The installation position of dishwasher should be The filter prevents larger remnants of food or other Ÿ near the existing inlet and drain hoses and power The aesthetic fascia panel should be processed Ÿ... -
Page 9: Using Dishwasher
Using Your Dishwasher Installation FORGET TO ADD A DISH? AT THE END OF THE WASH CYCLE Removable Hook and Loop strips are used to help Tension adjustment of the door Ÿ position the aesthetic wooden panel for fixing. Fit The door springs are set at the factory to the A forgotten dish can be added at any time before the When the working cycle has finished, the buzzer of Ÿ... - Page 10 Installation Using Your Dishwasher Positioning the Appliance Place a level on the door and rack track inside the CONTROL PANEL Ÿ tub as shown to check that the dishwasher is level. Position the appliance in the desired location. The Ÿ back should rest against the wall behind it, and the If necessary, level the dishwasher by adjusting the Ÿ...
- Page 11 Using Your Dishwasher Installation STARTING A WASHING PROGRAM AquaStop Anti-Flood Protection Cold Water Connection Wash Cycle Table Your dishwasher is fitted with an AquaStop anti- Ÿ How to Connect the safety supply hose flood protection system. This system consists of a The appliance must be connected to the water mains solenoid safety shut off valve which in the unlikely NOTE: Star (...
- Page 12 Installation Using Your Dishwasher Drain Hose Connection Water Outlet Cutlery Basket Damage to glassware and other dishes Insert the drain hose into a drain pipe with a Ÿ Connect the water drain hose. The drain hose must Cutlery should be placed in the cutlery rack Possible Causes Ÿ...
-
Page 13: Page
Using Your Dishwasher Using Your Dishwasher Loading the Lower Basket Folding spikes of Lower Basket QUICK START GUIDE We suggest that you place large items and the For better stacking of pots and pans, the spikes can For detailed operating method read the corresponding content on the instruction manual. most difficult to clean items are to be placed into be folded down as show in the picture below. - Page 14 Using Your Dishwasher Using Your Dishwasher Loading the Upper Basket BEFORE STARTING THE DISHWASHER When to refill the Rinse Aid Dispenser Adjusting the Upper Basket The upper basket is designed to hold more delicate If there is no rinse-aid warning light in the control The height of the upper basket can be adjusted in The following things should be checked before and lighter dishware such as glasses, coffee and tea...
- Page 15 Using Your Dishwasher Using Your Dishwasher LOADING THE DISHWASHER BASKET It is not necessary to rinse the dishes under running How to fill the Rinse Aid Dispenser water. Place objects in the dishwasher in following Recommendation 1. To open the dispenser, turn the cap to the "open" way: (left) arrow and lift it out.
- Page 16 Using Your Dishwasher Using Your Dishwasher Adjusting the Rinse Aid Dispenser Concentrated Detergent Detergent Dispenser WARNING! Dishwasher detergent is poisonous! Take care to keep it out of reach of children. The rinse aid dispenser has six or four settings. Always Based on their chemical composition, detergents can The dispenser must be refilled before the start of each start with the dispenser set on "4".
Need help?
Do you have a question about the DEDW645SI and is the answer not in the manual?
Questions and answers