Advertisement
Follow these steps to install the LabelWriter printer and print your first label.
1. Unpacking your LabelWriter Printer
For Windows, do not plug the printer into your computer until asked to do so
NOTE
during the software installation.
1
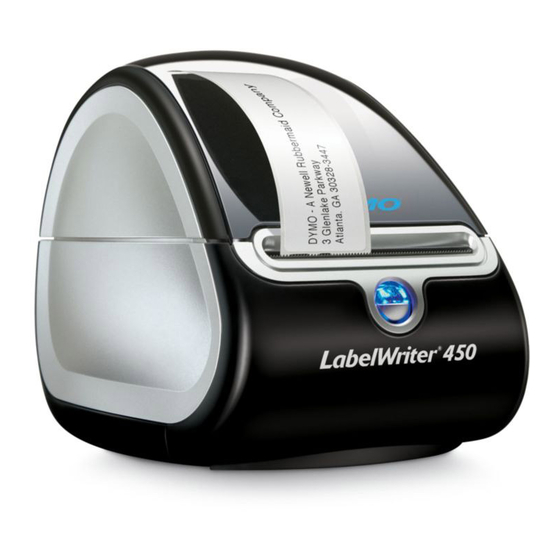
Unpack your printer and save the original packing materials.
2
Make sure you have all the items shown in Figure 1.
USB cable
PC serial cable
(specific models only)
LabelWriter printer
Power adapter
Power cable
Figure 1
Quick Start
Roll of labels
Quick Start Guide
English
CD-ROM
1
Advertisement
Table of Contents

Related Manuals for Dymo LabelWriter


Summary of Contents for Dymo LabelWriter
-
Page 1: Quick Start
English Quick Start Follow these steps to install the LabelWriter printer and print your first label. 1. Unpacking your LabelWriter Printer For Windows, do not plug the printer into your computer until asked to do so NOTE during the software installation. -
Page 2: Labelwriter Printer Features
Your LabelWriter printer is a direct thermal printer and does not use toner, ink cartridges, or a ribbon. Instead, it uses heat from a thermal print head to print on specially treated labels. Labels are the only supplies you will ever need to buy. -
Page 3: Installing The Software
Select the language version you wish to install and then follow the on-screen instructions. To install the software on a Macintosh system Insert the DYMO LabelWriter CD into the CD-ROM drive. After a few seconds, the DYMO Label Software Installer icon appears. See Figure 3. - Page 4 3. Connecting your LabelWriter Printer At some point during the software installation, you will be asked to connect your LabelWriter printer to the USB or serial port. For Windows, do not connect the printer to NOTE Power Adapter your computer until instructed to do so during the software installation.
-
Page 5: Loading Labels
(COM) port on your computer. See Figure 8. Serial Port The installation automatically continues when the system detects the LabelWriter printer. 4. Loading Labels Press the form-feed button to eject the labels that protected the printer during shipment. -
Page 6: Printing Your First Label
• For Windows, click Start, then Programs>DYMO Label>DYMO Label. • For Macintosh, double-click the DYMO Label icon in the folder where you installed the software. (Windows) The first time you open the application, you are asked to register. Follow the on-screen instructions to register the software. You are also asked to enter your default return address and default logo file.
Need help?
Do you have a question about the LabelWriter and is the answer not in the manual?
Questions and answers