Advertisement
Advertisement
Table of Contents

Summary of Contents for Dymo LabelWriter Duo
- Page 1 LabelWriter Duo Quick Start www.dymo.com LW duo_QSC.indd 1 23-01-2006 14:07:22...
- Page 2 Follow these steps to install the LabelWriter printer and print your first label. 1. Unpacking your LabelWriter Printer NOTE For Windows, do not plug the printer into your computer until asked to do so during the software installation. 1 Unpack your printer and save the packing materials. 2 Make sure you have all the items shown in Figure 1.
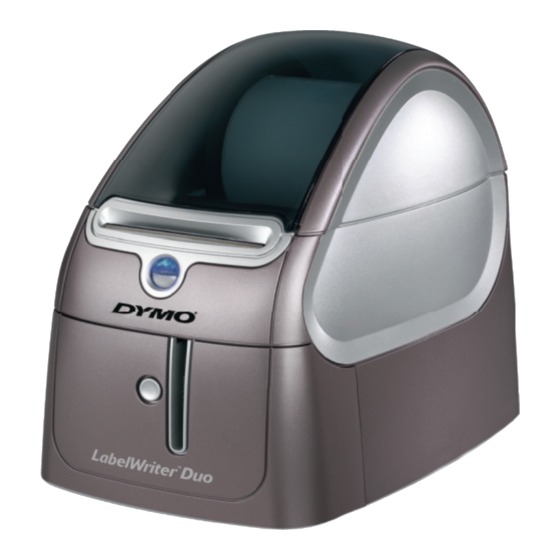
- Page 3 Become familiar with the printer’s major components. See Figure 2. cover Label roll Platen release Label feed path and tear bar Form-feed button and LED Tape tray DC power release button Label eject connector connector button Tape feed path Figure 2 LabelWriter Printer Features The form-feed button on the front of the printer is used to advance a single label.
-
Page 4: Installing The Software
2 Select the language version you wish to install and then follow the on-screen instructions. To install the software on a Macintosh system 1 Insert the DYMO LabelWriter CD into the CD-ROM drive. After a few seconds, the DYMO Label Software Installer icon appears. See Figure 3. DYMO Label Software Installer 2 Double-click the Installer icon and then follow the on-screen instructions. - Page 5 3. Connecting your LabelWriter Printer Power Adapter At some point during the software installation, you will be asked to connect your LabelWriter printer to the USB port. NOTE For Windows, do not connect the printer to your Power Cord computer until instructed to do so during the software installation. Figure 4 To connect the power 1 Plug the power cord into the power adapter.
-
Page 6: Loading Labels
4. Loading Labels The printer uses two types of labels: die-cut paper labels and D1 tape labels. To load die-cut labels 1 Press the form-feed button to eject the labels that protected the printer during shipment. 2 Open the top cover and remove the label spool. 3 Hold the spool spindle in your left hand and place the label roll on the spindle so that the labels feed from underneath. - Page 7 To load the D1 tape cassette 1 Press the button on the front of the printer to open the = 6 mm Set cassette = 9/12 mm switch tape cassette tray. = 19/24 mm 2 Set the cassette switch for the size of the tape cassette that you are inserting.
-
Page 8: Printing Your First Label
5. Printing your First Label These instructions show you how to print a die-cut label. To print a D1 tape label, refer to the DYMO Label Software User Guide. To print a label 1 Start the DYMO Label software by doing one of the following: •...


Need help?
Do you have a question about the LabelWriter Duo and is the answer not in the manual?
Questions and answers