
Subscribe to Our Youtube Channel
Related Manuals for Electrolux EOD3410A


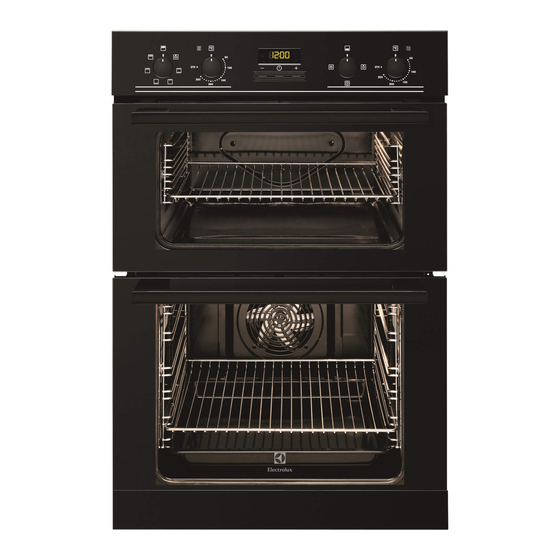
Summary of Contents for Electrolux EOD3410A
- Page 1 ..................... EOD3410A EN OVEN USER MANUAL...
-
Page 2: Table Of Contents
13. EUROPEAN GUARANTEE ..........22 WE’RE THINKING OF YOU Thank you for purchasing an Electrolux appliance. You’ve chosen a product that brings with it decades of professional experience and innovation. Ingenious and stylish, it has been designed with you in mind. -
Page 3: Safety Information
ENGLISH 1. SAFETY INFORMATION Before the installation and use of the appliance, carefully read the supplied instructions. The manufacturer is not responsible if an incorrect installation and use causes in- juries and damages. Always keep the instructions with the appliance for future reference. 1.1 Children and vulnerable people safety WARNING! Risk of suffocation, injury or permanent disability. -
Page 4: Safety Instructions
• Before maintenance cut the power supply. • Do not use harsh abrasive cleaners or sharp metal scrapers to clean the glass door since they can scratch the surface, which may result in shattering of the glass. • To remove the shelf supports first pull the front of the shelf support and then the rear end away from the side walls. -
Page 5: Care And Cleaning
ENGLISH • Connect the mains plug to the mains • Do not put flammable products or items socket only at the end of the installa- that are wet with flammable products tion. Make sure that there is access to in, near or on the appliance. the mains plug after the installation. -
Page 6: Product Description
• If you use an oven spray, obey the safe- • Only use lamps with the same specifi- ty instructions on the packaging. cations. • Do not clean the catalytic enamel (if ap- plicable) with any kind of detergent. -
Page 7: Daily Use
ENGLISH To use the appliance, push the knob. The 4.1 Initial Cleaning knob comes out. • Remove all accessories and removable shelf supports (if applicable). 4.3 Preheating • Clean the appliance before first use. Preheat the empty appliance to burn off Refer to the chapter "Care and the remaining grease. -
Page 8: The Main Oven
The temperature indicator comes on Turn the knob for the main oven tem- while the temperature in the appliance perature to a temperature. increases. The temperature indicator comes on To deactivate the appliance, turn the while the temperature in the appliance knob for the top oven functions and increases. -
Page 9: Clock Functions
ENGLISH 6. CLOCK FUNCTIONS 6.1 Electronic programmer Function indicators Time display Button + Selection button Button - Clock function Application Time of day To set, change or check the time of day. Minute Minder To set a countdown time. This function has no effect on the operation of the oven. -
Page 10: Using The Accessories
10 www.electrolux.com Turn the knob for the oven functions Press and hold the button -. and the knob for the temperature to The clock function goes out after the off position. some seconds. 6.3 Cancelling the clock functions Press the Selection button again and again until the necessary function in- dicator flashes. -
Page 11: Helpful Hints And Tips
ENGLISH Put the deep roasting pan in the ap- Put the deep roasting pan in the ap- pliance and on the necessary shelf pliance and on the necessary shelf level. level. To grill flat dishes in large quantities and to toast: Put the roasting pan grid in the deep roasting pan. -
Page 12: Top Oven
12 www.electrolux.com ature setting. The differences equalize during the baking procedure. Tips on baking Baking results Possible cause Remedy The cake is not Incorrect oven level Put the cake on a lower oven level browned suffi- ciently below The cake sinks... - Page 13 ENGLISH Approx Cook Temperature Food Time Shelf Position [°C] (mins) - Victoria Sand- 160 - 170 18 - 25 wich - Madeira 140 - 150 75 - 90 - Rich Fruit 140 - 150 120 - 150 - Gingerbread 140 - 150 75 - 90 - Meringues 90 - 100...
-
Page 14: Main Oven
14 www.electrolux.com Approx Cook Temperature Food Time Shelf Position [°C] (mins) - Roast Potatoes 180 - 190 60- 90 Yorkshire Pudding: - Large 200 - 210 25 - 40 - Individual 210 - 220 15 - 25 Roasting Meat, See roasting chart. - Page 15 ENGLISH Temperature Approx Cook Time Food [°C] (mins) Roasting: Meat and Poul- 160 - 180 see Roasting Chart • Roast lean meats in a roasting tin with a 8.8 Roasting lid. This well keep the meat more suc- Roasting dishes culent.
-
Page 16: Care And Cleaning
16 www.electrolux.com Always pre-heat the empty oven 8.12 Top oven with the grill functions for 5 mi- nutes. 8.13 Grilling • Set the shelf in the shelf level as recommended in the grilling ta- Adjust shelf position and grill pan ble. -
Page 17: Removing The Shelf Supports
ENGLISH • Clean stubborn dirt with a special oven 9.1 Shelf supports cleaner. You can remove the shelf supports to • Clean all oven accessories (with a soft clean the side walls. cloth with warm water and cleaning agent) after each use and let them dry. •... -
Page 18: Oven Door And Glass Panels
18 www.electrolux.com Install the heating element cor- rectly on the two sides above the support on the inner wall of the oven. Insert shelf support rails. 9.3 Oven door and glass panels You can remove the oven door and the internal glass panels to clean them. -
Page 19: Oven Lamp
ENGLISH Hold the door glass panels on their top edge one by one and pull them upwards out of the guide Clean the glass panel with water and soap. Dry the glass panel carefully. Put a cloth on the bottom of the Installing the door and the glass oven for protection of the oven panels... -
Page 20: Installation
20 www.electrolux.com Problem Possible cause Remedy Steam and condensation You left the dish in the Do not keep the dishes in settle on the food and in oven for too long. the oven for longer than the oven. 15-20 minutes after the cooking ends. -
Page 21: Great Britain & Ireland - Guarantee/Customer Service
FREE OF CHARGE for labour, materials or carriage on condition that: We, Electrolux, undertake that if within 12 • Appliance has been correctly installed months of the date of the purchase this... -
Page 22: European Guarantee
616 616(Call will be routed to Service below: Force Centre covering your postcode area). For address of local Service Force Electrolux Group (Irl) Ltd, Long Mile Road, Centre and further information, please vis- Dublin 12, Republic of Ireland it: www.serviceforce.co.uk Before call-... - Page 23 • The appliance is installed and used in to you by law. accordance with instructions issued by Electrolux and is only used within the home, i.e. is not used for commercial purposes. 14. WWW.ELECTROLUX.COM...
-
Page 24: Environment Concerns
Mägenwil Slovenija +38 61 24 25 731 Gerbičeva ulica 110, 1000 Ljubljana Slovensko +421 2 32 14 13 34-5 Electrolux Slovakia s.r.o., Electrolux Domáce spotrebiče SK, Galvaniho 17/ B, 821 04 Bratislava Suomi 030 600 5200 Lankapuhelinverkosta 0,0828€/puhelu+0,032€/min Matkapuhelinver- kosta 0,192€/min... - Page 25 ENGLISH...
- Page 26 26 www.electrolux.com...
- Page 27 ENGLISH...
- Page 28 www.electrolux.com/shop...
Need help?
Do you have a question about the EOD3410A and is the answer not in the manual?
Questions and answers