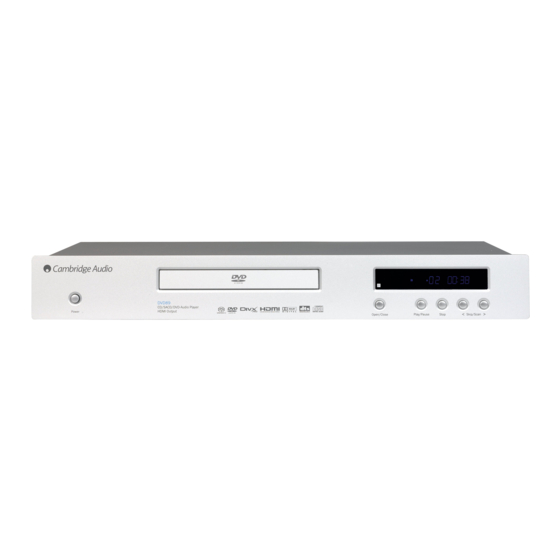
Cambridge Audio DVD89 User Manual
Hide thumbs
Also See for DVD89:
- Service manual (43 pages) ,
- Code list (2 pages) ,
- Technical specifications (2 pages)
Advertisement
Table of Contents
- 1 Table of Contents
- 2 Using the DVD Setup Menu System
- 3 Setting up the Player: Basic
- 4 Determine Your Display Type
- 5 Use the Best Available Audio Connection
- 6 Connections for most CD or DVD Playback
- 7 Connections for Non-Dolby Digital/Dts Receivers, DVD-Audio and SACD
- 8 Setting up the Player: Advanced
- 9 Setup Menu Options
- 10 Entering the Setup Menu System
- 11 General Setup Page
- 12 Speaker Setup Page
- 13 Audio Setup Page
- 14 Video Setup Page
- 15 Preference Page
- Download this manual
Advertisement
Table of Contents

Summary of Contents for Cambridge Audio DVD89
- Page 1 DVD89 DVD player User’s manual - supplement COMPACT DIGITAL AUDIO DIGITAL AUDIO Open/Close Play/Pause Stop Skip/Scan...
-
Page 2: Table Of Contents
Contents Using the DVD setup menu system............3 Setting up the player: Basic................3 Determine your display type...............4 Use the best available audio connection...........5 Connections for most CD or DVD playback..........5 Connections for non-Dolby Digital/DTS Receivers, DVD-Audio and SACD....6 Setting up the player: Advanced..............7 Setup menu options..................7 Entering the setup menu system...............7 General setup page..................7... -
Page 3: Using The Dvd Setup Menu System
Setup Menu Name is the actual name of the uppermost setup menu (Pb/Cb) DVI In level. With the DVD89 Player there are exactly five (5) Setup Menu pages or sections, each represented by an icon on the top of the Setup Menu (PrCr) screen. -
Page 4: Determine Your Display Type
Determine your display type For best performance, your DVD89 player must be correctly configured If you have a 4:3 or standard definition screen as pictured above, select for playback even before the first disc is inserted. This is done under one of these options: General Setup Page >... -
Page 5: Use The Best Available Audio Connection
Dolby Digital or DTS capability (for instance, an older Pro Logic model) then you should connect the “Mixed” stereo output of the DVD89 player to your receiver or integrated amplifier (and Manufactured under license from Dolby Laboratories. “Dolby” and the immediately start saving for an upgrade!) Setting up, you have the double-D symbol are trademarks of Dolby Laboratories. -
Page 6: Connections For Non-Dolby Digital/Dts Receivers, Dvd-Audio And Sacd
If you have an older Dolby Pro Logic surround receiver that does not support Dolby Digital or DTS but has multichannel inputs, you will want to connect the 6 analogue outputs of the DVD89 player to the analogue multichannel inputs of your receiver. To do this you must: •... -
Page 7: Setting Up The Player: Advanced
The following is an advanced tour of the Setup Menu options which enables control over how your DVD player functions in various situations and with various program material and hardware. The DVD89 player comes with a “safe” default configuration, so you should get performance out of your player even if you don’t touch the Setup Menu... -
Page 8: Speaker Setup Page
Speaker setup page 4. Rear Speaker: To set the sound filtering control for the rear speakers. The options are: • Large – Choose if the rear/surround speakers are full range (reproduce down to at least 40Hz) and if you do not have a subwoofer. Bass frequencies are passed to the rear speakers. - Page 9 DVD89 Speaker setup page continued • Press the UP/DOWN ARROW buttons to select the first speaker to Example channel delay adjustment: configure. Supported configuration • Measure the distance (in inches) from that speaker to the listening position. If it is LESS than the distance to the Front Left speaker, enter the difference (as close as possible) in inches using the LEFT/RIGHT ARROW buttons.
-
Page 10: Audio Setup Page
Audio setup page 6. Pro Logic II: Taking a step further than most DVD players, the OPPO DVD player allows you to configure Dolby Pro Logic II to expand 2- channel source audio into full 5-channel surround sound. Note: Pro Logic II functionality is effective only when Speaker Setup Page >... -
Page 11: Video Setup Page
DVD89 Audio setup page continued Video setup page 7. Dolby Digital Setup: To configure the Dolby Digital decoder, press the SELECT button to enter the Dolby Digital Setup page and press the LEFT ARROW button to exit the Dolby Digital Setup page. -
Page 12: Preference Page
Preference page 6. Parental Control: Sets parental control ratings in order to prevent minors from watching inappropriate contents. This function requires that the disc being properly rated and encoded. • Press the SELECT button to bring up the rating selection menu. •... - Page 13 Cambridge Audio Gallery Court Hankey Place London SE1 4BB England www.cambridge-audio.com Power © 2007 Cambridge Audio Ltd...


Need help?
Do you have a question about the DVD89 and is the answer not in the manual?
Questions and answers