Table of Contents
Advertisement
Quick Links
IMPORTANT INFORMATION REQUIRED BY THE FCC
This device complies with Part 15 of the FCC Rules. Operation is subject to the following two
conditions: (1)this device may not cause harmful interference; and (2) this device must accept
any interference received, including interference that may cause undesirable operation.
NOTE: This equipment has been tested and found to comply with the limits for a Class B digital
device, pursuant to Part 15 of the FCC Rules. These limits are designed to provide reasonable
protection against harmful interference in a residential installation .
This equipment generates.uses and can radiate radio frequency energy and, if not installed and
used in accordance with the instructions, may cause harmful interference to radio elevation
reception, which can be determined by turning the equipment off and on. The user is encouraged
to try to correct the interference by one or more of the following measures:
* Reorient or relocate the receiving antenna.
* Increase the separation between the equipment and receiver.
* Connect the equipment into an outlet on a circuit different from that to which the receiver is
connected.
* Consult the dealer or an experienced radio/TV technician for help.
PDF created with FinePrint pdfFactory trial version
http://www.pdffactory.com
Instruction Manual
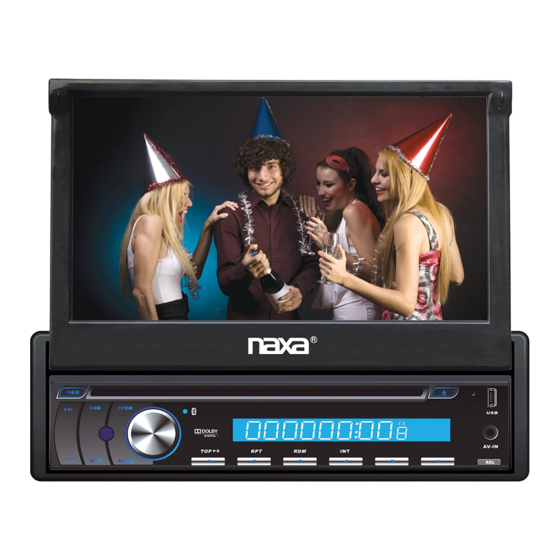
7" TFT
OPEN
MODE
MUTE
INT
RPT
APS
1
2
3
"
7
Touch Screen LCD Display Motorized
Slide Down Full Detachable PLL Electronic
Tuning Stereo AM/FM Radio
Multimedia Player With Aux-in Jack
Remark: Any information subject to change without further notice
NCD-701
NCD-701
U SB
AV IN
REL
RDM
-10
+10
6
4
5
Advertisement
Table of Contents

Related Manuals for Naxa NCD-701


Summary of Contents for Naxa NCD-701
- Page 1 NCD-701 Instruction Manual IMPORTANT INFORMATION REQUIRED BY THE FCC This device complies with Part 15 of the FCC Rules. Operation is subject to the following two conditions: (1)this device may not cause harmful interference; and (2) this device must accept NCD-701 any interference received, including interference that may cause undesirable operation.
- Page 2 PRECAUTION WARNING: TO REDUCE THE CAUTION RISK OF FIRE OR ELECTRIC SHOCK, DO NOT EXPOSE RISK OF ELECTRIC SHOCK THIS APPLIANCE TO RAIN OR DO NOT OPEN MOISTURE. CAUTION: TO REDUCE THE RISK OF ELECTRIC SHOCK, DO NOT REMOVE COVER (OR BACK). NO USER SERVICEABLE PARTS INSIDE. REFER SERVICING TO QUALIFIED SERVICE PERSONNEL.
-
Page 3: Table Of Contents
6. Specification Contents General Specification 1. Before Operation...................3 1.1 Glossary....................3 1.2 Precautions....................3 Power Supply Requirement..........DC 12V 1.3 Maintenance and Cleaning of Discs............4 Maximum Power Output....4 x 25W(measured at DC 14.4 V) 1.4 Battery Information of the Remote Control..........4 Dimensions(w x h x d)........178 x 50 x 160mm 1.5 The Remote Control Description...............5 1.6 The Locations and Names of Controls on or in the Unit........6... -
Page 4: Before Operation
5. Trouble Shooting 1. Before Operation Please read the user ’s manual carefully before using the DVD player. If you have any troubles in using this player, try to solve the problems by the suggestions mentioned below. If you can 1.1 Glossary not remove the trouble after using all the suggestions, please contact the company or the technical service center authoriz ed by us. -
Page 5: Maintenance And Cleaning Of Discs
1.3 Maintenance and Cleaning of Discs Disc Maintenance Region Code 1. To keep the disc clean, andle the disc by its edge, do not touch the disc surface of the play side. 2. Do not stick paper or tape on the disc. If there is anything on the disc surface, wipe it up with a soft cloth before using. -
Page 6: The Remote Control Description
1.5 The Remote Control Description It is for adjusting the hue of the video output. 1. TILT BUTTON SATURATION It is for adjusting the saturation of the video output. 2. MENU BUTTON SHARPNESS OPEN It is for adjusting the sharpness of the video output. 3. -
Page 7: The Locations And Names Of Controls On Or In The Unit
4.24.2 LANGUAGE SETUP 1.6 The Locations and Names of Controls on or in the unit OPEN OSD LANGUAGE U SB MODE AV IN This item is for selecting the language of the SYSTEM MENU and all operating prompt interface displayed during playback. MUTE A PS AUDIO LANG... -
Page 8: Wires Connection Description
1.7 Wires Connection Description For the DVD System Menu, there are 6 setup pages in all. They display as follows: The Description of the Wires Connection Wiring Connecting Socket 1 Fixing Screw Bolt 4 .24.1 SYSTEM SETUP GREEN PARKING LINE Wiring Connecting Socket 2 Radio Antenna jack Black... -
Page 9: Unit Installation
3. During JPEG playback, press one of the >/</^/v buttons to change the angle of viewing picture that is displaying as follows: 1.8 UNIT INSTALLATION >: 90 deg cw; <: 90deg ccw; ^:UP<-->DOWN; v: LEFT<-->RIGHT During JPEG playback, press the PROG button to change the mode of refresh picture. During JPEG playback, press the STOP button to stop playing and return to the root menu. -
Page 10: Common Operation
4.20 Program Playback 2. Common Operation It allows you to enter the order in which you want some chapters/tracks in 1. To turn on/off the unit DVD/VCD/MP3/WMA/CD to play. In power off mode, short press the POWER button to turn on the unit. 1 During playback, press the PROG button to enter a program interface as In power on mode, long press the POWER button on the front panel or short follows:... -
Page 11: Radio Operation
ZOOMx2,ZOOMx3,ZOOMx4,ZOOMx1/2,ZOOMx1/3,ZOOMx1/4,ZOOM OFF. 10.To do general setup To do general setup, first pop up Mode Menu as in item 3 Press one of the ^/v/>/< buttons to select the area you want to enlarge. then tap the icon in the Mode M enu to pop up GENERAL SETUP interface as right. -
Page 12: Disc, Usb And Mmc/Sd Card Operation
4.11 Playback in Scan Mode finishing a circle of scanning , it will resume broadcasting on the M1.(It can store 3x6 stations for FM and 2x6 stations for AM in all) 1. In the state of VCD(PBC OFF)/CD playing, press the INT button to play the previous seconds part of each track on the disc. - Page 13 MMC card into the USB jack or SD/MMC card slot (remove the front panel to insert SD/MMC card). During slow forward, press the PLAY button to resume normal playback. This function is only for video. To remove the USB in the USB jack, press the STOP button twice and then remove the USB.
-
Page 14: Pause Playback
4.2 Pause Playback Press the direction buttons to select your desired title, and then press the In the state of DVD/VCD/CD/MP3/WMA playing, press the PAUSE OK or PLAY button to open the root menu of the selected title. button on IR remote control to pause the playback, press the PLAY button to resume normal playback.
Need help?
Do you have a question about the NCD-701 and is the answer not in the manual?
Questions and answers