
Related Manuals for Scott DXi 50 WL


Summary of Contents for Scott DXi 50 WL
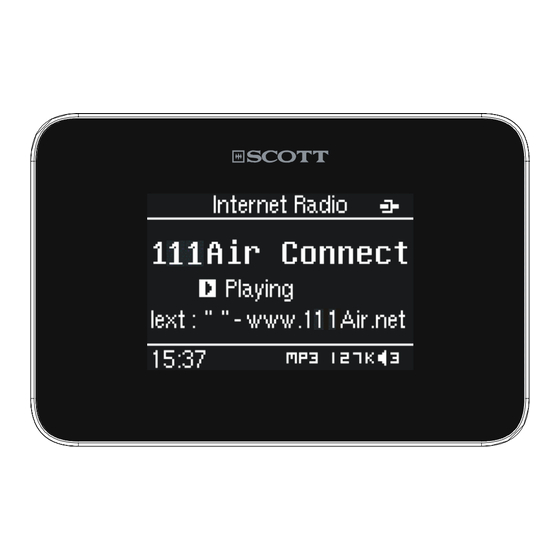
- Page 1 Wi-Fi Internet / Ethernet Radio with USB port and SD/MMC Player Instruction Manual...
-
Page 2: Precautions
PRECAUTIONS Follow the advice below for safe and appropriate operations. PLACEMENT . Do not use the unit in places which are extremely hot, cold, dusty, or humid. . Place the unit on a flat and even surface. . Do not restrict the air flow of the unit by placing it in a place with poor air flow, by covering it with a cloth, or by placing it on a carpet. -
Page 3: Table Of Contents
Note: Due to continuous improvements, the features may be subject to change without notice. Please upgrade the firmware regularly by browsing through the menus: Æ Æ Main menu Set-up Update software. Please download the latest update of the instruction manual at http://www.awox.com/scott. GB- 2... -
Page 4: Location Of Controls
LOCATION OF CONTROLS Unit back view 1. Ethernet jack 2. DC IN 5V jack 3. Audio Out jack Unit front and side views 1. LCD display 2. SD/MMC card slot 3. USB port 4. IR (Infra-red) remote control sensor Remote control 1. -
Page 5: Prerequisites For Internet Radio
PREREQUISITES FOR INTERNET RADIO First of all, you will need a broadband Internet connection: a modem + router or a wireless access point. You can choose between a wired connection (Ethernet) and a wireless connection (Wi-Fi). CONNECTIONS Note: In order to avoid any malfunctions, do not turn on the unit before making the connections. -
Page 6: Installing Batteries
x To enter the unit’s MAC address into your wireless access point, you must read the instructions supplied with the wireless access point. x For more details on configurations, refer to the “INTERNET RADIO OPERATION” section. Connecting the power supply Insert the AC/DC adapter plug into an AC mains outlet with a 100 - 240V AC ~ 50/60Hz power source, and insert the other end into the DC IN jack at the back of the unit. -
Page 7: Basic Operations
BASIC OPERATIONS ON/ STANDBY mode After connecting the Internet radio to the power supply (refer to previous section - CONNECTIONS), press the ( ) ON/STANDBY button to turn on the unit or go to standby mode. Menu Press the MENU button repeatedly to switch between the main menu and playback screen. -
Page 8: Internet Radio Operation
Select the time zone for your region. The “Time zone” default is GMT+01. Select the on-screen-display language. “Language” “Update Upgrade the firmware via the Internet. software” Check the serial number and network status such Information as MAC address. “Reset” Reset all settings to default values. TIME set Automatic time set Select Set-up Æ... - Page 9 check with your service provider to obtain the correct IP data. To enter these IP data, browse through the following menus: “IP address” Æ “network mask” Æ “gateway IP address” Æ “DNS server IP address” Wi-Fi connection 1. Ensure that your Wi-Fi network is working properly (refer to the “CONNECTIONS”...
-
Page 10: Usb Device And Sd/Mmc Card Operation
Preset web radio stations You can store up to eight preset s tations for web radio. 1. Select a desired station. Press the MEM button and then one of the preset buttons (1- 8) to store the station under this number. The icon “ ”... -
Page 11: Record Function
7. T o stop pla ack, press the button. REPEAT and RANDOM playback Press the button repeatedly to select one of the following playback odes: Repeat one , Repeat folder , Random or Repeat/ Random off. Copy files 1. Insert both a USB devi ce and an SD/M card into th... -
Page 12: Media Server
MEDIA SERVER tep 1: Set Up Media Sha ring in Windows Media Player 11 After downloading and installin g Windows Media Pla yer 11 and connecting your radio to the network, you need to set up media sharing so that you can share music with your radio. -
Page 13: Maintenance
MAINTENANCE re and maintenance To clean the casing, unplug the unit and wipe off dust and stains with a soft cloth moistened with a mild soap an d water solution only . Do not use benzene, thinner or similar chemicals. If at any time in the future you should need to dispose of this product, please note that waste electrical products should not be disposed of with household... -
Page 14: Technical Specifications
General 5. The unit or 5.1 Press the ON/STANDBY ( ) button to go to Standby mode and display press it again to turn on the unit. malfunctions 5.2 Reset by unp lugging the AC/DC adapter for few seconds and plugging it back in.
Need help?
Do you have a question about the DXi 50 WL and is the answer not in the manual?
Questions and answers