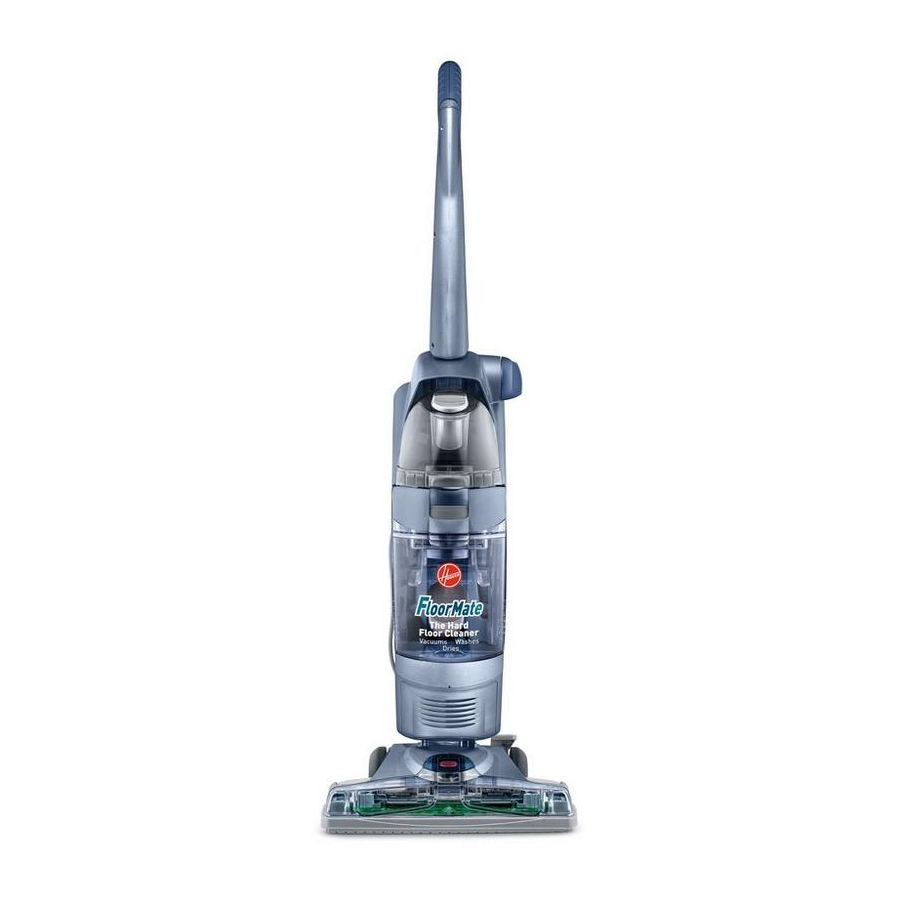
Hoover FloorMate Floor Mate SpinScrub Hard Floor Cleaner with portable tool kit Owner's Manual
Hard floor cleaner with portable tool kit
Hide thumbs
Also See for FloorMate Floor Mate SpinScrub Hard Floor Cleaner with portable tool kit:
- Manual (20 pages) ,
- Owner's manual (32 pages)

Related Manuals for Hoover FloorMate Floor Mate SpinScrub Hard Floor Cleaner with portable tool kit


Summary of Contents for Hoover FloorMate Floor Mate SpinScrub Hard Floor Cleaner with portable tool kit
- Page 1 FloorMate™ SpinScrub™ Hard Floor Cleaner with portable tool kit ENGLISH pp. 1-20 ESPAÑOL pág. 21-36 ®...
-
Page 2: Important Safeguards
If appliance is not working as it should, has been dropped, dam- aged, left outdoors, or dropped into water, take it to a Hoover Sales and Service Center or Authorized Hoover Warranty Service Dealer. • Use cleaner only for its intended use as described in the instructions. -
Page 3: Table Of Contents
G. Telescoping wand H. Hose Floor cleaning concentrates © 2004 The Hoover Company www.hoover.com Contents Important safeguards ..2 Carton contents ... . . 3 Cleaner description . -
Page 4: Cleaner Description
Cleaner Description This user manual applies to models with either 6 or 7 brushes. Features Soft hand grip ON/OFF switch Solution trigger: squeeze to release cleaning solution Mode selector dial: turns brushes ON for wet cleaning and OFF for wet pickup and dry vacuuming Clean solution tank cap/measuring cup Clean solution tank... -
Page 5: Assemble Handle
Assemble handle Rotate bottom handle support (A) up to the upright position until a snap is felt. Align control rod (B) on upper handle (C) with slot in bottom handle support (D). Push upper handle (C) all the way down until you hear it snap in place. -
Page 6: Tool Caddy
Press brush assembly firmly to snap into place. To install nozzle, make sure latches (C) are out. For easier installation, place cleaner in upright position. Align middle section (D) of nozzle with opening (E) on cleaner. Remove cardboard packing insert from squeegee area on underside of nozzle. -
Page 7: Unfold Handle
Store hose, tools and accessories To store hose: Place the hose grip (A) into slot (B) on back of caddy. Pull hose up and press into cut-out area (C). Continue wrap- ping hose down, underneath tongue (D), and back up, pressing into second cut-out area (E). Place hose end (F) into slot (G) on back of caddy. -
Page 8: General Operation
(A) on the front of the cleaner. General operation Your HOOVER FloorMate™ SpinScrub™ Cleaner can be used to both vacuum dry debris and wet clean non-carpeted floor surfaces such as vinyl, tile, marble and sealed wood. It is not intended for use on carpet or rugs. -
Page 9: Solution Tank
DO NOT use cleaning concentrates that contain solvent based ingredients. CAUTION: HOOVER® Floor to Floor™ Cleaning Concentrate cannot be used in Hoover SteamVac™ products. Doing so could damage your SteamVac™ Cleaner. The tanks Solution (upper) tank The solution tank holds detergent and water that is to be dispersed onto the surface being cleaned. -
Page 10: Recovery Tank
If rubber ring (D) on cap has become dislodged, reposi- tion it with uneven side against ledge (E) as shown. Replace cap. Rotate cap clockwise until it locks in place. Cap must be locked in place for proper performance and to prevent leaking. Slide tank straight into position until latch snaps in place. -
Page 11: Recovery Tank
How to empty Turn cleaner off and disconnect from electrical outlet. Although not necessary for satisfactory performance, it is recommended that the recovery tank be emptied after dry vacuuming and before wet operation. Check the solution tank also. It may need to be refilled at this time. -
Page 12: How To Clean
How to clean Recommended cleaning sequence Use your HOOVER® FloorMate™ SpinScrub™ Cleaner to: • Dry Vacuum to remove loose dirt, hair and debris. • Wet Clean the floor surface. The brushes will provide light agitation to help loosen dirt. -
Page 13: Cleaning Floors
Cleaning floors NOTE: Your HOOVER® FloorMate™ SpinScrub™ cleaner may be used to clean wood floors that have been sealed with a polyurethane coating and can be cleaned with water. CAUTION: To prevent damage to wood floors, follow the flooring manufacturer’s cleaning rec- ommendations. -
Page 14: Using The Tools
Using the tools Floor swivel tool • Swivel head • 2 rows of brushes • Use to clean small, tight areas Attach hose and tool Unplug cleaner from electrical outlet. How to connect hose Open hose door (A) on side of cleaner. Align hose connector (B) with hose and solution ports (C). -
Page 15: Storing The Cleaner
• Do not store cleaner on a wood surface unless cleaner is completely dry. Tool caddy For your convenience, the HOOVER® FloorMate™ SpinScrub™ tool caddy (A) is provided for storing the hose, tool, telescoping wand, set of brushes and detergent. -
Page 16: Maintenance Cleaning The Nozzle
Maintenance Cleaning the nozzle Turn cleaner OFF and disconnect from electrical outlet. The cleaner’s nozzle can be removed for easy cleaning. Slide the two nozzle release latches (A) outward. Remove nozzle (B) by pulling straight out. Rinse nozzle under running water. Remove debris from squeegee (C) and wipe with a damp cloth. -
Page 17: Cleaning The Brushes
Cleaning the brushes The brush assembly can be removed for easy cleaning. Turn cleaner OFF and disconnect from electrical outlet. Place handle in the upright position. Remove tanks to prevent leaking. Set aside. Pull the two nozzle release buttons (A) out. Remove nozzle. Tilt cleaner back so handle rests on floor. -
Page 18: Troubleshooting
Troubleshooting Use the list below to help solve minor problems. What’s the problem? Cleaner won’t run Low suction Water puddling behind cleaner Won’t pick up dirty solution Cleaner pushes a line of dry debris in front of it Cleaning solution won’t dispense Brushes won’t rotate What to do Make sure the cleaner is... -
Page 19: Service
Calling 1-800-944-9200 for an automated referral of authorized service outlet locations (U.S. only) Do not send your cleaner to Hoover in Newton, Iowa for service; this will only result in delay. If further assistance is needed, contact the Hoover Consumer Response Center, Phone: 330-499-9499. -
Page 20: Full One Year Warranty
This warranty does not cover pick up delivery, or house calls; however, if you mail your appliance to a Hoover Sales and Service Center for warranty service, transportation will be paid one way. While this warranty gives you spe-...
Need help?
Do you have a question about the FloorMate Floor Mate SpinScrub Hard Floor Cleaner with portable tool kit and is the answer not in the manual?
Questions and answers