Table of Contents
Advertisement
Advertisement
Table of Contents

Related Manuals for Swann 960H Digital Video Recorder


Summary of Contents for Swann 960H Digital Video Recorder
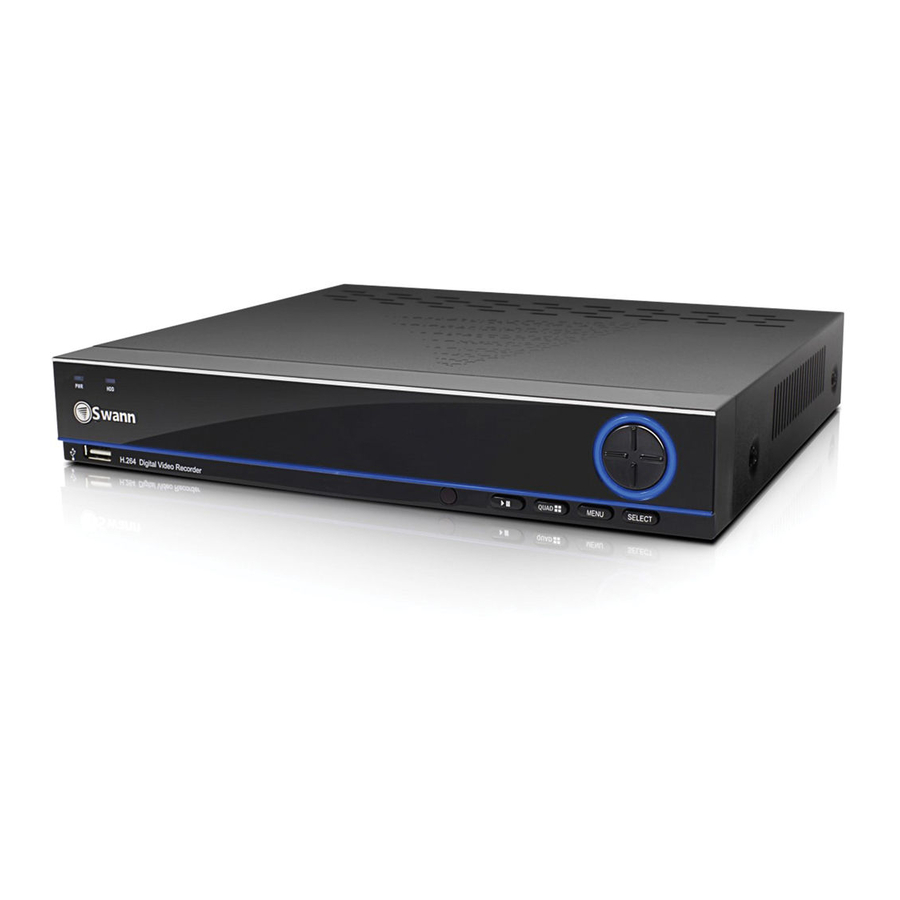
- Page 1 English 960H Digital Video Recorder 8/9-channel models INSTRUCTION MANUAL...
-
Page 2: Fcc Verification
• Consult the dealer or an experienced radio/TV technician Only a select number of staff at the Swann for help Technical Support Telephone Helpdesk can These devices comply with part 15 of the FCC Rules. -
Page 3: Table Of Contents
Setup Wizard: System Time Helpdesk / Technical Support Details Rear Setup Wizard: Account Configuration Setting up your Smartphone or Tablet Setting up your PC Live View Mode About 960H Widescreen Videos Menu Layout Menu Functions Overview Display: Camera Display: Output Recording: Encode... -
Page 4: Introduction
Chapter Introduction... -
Page 5: Getting Started
Now with extra “H”: 960H and what it means This DVR is compatible and is intended for use with 960H cameras. What does this really mean? A traditional CCTV camera operates at a resolution of approximately 720 x 480 (NTSC) or 720 x 576 (PAL) pixels* and a 4:3 aspect ratio. -
Page 6: Installation Guidelines
INTRODUCTION Installation Guidelines • Do not expose the DVR to moisture. Water is the arch- will void your warranty, as well as pose a great risk of fire enemy of electrical components and also poses a high or electrical shock. risk of electric shock. -
Page 7: Dvr Rear Panel
INTRODUCTION DVR Rear Panel Name Function Power Input This is where you connect the supplied DC 12V power adapter to your DVR. For connecting RS485 cables to control a PTZ (pan, tilt, zoom) device on the DVR. AUDIO OUT RCA port for audio output. Used to connect your speaker or headphone. For connecting the USB mouse. -
Page 8: Connection Diagram
INTRODUCTION Connection Diagram Connect the cameras to power using the power splitter then connect the power adapter to a wall outlet. Connect the Video (BNC-connector) and Power cables from the camera to the extension cable then connect the Video cable on the other end of the extension cable to a Video input on the rear of the DVR. -
Page 9: Connecting Additional Devices
DVR. The PTZ port (RS485) can be used to connect compatible PTZ devices, such as this Swann PTZ dome. An external hard drive with a USB-compatible interface (USB 2.0 recommended) can be connected to the front USB port of the DVR. -
Page 10: Basic Setup
Chapter Basic Setup... -
Page 11: Controlling The Dvr
BASIC SETUP Controlling the DVR Starting the DVR for the first time: When you first boot the DVR, it will automatically start the Setup Wizard which will guide you through the various setup options available. The USB Mouse The easiest way to operate the DVR is to use the included USB optical mouse - we put together the look and feel of the menu system specifically for mouse-friendly navigation. -
Page 12: Setup Wizard: General
UID: This is the DVR’s Unique IDentifier number which you will use later to connect your PC or SmartPhone to the DVR using Swann’s Peer to Peer technology. If you need to change any of these settings later, you can find these options here: Main Menu -> System -> General... -
Page 13: Setup Wizard: Email
BASIC SETUP Setup Wizard: Email Email If you want the DVR to send email alerts as alarm events are detected, then you’ll need to configure an outgoing email server for the DVR to use, and choose an email address for it to send to. We recommend creating an account with Gmail (www.gmail.com) specifically for the DVR. -
Page 14: Dst Configuration
BASIC SETUP Setup Wizard: System Time NTP stands for “Network Time Protocol”. It’s a way for the DVR to connect to the Internet and automatically update and maintain accurate time. There’s no requirement to use NTP, but it’s easy to setup and free to use, so there’s really no reason not to. NTP Server: The default server used to obtain accurate time. -
Page 15: Setup Wizard: Account Configuration
If you do manage to lock yourself out of the DVR, you’ll need to contact us at the Swann Technical Support Telephone Helpdesk - the number is on the back cover. -
Page 16: Configuring Swannview Link App
BASIC SETUP Setting up your Smartphone or Tablet Have a Smartphone or Tablet? Then head to the respective Apple App Store or Google Play, download the SwannView Link app (or SwannView Link HD tablets) for free and turn your iOS or Android device into a monitoring centre for your DVR. Have the peace of mind that you can monitor your home at any time from any place. -
Page 17: Swannview Link Software
Microsoft Windows XP, Microsoft Windows Vista, Microsoft Windows 7 and Microsoft Windows 8 NOTE: Windows XP, Windows Vista, Windows 7 and Windows 8 are registered trademarks of Microsoft Corporation. Got a Mac? Check out www.swann.com/myDVRmac for the latest Mac-based remote access software. -
Page 18: Logging On To Swannview Link
BASIC SETUP Setting up your PC Logging on to SwannView Link • To connect from your PC to your DVR, make sure your DVR is on and all connections are ok. • On your PC, open the email that your DVR sent when you were setting up your email account during the Setup Wizard which should look something like this image and locate the the UID: •... -
Page 19: Status Icons
BASIC SETUP Live View Mode The Live View Screen Live View is the default display mode for the DVR. Each camera that’s connected to the DVR will be displayed here. You can check the status and operate your DVR and cameras with the icons and menus on the Live View screen. Status Icons Menu Bar Status Icons... -
Page 20: Live View Mode
Note: Arrangement and availability of the buttons described here can be different in some models. About 960H Widescreen Videos 960H is the term used for a composite video signal which offers additional horizontal lines of resolution. The additional horizontal space creates a significantly larger and sharper image, and also allows for higher dynamic range. -
Page 21: Menu Layout
BASIC SETUP Menu Layout Camera Display Output Encode Recording Option Schedule Playback Search Backup Event / Log DDNS General Network Email Settings Advanced Status IP Filter Menu Bar Motion Alarm Video Loss Exceptions Device S.M.A.R.T General System User Information Maintenance Lock Shut Down Shutdown... -
Page 22: Menu Functions
Chapter Menu Functions... -
Page 23: Overview
If you got your PTZ camera as part of a kit with the DVR, then there shouldn’t be much configuration required. Follow the instructions in your Swann PTZ Camera manual. If the PTZ camera did not come with the DVR, then you can find information about configuring settings for a PTZ Camera •... -
Page 24: Display: Camera
MENU FUNCTIONS Display: Camera The Display: Camera menu is where you can make adjustments to how the DVR displays the feed coming from your cameras. You can adjust aspects of each channel/ camera, such as: • the camera’s name • what information will be displayed on- screen, and where this information will be displayed... -
Page 25: Display: Output
MENU FUNCTIONS Display: Output The Display: Output menu is where you can control how the DVR is going to deliver an image to your television, screen or monitor. You’ll be able to adjust items such as: • screen resolution and position on your monitor •... -
Page 26: Recording: Encode
There are two options available: indicates that you might need to increase the overall bitrate. 960H: Encode recordings at (PAL: 960 x 576, NTSC: 960 x 480) If you’ve set a high bitrate but a low frame rate, the DVR will resolution. -
Page 27: Recording: Option
MENU FUNCTIONS Recording: Option The Recording: Option menu lets you change some aspects of how the DVR will record footage, such as: • whether the DVR will record a short video before events take place, • how long after events take place the DVR will continue to record for, •... -
Page 28: Recording: Schedule
MENU FUNCTIONS Recording: Schedule This example image shows a recording schedule defined for a channel with the DVR’s recording modes. If the DVR was started with this shedule, the selected channel (in this case Channel 1) would: Time • Not record anything from midnight (00:00) to 6am (06:00). -
Page 29: Search: Playback
MENU FUNCTIONS Search: Playback To initiate playback: Select the channel you’d like to playback. Note: The DVR can playback up to 4 channels at a time (8-ch models) or one • channel only (9-ch models). Displaying multiple video feeds simultaneously may cause a reduction in playback framerate from realtime to near-realtime. -
Page 30: The Playback Interface
MENU FUNCTIONS The Playback Interface The Playback interface is quite similar to a computer’s media Recording Type: Whether the video being played back was player, or to the on-screen display of a DVD/Blu-ray player. recorded under normal recording (blue) or based on motion event (red). -
Page 31: Specific Incident Backup
MENU FUNCTIONS Specific Incident Backup Copy Press once to mark an start point at the current position Say you’ve got an hour of video recorded as a single pack, and the interesting bit is from 33:12 to 33:26. We’re sure you don’t marker. -
Page 32: Search: Event / Log Search
MENU FUNCTIONS Search: Backup While the backup process is executed, the DVR will display a pair of progress meters. The top one indicates the progress of the current video event, the lower one shows the overall progress. To end the backup process before it’s complete, choose Cancel. Some or all of the incidents you selected will not have been copied. -
Page 33: Network: General
MENU FUNCTIONS Network: General Network Access: Here you can choose between the three access point to the highway. This is an IP address in the same different types of networks that the DVR can be connected to. format as the others, and is typically very similar to the IP The three types of networks are: address of the DVR. -
Page 34: Network: Advanced
MENU FUNCTIONS Network: Advanced Note: Many of the following networking settings are not Like the server port, it will need to be forwarded properly • required when using SwannLink P2P for remote access. in order to ensure smooth, latency-free communication. The default value is “85”, as this port is seldom used by DDNS: The place to configure the DVR to automatically update other devices or applications. -
Page 35: Network: Advanced: Ddns
We recommend using SWANNDVR as your DNS service. you setup with your DDNS server. These do not have to match This is a free service for Swann DVR owners, which we your username/password combination in either your DVR directly support. -
Page 36: Network: Advanced: Email Settings
MENU FUNCTIONS Network: Advanced: Email Settings If you want the DVR to occasionally drop you a line, share news, tell you about its day and - more importantly - tell you what’s going on around your home or business as it happens, then you can configure it to automatically send email alerts as events happen. -
Page 37: Network: Advanced: Ip Filter
MENU FUNCTIONS Network: Advanced: IP Filter The IP Filter can be used to modify which IP addresses have permission to talk to the DVR and which do not. This is an advanced feature, and is recommended for advanced users only. Tinkering with things here - if you’re not sure what you’re doing - is more likely to break things than make anything better. -
Page 38: Alarm: Motion
MENU FUNCTIONS Alarm: Motion If you’re planning to use Motion Detection as the primary (or sole) recording mode for the DVR, it’s worth taking a moment to ensure it’s properly configured. If the motion detection sensitivity is too sensitive, then the DVR will record too frequently or continually - any benefit of motion detection will be lost. -
Page 39: Alarm: Motion Detection Configuration
MENU FUNCTIONS Alarm: Motion Detection Configuration To set the Motion Detection Area Sensitivity: The Sensitivity setting is controlled by a slider, allowing you to set a value between 0 and 50. The lower the number, the more sensitive the motion detection will be. There are four time periods which you can define different motion sensitivity values for. -
Page 40: Motion Detection Recording Setup
MENU FUNCTIONS Alarm: Motion Detection Notes Motion Detection Recording Setup but we’re continually surprised by stories from our users) it is important to have as much information as possible. For example, images of someone in your home may not PTZ systems are fundamentally incompatible with actually prove that they broke in - but footage of them motion detection. -
Page 41: Alarm: Motion Detection - Action
MENU FUNCTIONS Alarm: Motion Detection - Action Audio Warning: The DVR will use its internal buzzer to emit an alarm tone. It sounds like an old computer indicating an error, or a large truck backing up. Send Email: The DVR will send an auto-email alert when the event type you’ve selected occurs. -
Page 42: Alarm: Exception
MENU FUNCTIONS Alarm: Exception An Exception is any deviation from the DVR’s normal behaviour - phrased another way, it’s like saying the DVR’s been working fine except for these events Exception Type: What event type you’d like the DVR to react to. By configuring the Action for these events, you can create any combination of audio alerts (see below) or auto-emails to be sent for different event types. -
Page 43: Device: Hdd
MENU FUNCTIONS Device: HDD Typically, there will be one entry here, and it will be the hard drive that came with the DVR - you’ll get many years of usage out of the included hard drive. The drive connected to the internal SATA port will be listed here. -
Page 44: Device: Ptz
PTZ icon on the menu bar. The DVR is compatible with many - but not all - PTZ devices available. For the best results, we suggest using a Swann PTZ Note for Remote Access and Mobile Device users: camera, as we know what they’re compatible with and we’ll... - Page 45 MENU FUNCTIONS Device: PTZ PTZ Control Window PTZ Context Menu Arrows: Moves the camera in the direction selected. Camera No: Switch quickly between cameras. Speed: How fast the camera will move. The higher the Call Preset: Returns the camera to a Preset point. number, the faster the movement.
-
Page 46: System: General
US, Canada and Japan. If the DVR’s picture is black and white, flickering or similar, then this is probably caused by the video system being set incorrectly. Don’t change this setting unless advised to do so by Swann Technical Support. You may not be able to see the DVR’s output on your screen anymore! -
Page 47: System: User
MENU FUNCTIONS System: User The System: User menu is where you can define and configure the different levels of access various users have to the DVR. We suggest that at minimum the admin account be password protected, as it has access to all aspects of the DVR’s operation. -
Page 48: System: System Information
Device Name: The name that the DVR considers to be its own and what it will use to register an IP address with your DHCP host. The remaining information is for use by Swann’s Technical Support, in the event that you require assistance. The various model and build numbers help us track down any known issues, or catalogue new issues as they come to light. -
Page 49: System: Maintenance
Firmware Upgrade (Upgrade): Instructs the DVR to update its firmware. You’ll only need to use this option if instructed to do so by Swann Technical Support. (Remember to Export your configuration first so you don’t have to re-set everything!) Default Settings (Restore): Loads the factory default settings. -
Page 50: Reference
Chapter Reference... -
Page 51: Swannview Link Windows Interface
REFERENCE SwannView Link Windows Interface Preview / Playback / Setup Image Controls Channel List Main Viewing Area Playback and Viewing Modes & Backup Links Volume Control 1 2 3 4 5 6 Start Live View Stop Live View Snapshot Video Capture Previous Page Next Page Volume... -
Page 52: Swannview Link: Local Settings
REFERENCE SwannView Link: Local Settings About transcoding to AVI: The local configuration screen is where you can customise how SwannView Link will store and process footage on the Don’t be put off by the complex word - transcoding is just a local PC when you download it from the DVR. -
Page 53: Swannview Link: Device Settings
REFERENCE SwannView Link: Device Settings Display: Channel Settings Channel Name (Check Box): Whether the channel’s name will be displayed on screen or not. Channel Name: The title you’d like to give that camera. Record Data: Whether the overlays (Channel Name, Date and so on) will be recorded onto the video with your images. - Page 54 Advanced: DDNS” on page 35 for more information on DDNS servers. We recommend using SWANNDVR as your DNS service. This is a free service for Swann DVR owners, which we directly support. To create an account with SWANNDVR, go to: http://www.swanndvr.com/ and click the Registration button.
- Page 55 REFERENCE SwannView Link: Device Settings Alarm: Motion Detection Channel: The channel you’re configuring the motion detection settings for. Enable: Whether the motion detection is enabled for the channel currently selected. Sensitivity: A sliding scale between 1 and 50. The number refers to the number of pixels (as a percentage) that have to “change”...
- Page 56 REFERENCE SwannView Link: Device Settings Device: HDD Operates in the same way as the HDD management menu in the DVR menu. Rather than attempt to summarize here, it’s easier to simply turn to page 43 to learn more. System: General / System Information / Maintenance Operates in the same way as the System submenus in the DVR menu.
-
Page 57: Swannview Link Mobile Interface
REFERENCE SwannView Link Mobile Interface Menu - Opens the menu to allow you to select the various different menu screens. 2. Live View - The Live View screen. A red border will surround the currently selected camera. 3. Group Indicator - SwannView Link can display up to 4 channels at a time. - Page 58 REFERENCE SwannView Link Mobile Interface Live - Takes you back to the Live View screen from any other screen. 2. Record List - Takes you to the Record List page where you can playback video that you have previously recorded to your mobile device.
-
Page 59: Troubleshooting
This indicates that the DVR is functioning properly, but that something strange has happened - contact Swann technical the Interval setting for your email alerts is too low. Increasing support (contact details are on the rear cover). -
Page 60: Third Party Hardware
REFERENCE Third Party Hardware Assigning the IP Address information Due to it’s nature as a networked device, the DVR is often required to operate with third party hardware. We do to the DVR. everything we can to ensure the DVR is compatible with as many third party devices as possible, there will always be We recommend doing this locally (on the DVR itself) even if you some that require a little extra configuration. -
Page 61: Warranty Information
Swann. The end user is responsible for all freight charges incurred to send the product to Swann’s repair centres. The end user is responsible for all shipping costs incurred when shipping from and to any country other than the country of origin. - Page 62 English Helpdesk / Technical Support Details Swann Technical Support All Countries E-mail: tech@swann.com Telephone Helpdesk USA Toll Free 1-800-627-2799 USA Exchange & Repairs 1-800-627-2799 (Option 1) (M-F, 9am-5pm US PT) AUSTRALIA 1300 138 324 NEW ZEALAND Toll Free 0800 479 266...
Need help?
Do you have a question about the 960H Digital Video Recorder and is the answer not in the manual?
Questions and answers
Battery use for CODVR-16960h2TB
The Swann 960H Digital Video Recorder CODVR-16960h2TB uses a primary lithium CR2032 button cell battery.
This answer is automatically generated