Table of Contents
Advertisement
Quick Links
Download this manual
See also:
User Manual
Advertisement
Table of Contents

Subscribe to Our Youtube Channel
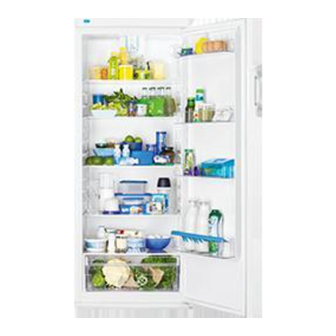
Summary of Contents for Zanussi ZRA33400WA
- Page 1 User manual ZRA33400WA...
-
Page 2: Table Of Contents
During transportation and installation of the • If this appliance featuring magnetic door appliance, be certain that none of the compo- seals is to replace an older appliance having www.zanussi.com... - Page 3 Daily use Service • Do not put hot pot on the plastic parts in the • Any electrical work required to do the servic- appliance. ing of the appliance should be carried out by a qualified electrician or competent person. www.zanussi.com...
-
Page 4: Product Description
Control panel Rating plate Door shelves Operation Switching on Switching off Insert the plug into the wall socket. To turn off the appliance, turn the Temperature Turn the Temperature regulator clockwise to a regulator to the "O" position. medium setting. www.zanussi.com... -
Page 5: First Use
"click" of the • When the compressor is on, the refrigerant is temperature regulator. This is correct. being pumped around and you will hear a whirring sound and a pulsating noise from the compressor. This is correct. www.zanussi.com... -
Page 6: Care And Cleaning
Clean the condenser (black grill) and the com- pressor at the back of the appliance with a brush. This operation will improve the perform- www.zanussi.com... -
Page 7: Troubleshooting
Attach the melting water outlet to the flow in the evaporative tray above evaporative tray. the compressor. There is too much frost Products are not wrapped properly. Wrap the products better. and ice. The door is not closed correctly. Refer to "Closing the door". www.zanussi.com... - Page 8 Osram PARATHOM SPE- stallation". CIAL T26 0.8 Watts. 3. If necessary, replace the defective door 5. Install the lamp cover. gaskets. Contact the Service Center. 6. Connect the appliance. 7. Open the door. Make sure that the lamp comes on. www.zanussi.com...
-
Page 9: Technical Data
The appliance must be earthed. The power sup- below overhanging wall units. Accurate levelling ply cable plug is provided with a contact for this purpose. If the domestic power supply socket is www.zanussi.com... - Page 10 • Position the pin and the washers (6) on the opposite side (7). • Unscrew the other hinge (5) Levelling Accurate levelling prevents the vibration and noise of the appliance during operation. To ad- just the height of the appliance loosen or tighten the two adjustable front feet. www.zanussi.com...
-
Page 11: Environmental Concerns
By ensuring this product household waste disposal service or the shop is disposed of correctly, you will help prevent where you purchased the product. www.zanussi.com... - Page 12 www.zanussi.com/shop...


Need help?
Do you have a question about the ZRA33400WA and is the answer not in the manual?
Questions and answers