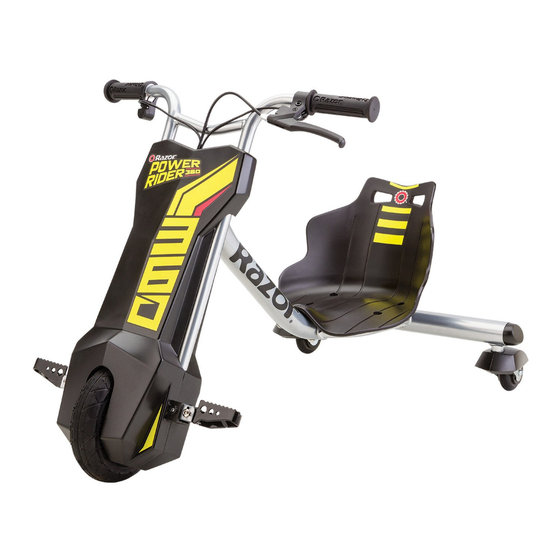
Razor PowerRider 360 Owner's Manual
Powerrider 360
Hide thumbs
Also See for PowerRider 360:
- Manual (68 pages) ,
- Owner's manual (16 pages) ,
- Owner's manual (16 pages)
Table of Contents
Advertisement
PowerRider
360°
™
OWNER'S MANUAL
Read and understand this entire manual before allowing
child to use this product! for assistance contact Razor.
DO NOT RETURN TO STORE.
NOTE: Manual illustrations are for demonstration purposes only.
Illustrations may not refl ect exact appearance of actual product.
Specifi cations subject to change without notice.
Please have your 19 character product I.D. code ready before contacting Razor for
warranty assistance and/or replacement parts.
Product I.D. Code: _____________ - ____________ - ____________
US_130913
Advertisement
Table of Contents

Related Manuals for Razor PowerRider 360


Summary of Contents for Razor PowerRider 360
- Page 1 Illustrations may not refl ect exact appearance of actual product. Specifi cations subject to change without notice. Please have your 19 character product I.D. code ready before contacting Razor for warranty assistance and/or replacement parts. Product I.D. Code: _____________ - ____________ - ____________...
-
Page 2: Table Of Contents
Not every product is appropriate for every age or size of child, and different The electric PowerRider 360 is intended for use on flat, dry surfaces, such as age recommendations are found within this category of product which are... -
Page 3: Safety Warnings
In the event Do not ride your PowerRider™ 360 in wet or icy weather and never immerse of such damage, the PowerRider 360 must not be charged until the charger the PowerRider 360 in water, as the electrical and drive components could has been repaired or replaced. -
Page 4: Before You Begin
(Not Included) Need Help? Visit our web site for replacement parts and product support at www.razor.com or call toll-free at 866-467-2967 Monday - Friday 8:00 AM - 5:00 PM Pacific Time. Please have the product I.D. code (located on the white... -
Page 5: Assembly And Set-Up
ASSEMBLY AND SET -UP q Attaching the frame Required Tools: Two (2) 5 mm Allen wrenches Note: The coupling bolts on the Using two (2) 5 mm Allen Insert the rear frame into the Securely tighten the (short) frame are different lengths. wrenches, remove the coupling frame assembly. - Page 6 If you decide to use such an air supply to inflate your PowerRider 360 tire, first make sure the pressure gauge is working, then use very short bursts to inflate to the correct PSI. If...
- Page 7 Unfold the foot pegs. Need Help? Visit our web site for replacement parts and product support at www.razor.com or call toll-free at 866-467-2967 Monday - Friday 8:00 AM - 5:00 PM Pacific Time. Please have the product I.D. code (located on the white...
-
Page 8: Charging Battery/Pre-Ride Checklist
Charging the Battery WARNING: Use ONLY with Your PowerRider 360 may not have a fully charged battery; therefore it is a good idea to charge the battery prior to use. the recommended charger. Batteries are only to be charged under adult •... -
Page 9: Usage
Need Help? Visit our web site for replacement parts and product support at www.razor.com or call toll-free at 866-467-2967 Monday - Friday 8:00 AM - 5:00 PM Pacific Time. Please have the product I.D. code (located on the white... - Page 10 REPAIR AND MAINTENANCE Reassembly Brake Housing Anchor Note: Front wheel hardware sequence Front Fork Washer 11-7 11-6 11-5 11-4 11-2 Bolt Brake Plate Verify the chain is properly Install the chain onto the front Install the brake housing anchor installed on each sprocket and that wheel sprocket.
-
Page 11: Adjusting The Brake
Need Help? Visit our web site for replacement parts and product support at www.razor.com or call toll-free at 866-467-2967 Monday - Friday 8:00 AM - 5:00 PM Pacific Time. Please have the product I.D. code (located on the white... -
Page 12: Replacement Parts
Charger terminals and related accessories The charger supplied with the PowerRider 360 should be regularly examined for damage to the cord, plug, contain lead and lead compounds. enclosure and other parts, and in the event of such damage, the product must not be charged until it has been Wash your hands after handling. -
Page 13: Troubleshooting Guide
Need Help? Visit our web site for replacement parts and product support at www.razor.com or call toll-free at 866-467-2967 Monday - Friday 8:00 AM - 5:00 PM Pacific Time. Please have the product I.D. code (located on the white... -
Page 14: Powerrider 360 Parts
POWERRIDER 360 PARTS Keep your Pocket Mod running for years with genuine Razor parts. Visit our web site or e-mail us for more information on spare part availability. (Specifications subject to change without notice.) 16. Rear Wheel Complete Chain Tensioner... - Page 15 NOTICE: INSURANCE YOUR INSURANCE POLICIES MAY NOT PROVIDE COVERAGE fOR ACCIDENTS INVOLVING THE USE Of THIS ELECTRIC RIDE-ON PRODUCT. TO DETERMINE If COVERAGE IS PROVIDED, YOU SHOULD CONTACT YOUR INSURANCE COMPANY OR AGENT.
-
Page 16: Warranty
- Connect the equipment into an outlet on a circuit different from that to which the receiver is connected. - Consult the dealer or an experienced radio/TV technician for help. WARNING: Changes or modifications to this unit not expressly approved by Razor USA, could void the user’s authority to operate the equipment. DO NOT RETURN TO STORE Do not use this product for the first time until you have inflated the tires to the correct PSI and charged the battery for at least 12 hours.
Need help?
Do you have a question about the PowerRider 360 and is the answer not in the manual?
Questions and answers