
Related Manuals for Razor Scream Machine Jr


Summary of Contents for Razor Scream Machine Jr
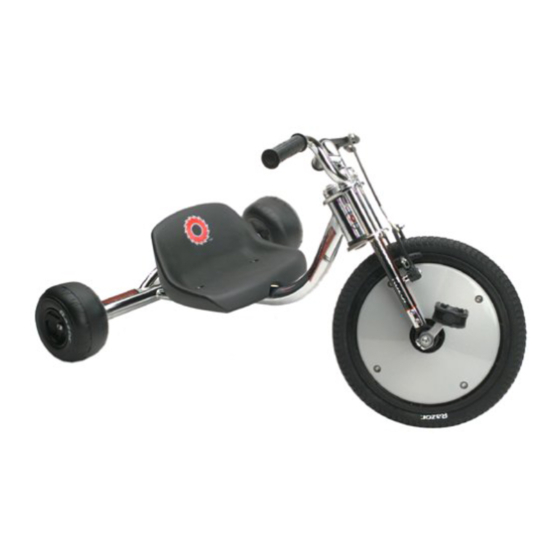
- Page 1 Scream Machine Jr. Scream Machine This owner’s manual is applicable to the original Scream Machine with pneumatic front tire and the Scream Machince Jr with the airless front tire. O w n e r ’ s M a n u a l...
-
Page 2: Table Of Contents
6G. Pedals, cranks and front wheel drive ...16 7. Razor Safety Tips ....... . .17 8. -
Page 3: Parts Of The Scream Machine
Certain after-market products may or may not be compatible with your Razor Scream Machine. Consult your retailer or call Razor prior to modifying or replacing any component with a non- factory specified product. TOOLS REQUIRED FOR ASSEMBLY ONLY... -
Page 4: Proper Fit And Size Adjustments
3. Brake Your Razor Scream Machine is fitted with a hand-operated brake. The brake lever may be positioned on the handlebar where it is most comfortable for the rider. To change the position, loosen the clamping screw and slide the brake lever to the new position and retighten securely. -
Page 5: Safety
4. Safety 4A. Helmets. Although not every state or municipality requires juvenile- age cyclists to wear a helmet, Razor strongly recommends you wear a properly approved helmet, such as ANSI or SNELL, even if the law does not mandate the use of a helmet. -
Page 6: Safety Check
Get in the habit of inspecting yours regularly. 5E. Bar ends. Your Razor is equipped with plugs in the end of the handlebars designed to provide protection from exposed handlebar ends, which can act like a cookie-cutter. If your bar plugs are worn out or missing and the handlebar end is exposed, replace them or cover the exposed end(s) with after-market bar-end protectors. -
Page 7: Un-Box
for assembly, it will assure the Scream Machine is properly put together and adjusted. ASSEMBLY NOTE: Refer to the list of tools required for assembly on page three of this manual. If you do not have the proper tools or understanding of the instructions in this manual, take your bike to a qualified mechanic for assembly, service or adjustments. - Page 8 5. Repeat as many time as is necessary to obtain the proper adjustment. Check www.razor.com for tech updates or video clips on this and other procedures. Figure 5. Installing and adjusting the rear wheels.
-
Page 9: Install Fork
Figure 6. Both wheels installed. 6C. Install the fork. Insert the steering tube into the frame as shown in 7a and 7b. The steering bushings are preinstalled. Figure 7a. Figure 7b. Slide the handlebar and upper fork crown assembly into the fork legs as shown in figure 7c. - Page 10 continue to slide the handlebar assembly into the fork until the spring buttons engage the holes (A) as shown in figure 7e., and the steering tube extends through the upper fork crown (B). The fork stop must be positioned in the slot in the upper crown. The fit between the tubes is a close tolerance fit and may require a firm hand or taps with a rubber mallet to nudge the handlebar all the way into the fork.
-
Page 11: Attach Seat
NOTE: Although we make every effort to keep our manual up-to- date, if your Scream Machine does not look like this, then we’ve made improvements since this document was printed. Check out the Razor website: www.razor.com for technical updates on the latest service and adjustment procedures. -
Page 12: Assemble The Brake Cable
Figure 8c. 6E. Assemble the brake cable. The brake lever is preinstalled on the handlebars and the brake cable adjusting barrel may be either on the cable or threaded into the lever. Installing the cable requires placing the barrel (or ball) end of the cable wire into the socket on the lever and “threading”... -
Page 13: Brake Cable Adjustment
Figure 10a. Figure 10b. WARNING: If you do not understand the procedure to connect the brake cable, we strongly recommend you seek the help of a qualified bicycle mechanic. If the brakes are not properly connected or adjusted the brakes may fail and you can be seriously injured. Tips for hooking up the V-brake With the cable installed in the lever as shown in the various photos, pull back the rubber booty on the cable and slide the flanged housing into... - Page 14 Figure 11. If there is too much slack, the lever will go all the way to the handlebar without the brake being applied. If there is not enough slack, the brake will drag even when the lever is not pulled. Ideally, you want 2-3mm of play in the lever before the brake engages (as shown in figure 12).
- Page 15 Figure 13. NOTE: The brake system requires a break-in period. You may have to repeat procedure 6F often during the first several hours of use. Repeat as necessary from thereafter to maintain proper brake function. The Scream Machine is supplied with a brake lever that adjusts to accommodate a variety of hand sizes.
-
Page 16: Pedals, Cranks And Front Wheel Drive
Figure 15a. Tightening a left-hand pedal 15b. Tightening a right-side pedal with a normal with a reverse thread. thread NOTE: Pedals threaded into the wrong crankarm are considered operator error and not covered under the Razor Limited Warranty. -
Page 17: Razor Safety Tips
7. Razor Safety Tips WARNING TO PARENTS: Kids need to be taught and be frequently reinforced of the importance of safe riding, the rules of the road and the dangers and hazards of traffic, especially motor vehicle traffic. Parents and children are urged to read and understand these safety tips together. - Page 18 turning (do this only in an open space free from traffic and obstructions). 7E. Riding at night and in low visibility. Do not ride at night or in low visibility. See section 4 for more information. 7F. Rules of the Road. Wear a helmet.
-
Page 19: Limited Warranty And Owner Registration
To obtain service under this warranty you must, within the warranty period, contact Razor USA LLC directly by e-mail at warranty@razorusa.com. Razor will provide warranty replacement at its sole discretion. - Page 20 Spare rear wheels are available! Keep your Scream Machine running for years with these and other genuine Razor spare parts. Visit our website and e-mail us for more information on spare part availability.
Need help?
Do you have a question about the Scream Machine Jr and is the answer not in the manual?
Questions and answers