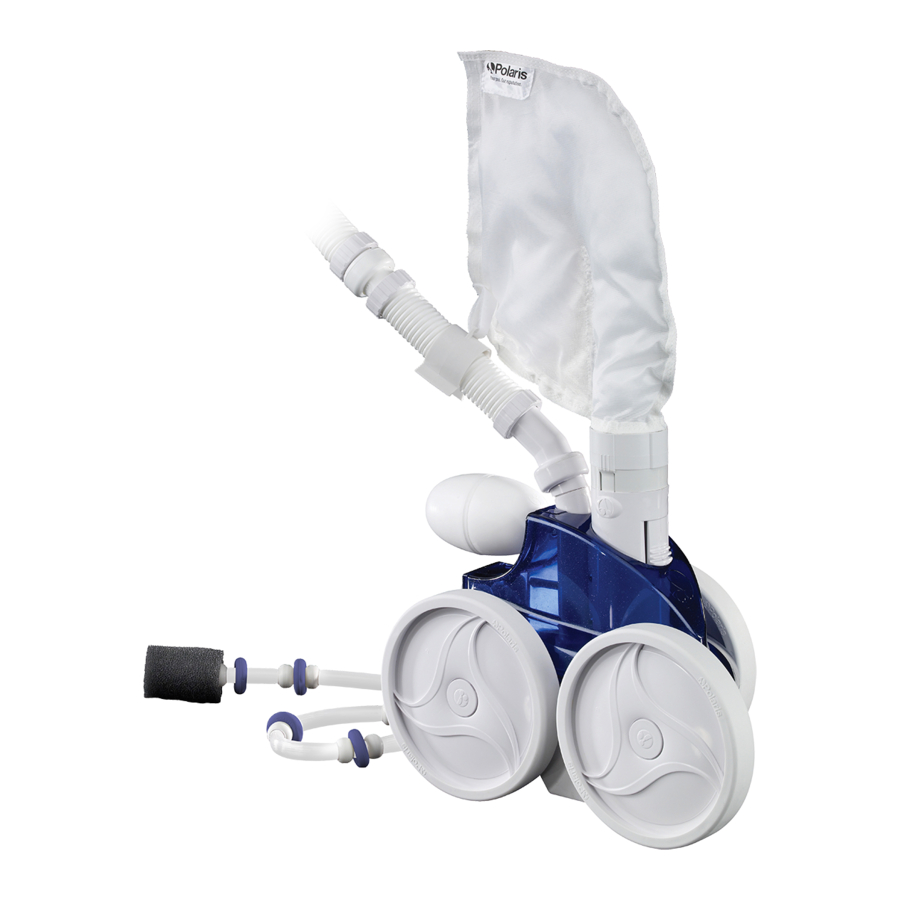
Polaris Vac-Sweep 360 Owner's Manual
Hide thumbs
Also See for Vac-Sweep 360:
- Owner's manual (65 pages) ,
- Instruction manual (10 pages) ,
- Owner's manual (49 pages)
Table of Contents
Advertisement
Quick Links
Advertisement
Table of Contents
Troubleshooting

Subscribe to Our Youtube Channel
Summary of Contents for Polaris Vac-Sweep 360
- Page 1 I M P O R TA N T I N F O R M AT I O N...
-
Page 2: Important Information
• Always remove the Polaris before swimmers enter the pool. • Always handle the Polaris with care. Do not let children or pets play with the Polaris; it is not a toy. • Except when checking the wheel RPM, do not handle the Polaris while it is operating. -
Page 3: Table Of Contents
A. Connecting/Disconnecting the Polaris ........ -
Page 4: Introduction
Always insist on genuine Polaris replacement parts. You can be sure you are buying genuine sure, it will release water at the quick disconnect. Polaris parts if they come in Polaris part bags or Approximately every 3-1/2 minutes the Polaris have the Polaris logo on them. -
Page 5: Installation Instructions
If the pool doesn’t have a dedicated return line, something other than a 1-1/2" threaded socket, you may be able to connect the Polaris 360 to obtain the Eyeball Adapter Connection Kit one of the other return lines using a special (part #9-100-8005). -
Page 6: Installing The Universal Wall Fitting
D. Pressure Testing Instructions all Fitting Adapter 1. Before installing the Polaris 360, make sure the pool filter is clean. 2. Connect the quick disconnect to the universal wall fitting. Retainer Ring Connector Eyeball 3. While someone holds the free end of the... -
Page 7: Hooking Up The Polaris
Cut off the measured amount of excess hose nut. If the end of the hose that connects hose. Reconnect the hose to the swivel. to the Polaris has a curve to it, align it with the Hose Nut Removal curve in the feed pipe. -
Page 8: Fine Tuning The Polaris
Polaris. If you have any additional questions, please contact the Polaris Customer Service Department toll-free at 1-800-VAC-SWEEP (USA and Canada only) or (760) 599-9600, Monday through Friday, 7:30 a.m. to 5:00 p.m., PST. -
Page 9: Iii.operation/Periodic Adjustments
The Polaris will perform best when the bag is not overloaded. ➔ Some Polaris owners have told us it is easier uick Disconnect to empty the filter bag when it is dry. They alternate between two filter bags. When one ➔... -
Page 10: Wear Rings
1. Ladder Guard Kit (Part #G21) into place. The ladder guard kit will help prevent the Polaris Please Note: Running the Polaris without the from getting hung up around the pool ladder or filter screen can damage the Polaris and void handrails. -
Page 11: Troubleshooting
3. Adjust the thrust jet (#21). 2. If the end of the hose that con- See page 7. nects to the Polaris has a curve to it, align it with the curve of the 4. Remove unnecessary pool hard- feed pipe (#33). -
Page 12: Troubleshooting Worksheet
It should stay off longer than it stays on.) ■ ■ ■ ■ It is important to use genuine Polaris replace- Is the feed hose the proper length? ment parts, because non-Polaris parts will (See page 5.) adversely affect the cleaner’s performance . -
Page 13: Exploded Parts Diagram
Serial Number Shown from opposite side. - Page 14 O-ring, In-head Timer/Feed Pipe Assembly 9-100-7030 Top and Base Assembly 9-100-1002 Feed Pipe/Timer Blank Assembly A-20 Float, Head 9-100-1011 Sweep Hose Complete B-10 Wear Rings To insure proper operation and long life for the Polaris, be sure to insist on genuine Polaris parts.
- Page 15 Booster Valve Seat, In-line Back-up Valve 9-100-3100 Feed Hose Complete w/UWF, No Back-up Valve 9-100-6000 Pressure Stick 9-100-8021 Vinyl Eyeball Kit 9-100-9010 Polaris 380/360 Factory Tune-up Kit 9-100-9060 Polaris 360 Factory Rebuild Kit 10-102-00 UWF Removal Tool, Plastic 10-107-00 Eyeball Regulator Polaris 11-203-00 Adjustable Plug, UWF *Not sold separately.
-
Page 16: Warranty
Failure to follow the installation instructions may void this warranty. If you have any questions regarding your Polaris Vac-Sweep 360, please feel free to call or write us. Be sure to include the serial number, which can be located on the rear of the frame near the single-wheel side of your unit. - Page 17 LP-50 9/02 ©2002 Polaris Pools Systems, Inc. All Rights Reserved.


Need help?
Do you have a question about the Vac-Sweep 360 and is the answer not in the manual?
Questions and answers