
Related Manuals for Philips CVR300


Summary of Contents for Philips CVR300
- Page 1 Always there to help you Register your product and get support at www.philips.com/welcome CVR300 Question? Contact Philips User manual 用户手册 使用手冊...
-
Page 3: Table Of Contents
Contents 1 Important Safety Notice 2 Your car driving recorder Introduction What's in the box Overview of the main unit 3 Get started Install the driving recorder Insert Micro SD card Turn on the driving recorder For the first time use Mode switch 4 Video Recording Video settings... -
Page 4: Important
1 Important SD card during the period to prevent data loss. • The apparatus shall not be exposed to dripping or splashing. • Do not place any sources of danger on the apparatus (e.g. liquid filled objects, lighted Safety candles). •... - Page 5 Please visit www.recycle.philips.com for additional information on a recycling center in your area. Always bring your product to a professional to remove the built-in battery. 2013 © WOOX Innovations Limited. All rights reserved.
-
Page 6: Your Car Driving Recorder
Check and identify the contents of your package: a Driving recorder Congratulations on your purchase, and b Suction bracket welcome to Philips! To fully benefit from the c Car charger support that Philips offers, register your product at www.philips.com/welcome. d mini USB cable... -
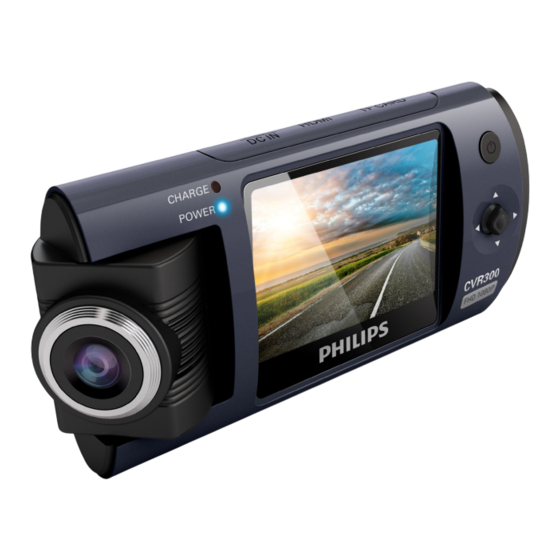
Page 7: Overview Of The Main Unit
Overview of the main unit a LCD touch screen • Press repeatedly to select the video recording mode or photo capture mode. • Exit the sub-menu. • Press to access settings. • Press to access playback mode. • Confirm a selection. •... -
Page 8: Get Started
3 Get started Install the driving recorder Caution • Do not place the driving recorder in locations where it may block the driver's view or affect the operation of airbags. Note • In order to get clear images,if there is any smudginess on the windshield, please clean it before installing. -
Page 9: Turn On The Driving Recorder
For the first time use Note • When using for the first time, please format the micro After the driving recorder is turned on, set the SD card to ensure videos are recorded normally. language and format the micro SD card. Select language Insert a micro SD card into the card slot until you hear a "click". -
Page 10: Video Recording
4 Video Recording Video settings In video recording mode, press to enter video settings menu. When the driving recording is turned on, video recording starts automatically. Press to toggle through the sub- menus and press to enter the sub-menu. Video recording screen: Press to select an option and press to confirm. -
Page 11: Photo Capture
5 Photo capture Photo settings In video recording mode, press to enter photo settings menu. In photo capture mode, press to take photos. Press to toggle through the sub- menus and press to enter the sub-menu. Press to select an option and press to confirm. -
Page 12: Playback
6 Playback Video playback Press to enter video/photo playback mode. • In the video pause screen, press to manage videos, you can delete the current video, all videos, or exit the menu. • Press to return to video recording mode. •... - Page 13 In the playback screen, press to select photo playback mode, then press . Press to select a photo, press to view the photo. • During photo playback, press manage photos, you can delete the current photo, all photos, or exit the menu.
-
Page 14: Connect The Driving Recorder To A Computer
7 Connect the driving recorder to a computer When the driving recorder is connected to a computer, the micro SD card will be automatically recognized. You can then copy videos or photos from the micro SD card to your computer. -
Page 15: System Settings
8 System settings Press to enter system settings menu. Press to toggle through the sub-menus and press to enter the sub-menu. Press to select an option and press to confirm. • Press to exit the sub-menu, press again to exit the system setting menu. •... -
Page 16: Product Information
9 Product information Note • Product information is subject to change without prior notice. General Battery Rechargeable lithium battery (Designed for last data backup purpose only, not for normally video recording) Power supply Car charger (Input DC 12 - 24V, output: DC 5.5V) LCD screen 2.0 inch Lens... - Page 17 WOOX Innovations, and is the manufacturer of the product. WOOX Innovations is the warrantor in relation to the product with which this booklet was packaged. Philips and the Philips Shield Emblem are registered trademarks of Koninklijke Philips N.V.”...
Need help?
Do you have a question about the CVR300 and is the answer not in the manual?
Questions and answers