Rockford Fosgate Punch PBR300X4 Installation & Operation Manual
Boosted rail 4 channel amplifier
Hide thumbs
Also See for Punch PBR300X4:
- Installation & operation manual (52 pages) ,
- Installation & operation manual (52 pages)

Related Manuals for Rockford Fosgate Punch PBR300X4


Summary of Contents for Rockford Fosgate Punch PBR300X4
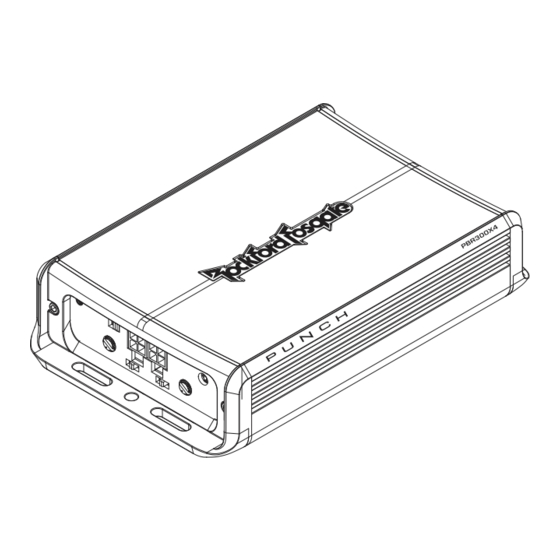
- Page 1 OOS T E D A IL HA NNE L MP L IF IE R Installation & Operation Installation et fonctionnement Instalación y funcionamiento Einbau und Betrieb Installazione e funzionamento...
- Page 2 If, after reading your manual, you still have questions regarding this product, we recommend that you see your Rockford Fosgate dealer. If you need further assistance, you can call us direct at 1-800-669-9899. Be sure to have your serial number, model number and date of purchase available when you call.
- Page 3 Other information can be located by using the Table of Contents. We, at Rockford Fosgate, have worked very hard to make sure all the information in this manual is current. But, as we are constantly finding new ways to improve our product, this info rmation is subject to change without notice.
- Page 4 – This LED illuminates when the unit is in boost mode. – This LED illuminates Blue when the unit is turned on and Red if a short circuit/low impedance is detected at the speaker connections or the amplifier’s internal components become too hot engaging the protection.
- Page 5 The following is a list of tools needed for installation: Fuse-holder and fuse. Wire cutters Assorted connectors (See specifications for fuse rating) #1 Standard screwdriver Adequate Length—Power Wire Volt/Ohm Meter Battery post wrench Adequate Length—Remote Turn- Wire strippers on Wire Hand held drill w/assorted bits Wire crimpers Adequate Length—Ground Wire...
- Page 6 : If you do not feel comfortable with wiring your new unit, please see your local Authorized Rockford Fosgate Dealer for installation. : Before installation, disconnect the battery negative (-) terminal to prevent damage to the unit, fire and/or possible injury.
-
Page 7: Source Unit
Securely mount the amplifier to the vehicle or amp rack. Be careful not to mount the amplifier on cardboard or plastic panels. Doing so may enable the screws to pull out from the panel due to road vibration or sudden vehicle stops. Connect from source signal by plugging the RCA cables into the RCA/Speaker Harness input jacks, then insert the four pin Molex connector into the mating four pin INPUT connector at the amplifier. - Page 8 Placing the crossover switch in the HP position sets the amplifier to the 80Hz High Pass mode, enabling frequencies above the cut-off point to pass. Placing the crossover switch in the AP position sets the amplifier to the All Pass mode, preventing any crossover adjustment, allowing all frequencies to pass.
- Page 9 If you are having problems after installation follow the Troubleshooting procedures below. Check in-line fuse on battery positive cable. Replace if necessary. Verify that Ground connection is connected to clean metal on the vehicle’s chassis. Repair/replace if necessary. 3. Verify there is 9 to 16 Volts present at the positive battery and remote turn-on cable. Verify quality connections for both cables at amplifier, stereo, and battery/fuseholder.
- Page 10 Load Stereo 75 Watts x 4 Dimensions: Height 1.53" (3.90cm) Width 4.25" (10.8cm) Length 6.75" (17.2cm) External Battery Fuse Rating “A” Weighted Signal to Noise Ratio ≥80 dB Referenced to 1 Watt into 4 ohms “A” Weighted Signal to Noise Ratio ≥100 dB Referenced to rated output into 4 ohms Crossover Slope...
- Page 11 No person is authorized to assume for Rockford Fosgate any other liability in connection with the sale of the product. Contact the Authorized Rockford Fosgate Dealer you purchased this product from.
- Page 12 Rockford Corporation 546 South Rockford Drive Tempe, Arizona 85281 U.S.A. In U.S.A., (480) 967-3565 - Customer Service 1-800-669-9899 012011BCF 1230-56471-01 Printed in Thailand...
Need help?
Do you have a question about the Punch PBR300X4 and is the answer not in the manual?
Questions and answers