Advertisement
Advertisement
Table of Contents

Related Manuals for Keurig Platinum Plus B79


Summary of Contents for Keurig Platinum Plus B79
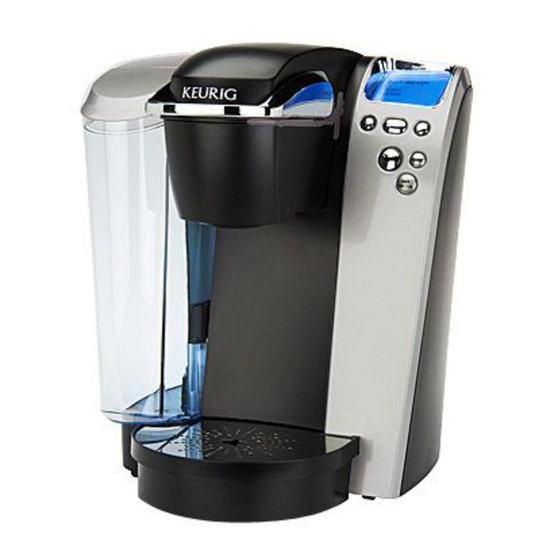
- Page 1 Owner’ s manual Platinum Plus B79 Keurig Brewer ®...
- Page 2 ® When using electrical appliances, basic before putting on or taking off parts circuit, grounding reduces the risk of Platinum Plus B79 — Using Your Brewer CAUTION: There are two sharp needles that puncture the K-Cup portion pack, ® and before cleaning the appliance.
-
Page 3: Helpful Hints
3. For the best tasting gourmet coffee, tea or To brew into a travel mug, simply remove the Brewer behind the Drip Tray (when removed). hot cocoa, Keurig recommends using bottled Controls Drip Tray Assembly and place the travel mug or filtered water. -
Page 4: Set-Up & First Brew
NOTE: You may see small amounts of water coming ® fig. fig. IMPORTaNT: You cannot use your Keurig Brewer until it has been set ® from the Vent and dripping into the Water Reservoir CAUTION: There are two sharp needles that up for its first use as set forth below. - Page 5 Brewer will return to idle mode. displayed (fig. 9). Enjoy your first cup NOTE: To brew directly after a hot water cycle, lift the Handle, insert a portion of Keurig Brewed pack and brew as normal. ® gourmet coffee, tea...
- Page 6 SECTION 2 Set-Up & First Brew (continued) Controls & Indicators (LCD Control Center) SECTION 1 Rinse Cycle Purging the Brewer Setting the Clock The correct time should now be displayed in the LCD Control Center. NOTE: If power is interrupted to the Brewer by unplugging it, or if power is Your Brewer is equipped with a rinse cycle to flush out residual flavors that If your Brewer has not been used for more than one week, you should purge Setting the clock is optional.
- Page 7 SECTION 2 Controls & Indicators (LCD Control Center) fig. fig. fig. Programming Brew Temperature (187° – 192º F) b. Press or hold the Left Button under the c. Press or hold the Right Button under the If you wanted to brew outside this window, blinking “H”...
-
Page 8: Cleaning And Maintenance
SECTION 3 Cleaning & Maintenance SECTION 2 Controls & Indicators (LCD Control Center) Cleaning External Parts To change the brew temperature again, repeat steps 1 through 3 to change 2. Cleaning the Funnel —The Funnel can be 1. Rinse the filter screen with the strong force of water from your faucet. fig. -
Page 9: Troubleshooting
SECTION 4 SECTION 3 Cleaning & Maintenance (continued) Troubleshooting SITUATION SOLUTION SITUATION SOLUTION De-Scaling Instructions Service Brewer does not • Plug Brewer into an independent outlet. Brewing a • The Exit Needle may be clogged (refer to page 15). A. PREPARE Beyond these recommended cleaning and maintenance procedures this have power Check to be sure that it is plugged in securely. -
Page 10: Section 5 Warranty
Brewer so that your purchase information will be stored SPECIFICALLY DISCLAIMS ALL OTHER WARRANTIES WITH RESPECT TO in our system. Keurig will, at its option, repair or replace the Brewer without YOUR B79 BREWER, INCLUDING ANY IMPLIED WARRANTY OF MERCHANT charge upon its receipt of proof of the date of purchase. - Page 11 P/N 60-201284-000 Rev A 06/11 ClICK, Call Or sHOP I www.keurig.com I 1.866.901.BREW I At over 18,000 stores in the U.S. and Canada Keurig, Incorporated For Household Use Only 55 Walkers Brook Drive Reading, MA 01867 Covered by U.S. Patent Numbers 7,398,726, 7,165,488,...
Need help?
Do you have a question about the Platinum Plus B79 and is the answer not in the manual?
Questions and answers