Table of Contents
Advertisement
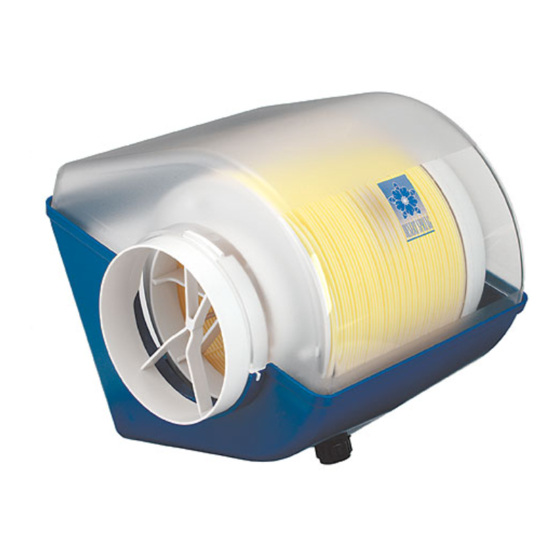
Humidifier Model DS-3200
Assembly & User Manual
IMPORTANT
Thank you for selecting the Desert Spring® Humidifier. Carefully read this manual before starting your
installation. Follow the step-by-step instructions as written. A helpful installation video is available on line at
www.desertspringproducts.com/products/humidifier.asp . For further assistance, please contact us as follows:
TECHNICAL SUPPORT
Toll-free: 1-877-374-9799
Email:
techsupport@desertspringproducts.com
WARNING
Electrocution and Chemical Hazard. Can cause death, or blindness
• Disconnect electrical power to the furnace before starting electrical installation. Electrical
shock could result in serious injury.
• Sharp edges may cause serious injury. Use care when making openings in ducts.
• Do not drill into air conditioning coil, refrigeration line or electrical accessory.
• Follow local standards and codes.
CAUTION
• Do not install the humidifier on the furnace jacket, only on the return air duct or plenum.
• Serious water damage may result if humidifier is exposed to freezing temperatures. Do not
install humidifier in location where ambient temperatures may drop below 32F/0C.
• If the heating system also has central cooling, the humidifier supply takeoff must have a
damper. The damper should be closed during the cooling season.
• Lithium grease may be used to lubricate plastic-on-plastic contact points.
• Do not connect the transformer directly to multi-speed furnace blower motors or blower motors
other than 110 VAC. (Disregard for plug in style transformer)
• Turn off the water supply before starting water connection and release pressure in the
system by opening a tap or flushing a toilet.
• Install the water supply valve on household water supply pressure only.
• Follow furnace manufacturer recommendations for electrical connections if provided.
• You may want to install this humidifier yourself. If you do, understand that the incorrect use
of any tool can cause injury to person or product. Be sure you understand how to use the
required tools to avoid any hazards. Arrange for professional installation if required.
• To ensure that your new humidifier will provide maximum benefit, your furnace must be
operating in accordance with the manufacturer's specifications. If your furnace is operating
outside of its manufacturer's specifications, your Desert Spring warranty could be voided.
• Ensure that the hot air supply temperature does not exceed 65 Celsius (150 Fahrenheit).
• Ensure that unit is mounted level.
CUSTOMER SERVICE
Toll-free: 1-888-486-4324
Email:
info@desertspringproducts.com
Rev 2.1
Advertisement
Table of Contents

Related Manuals for Desert Spring DS-3200


Summary of Contents for Desert Spring DS-3200
- Page 1 Assembly & User Manual IMPORTANT Thank you for selecting the Desert Spring® Humidifier. Carefully read this manual before starting your installation. Follow the step-by-step instructions as written. A helpful installation video is available on line at www.desertspringproducts.com/products/humidifier.asp . For further assistance, please contact us as follows:...
-
Page 2: Parts List
Contents Parts list Connecting the air supply Electrical Connections Selecting a location Water Connections About humidity Assembly Installing the Disk Wheel Startup and shutdown Hanging the Basin Adjusting the water level Template Parts List Part # Reference Description DS00004 Blue Basin DS00027 Clear Lid DS00013... -
Page 3: Selecting A Location
1. Selecting a location • This humidifier is to be mounted on the COLD AIR RETURN typical (preferably on the narrow side) of a forced air heating system. humidistat If the humidifier must be mounted on a plenum/duct which is over location 12"... -
Page 4: Electrical Connections
4. Electrical connections • Mount the humidistat according to the guidelines supplied in the humidistat box. Note Humidistat must be located at least 8" upstream of the Humidifier. • Before making electrical connections ENSURE THAT THE POWER IS OFF! humidistat ALTERNATE POWER 110 V supplied... - Page 5 6. Installing the disk wheel disk wheel • Using the tabs as indicators, lower the disk wheel assembly into the V-guides on the inlet and motor plates. Ensure that the inlet end of the axle is seated in the bearing at the bottom of the V-guide and that the gear on the other end of the axle is engaged with the motor gear.
- Page 6 In no event will Desert Spring Products Limited be liable to any customer or user of the humidifier for any indirect, incidental, or consequential damages or loss of revenues or profits, whether the same are foreseeable or not, occasioned by any cause whatsoever including, but not limited to, the installation or operation of the humidifier.
- Page 8 U.S. Patents 5,795,505, 5,171,486 © 2008 Desert Spring Products Limited, 7490 Pacific Circle Unit 1, Mississauga, ON, Canada, L5T 2A3 In the interest of continuous improvement the manufacturer reserves the right to change specifications without notice...
Need help?
Do you have a question about the DS-3200 and is the answer not in the manual?
Questions and answers