Advertisement
ASSEMBLY AND OPERATING INSTRUCTIONS
Visit our website at: http://www.harborfreight.com
Read this material before using this product.
Failure to do so can result in serious injury.
SAVE THIS MANUAL.
Copyright
2002 by Harbor Freight Tools
©
contained herein may be reproduced in any shape or form without the express written consent of
Harbor Freight Tools. Diagrams within this manual may not be drawn proportionally. Due to continuing
improvements, actual product may differ slightly from the product described herein. Tools required for
assembly and service may not be included.
For technical questions or replacement parts, please call 1-800-444-3353.
Revised Manual 10k
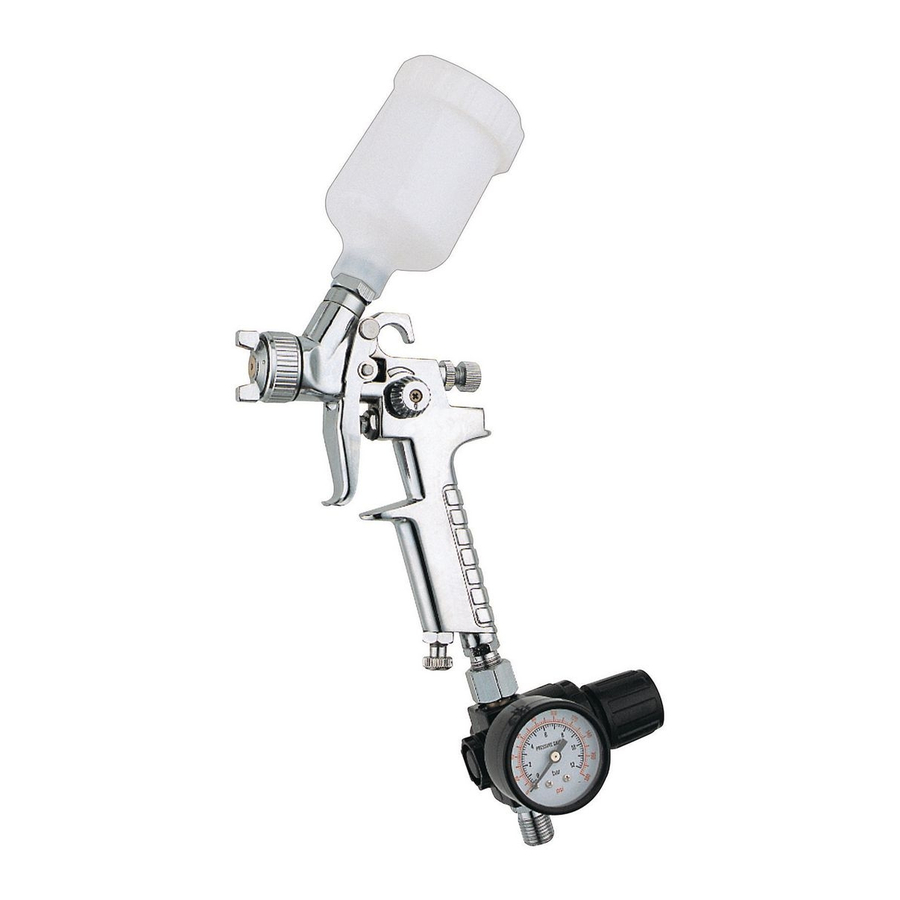
HVLP DETAIL
SPRAY GUN
46719
. All rights reserved. No portion of this manual or any artwork
®
Advertisement
Table of Contents

Related Manuals for Central Pneumatic HVLP DETAIL SPRAY GUN 46719


Summary of Contents for Central Pneumatic HVLP DETAIL SPRAY GUN 46719
-
Page 1: Spray Gun
Harbor Freight Tools. Diagrams within this manual may not be drawn proportionally. Due to continuing improvements, actual product may differ slightly from the product described herein. Tools required for assembly and service may not be included. -
Page 2: Specifications
Cup Capacity Air Inlet Recommended PSI Dimensions Nozzle Size Weight Recommended Hose You will need the manual for the safety warnings and precautions, assembly instruc- tions, operating and maintenance procedures, parts list and diagram. Keep your in- voice with this manual. Write the invoice number on the inside of the front cover. Keep the manual and invoice in a safe and dry place for future reference. - Page 3 Do not overreach. Keep proper footing and balance at all times. Do not reach over or across running machines. 10. Maintain tools with care. Keep tools clean for better and safer performance. Follow instructions for lubricating and changing accessories. Inspect tool cords and hoses periodically and, if damaged, have them repaired by an authorized technician.
- Page 4 (California Health & Safety Code 25249.5, et seq.) When unpacking, check to make sure the parts listed on page 8 are included. If any parts are missing or broken, please call Harbor Freight Tools at the number on the cover of this manual as soon as possible.
-
Page 5: Operation
Refer to Assembly Drawing on page 9. 1. To attach the Cup (#13), screw it onto the Material Sleeve (#10). 2. Screw the Regulator (#30) onto the Air Connector (#28). Warning! Never allow the Spray Gun and Cup (#13) to lay on it’s side when the Cup (#13) is full of paint. -
Page 6: Troubleshooting
Problem 1: Heavy top/bottom, or right/left pattern. Material buildup on Air Cap (#1). Cause: Partially plugged Air Cap (#1) center holes. Remove Air Cap (#1), soak in solvent, and wipe clean. Solution: Cause: Material partially plugging Tip of Gun. Solution: Remove Tip and clean. -
Page 7: Maintenance
Cleaning (Gun should be attached to compressor to complete the cleaning process) Warning!! Do not use paint strippers on this unit as they will damage the aluminum. Never allow the unit to lay on it’s side while paint is in the Cup (#13). 1. -
Page 8: Parts List
NOTE: Some parts are listed and shown for illustration purposes only and are not available individually as replacement parts. SKU 46719 Parts List Part No. Description Air Nozzle with Brass Cap 0-ring Body Fluid Nozzle Gasket Packing Screw Tallon Seal Spring Connector Material Sleeve... -
Page 9: Assembly Drawing
Part Notes: 1. Part # 24 is a set including 24a, 24b, 24c, 24d, 24e. Parts 24a through 24e are not listed on the parts list on page 8. 2. Part # 27 is a set including 27a, 27b, 27c, 27d. Parts 27a through 27d are not listed on the parts list on page 8. - Page 10 90 Day Warranty Harbor Freight Tools Co. makes every effort to assure that its products meet high quality and durability stan- dards, and warrants to the original purchaser that this product is free from defects in materials and workman- ship for the period of 90 days from the date of purchase. This warranty does not apply to damage due directly or indirectly, to misuse, abuse, negligence or accidents, repairs or alterations outside our facilities, criminal ac- tivity, improper installation, normal wear and tear, or to lack of maintenance.
Need help?
Do you have a question about the HVLP DETAIL SPRAY GUN 46719 and is the answer not in the manual?
Questions and answers