Table of Contents
Advertisement
Advertisement
Table of Contents

Related Manuals for Strong SRT 5011


Summary of Contents for Strong SRT 5011
- Page 1 Digital Free-To-Air Terrestrial Receiver SRT 5011 User Manual...
-
Page 4: Table Of Contents
PART 1 • English TABLE OF CONTENTS 1.0 INSTRUCTION 1.1 Safety Instructions 1.2 Storage 1.3 Equipment Set-up 1.4 Features & Accessories 2.0 CONNECTION 2.1 Connecting to Terrestrial Antenna 2.2 Connecting to TV and VCR with SCART cable 2.3 Connecting to TV with RCA cable 2.4 Connecting to a Digital Audio Amplifier 2.5 Connecting to PC 3.0 YOUR RECEIVER... -
Page 5: Instruction
PART 1 • English 1.0 INSTRUCTION 1.1 Safety Instructions DO NOT INSTALL YOUR RECEIVER: In a closed or poorly ventilated cabinet; directly on top of or under any another equipment; on a surface which might obstruct the ventilation slots DO NOT EXPOSE THE RECEIVER OR ITS ACCESSORIES: To direct sunlight or near any other equipment that generates heat;... -
Page 6: Equipment Set-Up
PART 1 • English 1.3 Equipment Set-up We recommend you consult a professional installer to set up your equipment. Otherwise, please follow these instructions carefully: Refer to the user manual of your TV and your antenna Make sure that the SCART cable and outdoor components of the antenna are in a good condition and the SCART connections are well shielded This manual provides complete instructions for installing and using this receiver. -
Page 7: Connection
PART 1 • English RS-232 port for updating control software and additional services subject of local broadcast condition Accessories: User’s Manual 1 Remote control unit 2x Batteries (AAA type) Note: The batteries should not be recharged, disassembled, electrically short-circuited or be mixed or used with other types of batteries. -
Page 8: Your Receiver
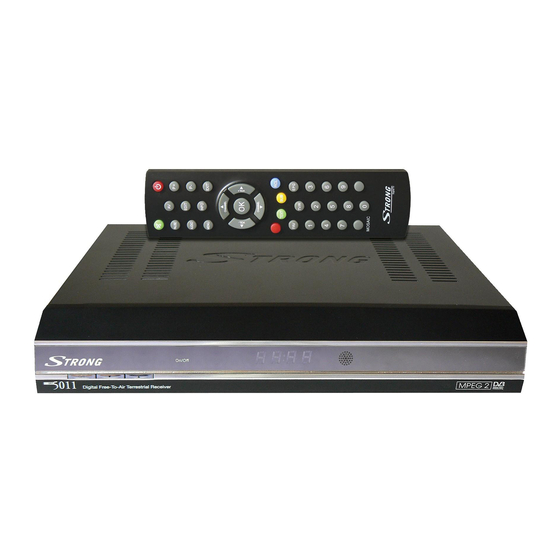
PART 1 • English 3.0 YOUR RECEIVER 3.1 Front Panel Fig. 5 1. Mode indicator The RED light indicates that the receiver is in STAND-BY mode. The GREEN light indicates that the receiver is in AWAKE mode. 2. Power ON/OFF button 3. -
Page 9: Remote Control
PART 1 • English 3.3 Remote Control Turns the receiver On/Standby Mutes audio output of the receiver Toggle between TV and AV mode 0 ~ 9 Channel selection Toggle Favourite mode ON / OFF TV/R Toggle between TV or RADIO mode MENU Opens the main menu Shows information of the current channel... -
Page 10: Main Menu
PART 1 • English 2 The Preference Menu will appear. Please select your Country, Antenna Power mode and Channel numbering. Press UP/ DOWN to select the items, press RIGHT/LEFT to change the value of the item. If you choose BACK, it will go back to the previous menu screen. Press OK to confirm. 3 You enter the Adjust antenna menu. -
Page 11: Installation
PART 1 • English 5.2.1 Automatic Search Press OK over the Automatic Search. The warning message “Do you want to start Automatic Search?” will appear. Press LEFT/RIGHT to move the cursor and OK to continue. The message “Do you want to erase your previous channel list?” will appear. - Page 12 PART 1 • English 5.3.1.3 Country Press OK/RIGHT to select your country, press OK to confirm. If your country is not in the list, select Other. It will apply the most common frequency plan for European countries. 5.3.1.4 Channel Numbering Here you can set the channel list by different number format: Appearing order or Operator defined.
- Page 13 PART 1 • English 5.3.3.3 Parental Setting Set some programs to lock status. If a program is locked, the parental PIN code has to be entered correctly before watching the locked program. Use UP/DOWN keys to select the channel you want to lock and press OK to confirm.
-
Page 14: Timer
PART 1 • English 3. In Hyper Terminal menu select “transfer” item and then press “send file” item. Select the file with the new software (*.UPD) you want to download and choose the protocol “1K X modem”. Finally press ok and a download menu will appear in the computer screen. -
Page 15: Other Operations
PART 1 • English 5.5.2 Tetris LEFT / RIGHT: Move block to left or right direction. DOWN: Drop block. Rotate block. 5.5.3 Gomoku UP / DOWN / LEFT / RIGHT: Move the cursor. Place the gobang. 5.5.4 Calendar UP / DOWN: +/- months. -
Page 16: Subtitles
PART 1 • English 6.4 Subtitles In no-menu state, press SUB. Press LEFT/RIGHT to select between teletext and DVB subtitles. Use UP/DOWN to select subtitles language. Confirm your selection with OK button. 6.5 Information When you press INFO key twice in the no-menu state, the screen will show you current channel information. A.1 TROUBLESHOOTING Before requesting service, please check the table for a possible cause of the problem. -
Page 17: Specifications
PART 1 • English Symptom Remedy Remote control fails to Check the batteries in your remote control. Make sure your receiver is operate receiver in the operate mode. Make sure you are pointing your remote control at the receiver’s front panel Make sure there is no direct sunlight from behind the receiver There may be a temporary transmission error, or your receiver has lost some of its software settings. - Page 18 PART 1 • English Tuner Front End: DVB-T, UHF & VHF Tuner Input frequency range: 174 ~ 230 MHz (VHF I/III) and 470 ~ 862 MHz (UHF) Loop through frequency range: 47 ~ 862 MHz Input signal level: -82 ~ -20 dBm Memory and System Flash memory: 1 MByte...
-
Page 19: Glossary Of Terms
PART 1 • English A.3 GLOSSARY OF TERMS DVB-T Digital Video Broadcasting Terrestrial – Digital TV via antenna (same as DTT- Digital Terrestrial Television). MPEG Moving Picture Experts Group is founded by the ISO. MPEG is a standard method for digital transmission of video and audio. Network Also known as bouquet is a set of channels offered by a single broadcaster. -
Page 20: Environmental Issues
Environmental Issues ENVIRONMENTAL ISSUES STRONG is committed to reducing the impact of its products on the environment. To maximise the benefits of our design enhancements, your co-operation is required. Electronic product recycling Packaging Do not dispose of this product with your When disposing of this domestic rubbish.
Need help?
Do you have a question about the SRT 5011 and is the answer not in the manual?
Questions and answers