Table of Contents
Advertisement
Quick Links
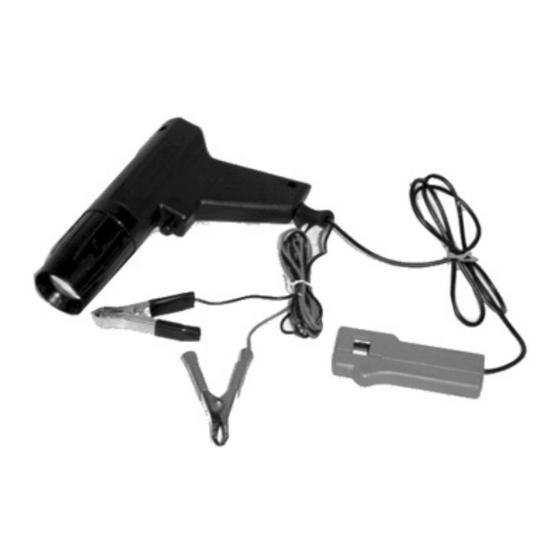
AUTOMOTIVE TIMING
LIGHT - XENON
Model 03343
ASSEMBLY and OPERATING
INSTRUCTIONS
®
3491 Mission Oaks Blvd., Camarillo, CA 93011
Visit our Web site at http://www.harborfreight.com
Copyright © 2003 by Harbor Freight Tools
®
. All rights reserved. No portion of this
manual or any artwork contained herein may be reproduced in any shape or form
without the express written consent of Harbor Freight Tools .
For technical questions and replacement parts, please call 1-800-444-3353
Advertisement
Table of Contents

Related Manuals for Harbor Freight Tools 3343


Summary of Contents for Harbor Freight Tools 3343
- Page 1 . All rights reserved. No portion of this manual or any artwork contained herein may be reproduced in any shape or form without the express written consent of Harbor Freight Tools . For technical questions and replacement parts, please call 1-800-444-3353...
- Page 2 Overall Dimensions Lead Length Features: Xenon bulb, Clamp on inductive pick up, automatic reverse polarity, overload protection, trigger activated pistol grip You will need the manual for the safety warnings and precautions, assembly instructions, operating and maintenance procedures, parts list and diagram. Keep your invoice with this manual.
- Page 3 When unpacking, check to make sure the parts listed on page 7 are included. If any parts are missing or broken, please call Harbor Freight Tools at the number on the cover of this manual as soon as possible.
- Page 4 Timing Light Basics Automobile engines work by mixing air, fuel and a spark to ignite the fuel/air mixture, creating an explosion, that powers the vehicle. Maximum power from the explosion must be delivered to the engine at a precise instant. Attaining that precise instant is called “Timing”.
- Page 5 7. Squeeze the trigger on the timing light and direct the flash onto the engine timing marks to obtain a reading. Compare the reading from the timing mark to the reading in the manufacturer’s specifications. If the timing does not match with the timing listed in the manufacturer’s specifications, adjust the timing.
- Page 6 Testing Centrifugal Advance 1. With the timing light still connected and the vacuum line still not attached, speed the engine up slowly and watch the timing mark. 2. The timing mark should remain stationary until the engine reaches the manufacturer’s specified speed.
-
Page 7: Parts List
PLEASE READ THE FOLLOWING CAREFULLY THE MANUFACTURER AND/OR DISTRIBUTOR HAS PROVIDED THE PARTS DIAGRAM IN THIS MANUAL AS A REFERENCE TOOL ONLY. NEITHER THE MANUFACTURER NOR DISTRIBU- TOR MAKES ANY REPRESENTATION OR WARRANTY OF ANY KIND TO THE BUYER THAT HE OR SHE IS QUALIFIED TO MAKE ANY REPAIRS TO THE PRODUCT OR THAT HE OR SHE IS QUALIFIED TO REPLACE ANY PARTS OF THE PRODUCT.
Need help?
Do you have a question about the 3343 and is the answer not in the manual?
Questions and answers