Table of Contents
Advertisement
Quick Links
Magneplanar MMC 2 General Instruction Manual
Table of Contents
1. Introduction/General Description
2. Carton Contents
3. Packaging
4. Installation and Placement
You don't like to read manuals? We understand, but, please take the time to carefully read
"Placement and Installation" and "Phasing".
Introduction / General Description
1.
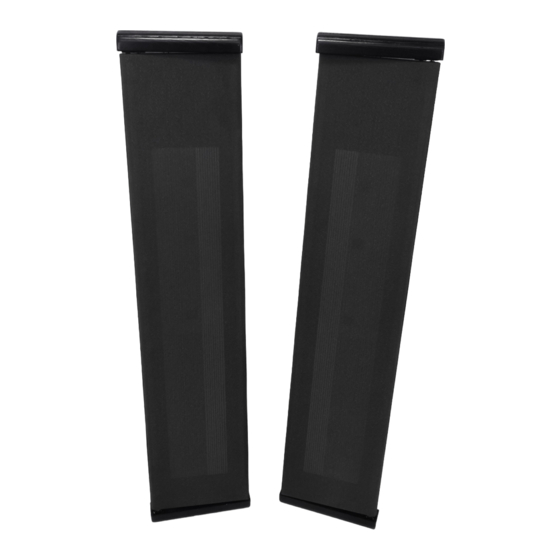
Congratulations on your purchase of the Magneplanar MMC 2. The MMC 2 is a 3-way, motorized, speaker
designed for music or home theater applications. The MMC 2 boasts a "faster" midrange and a quasi-ribbon
tweeter and quasi-ribbon super tweeter.
Carton Contents
2.
1 - Pair of MMC 2 with Motorized Wall Mounts
1 - Magnepan "Shaped" Pink Noise CD Test Disk
1 - Long 5/64 inch allen wrench
1 - Speaker Logo
1 - MMC 2 General Instruction Manual
1 - MMC 2 Installation Instruction Manual
1 - Each Mounting Template and Kit
Packaging
3.
Save all packaging. The MMC 2 can be shipped safely only in the original packaging. Should you discard it,
packaging is available from Magnepan.
Advertisement
Table of Contents

Subscribe to Our Youtube Channel
Related Manuals for MAGNEPLANAR MMC 2


Summary of Contents for MAGNEPLANAR MMC 2
- Page 1 1 - MMC 2 General Instruction Manual 1 - MMC 2 Installation Instruction Manual 1 - Each Mounting Template and Kit Packaging Save all packaging. The MMC 2 can be shipped safely only in the original packaging. Should you discard it, packaging is available from Magnepan.
-
Page 2: Placement And Installation
To help determine the front of the MMC 2, the quasi ribbon foil can be seen through the fabric on the front of the speaker. The speakers should be mounted so that the front of the speakers are on axis with the listener. -
Page 3: Speaker Angle Adjustment
Cam/Stop. Insert the long 5/64 inch allen wrench into the Cam/Stop at the bottom of the speaker as shown in Fig. 1 and 2 below and loosen the allen screw. Rotate the MMC 2 to the desired position as shown in Fig. -
Page 4: Tweeter Level Control
A nylon screw is included with the MMC 2 to act as a stop so that the MMC 2 can be adjusted to be parallel with the wall in the closed position. The screw hole is located at the bottom inside edge of the MMC 2. To ensure that the nylon screw will not loosen, wrap Teflon plumber's tape on the threads or a drop of blue Loctite or score the threads lengthwise.
Need help?
Do you have a question about the MMC 2 and is the answer not in the manual?
Questions and answers