Advertisement
Available languages
Available languages
Quick Links
INSTALLATION INSTRUCTIONS
27" (68.6 CM) AND 30" (76.2 CM) ELECTRIC BUILT-IN
MICROWAVE OVEN
. INSTRUCTIONS D'INSTALI.A, T IpN
FOUR A MICRO-ONDES ENCASTRE ELECTRIQUE
DE 27" (68,6 CM) ET30" (76,2 CM)
TableofContents/Table des mati@res
BUILT-IN MICROWAVE OVEN SAFETY .......................................
1
INSTALLATION REQUIREMENTS
................................................
2
Tools and Parts ............................................................................
2
Location Requirements ................................................................
2
Electrical Requirements ...............................................................
3
INSTALLATION
INSTRUCTIONS ..................................................
4
Prepare Built-In Microwave Oven ................................................
4
Make Electrical Connection .........................................................
4
Install Microwave Oven ................................................................
5
Complete Installation ...................................................................
5
SECURITI :!:DU FOUR ,_,MICRO-ONDES
ENCASTRI :!: . ................ 6
EXIGENCES D'INSTALLATION .....................................................
7
Outillage et pieces ........................................................................
7
Exigences d'emplacement ...........................................................
7
Specifications electriques ............................................................
8
INSTRUCTIONS
D'INSTALLATION
...............................................
g
Preparation du four & micro-ondes encastre ............................... 9
Raccordement
electrique .............................................................
9
Installation du four a micro-ondes ............................................. 11
Achever I'installation ..................................................................
11
BUILT-IN MICROWAVEOVEN SAFETY
Your safety and the safety of others are very important.
We have provided many important safety messages in this manual and on your appliance. Always read and obey all safety
messages.
This is the safety alert symbol.
This symbol alerts you to potential hazards that can kill or hurt you and others.
All safety messages will follow the safety alert symbol and either the word "DANGER" or "WARNING."
These words mean:
You can be killed or seriously injured if you don't immediately
follow
instructions.
You can be killed or seriously injured if you don't follow
instructions.
All safety messages will tell you what the potential hazard is, tell you how to reduce the chance of injury, and tell you what can
happen if the instructions are not followed.
8304424A
Advertisement

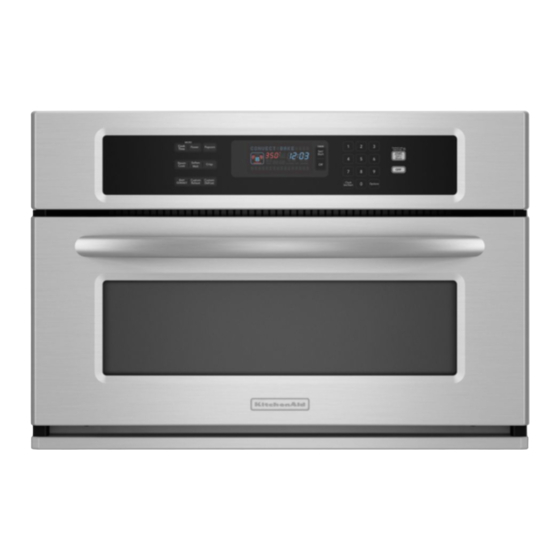
Summary of Contents for KitchenAid KBHS109SSS04
- Page 1 INSTALLATION INSTRUCTIONS 27" (68.6 CM) AND 30" (76.2 CM) ELECTRIC BUILT-IN MICROWAVE OVEN . INSTRUCTIONS D'INSTALI.A, T IpN FOUR A MICRO-ONDES ENCASTRE ELECTRIQUE DE 27" (68,6 CM) ET30" (76,2 CM) TableofContents/Table des mati@res BUILT-IN MICROWAVE OVEN SAFETY ........SECURITI :!:DU FOUR ,_,MICRO-ONDES ENCASTRI :!: .
-
Page 2: Installation Requirements
INSTALLATION REQUIREMENTS Product Dimensions Gather the required tools and parts before starting installation. 27" (68.6 cm) and 30" (76.2 cm) Microwave Ovens Read and follow the instructions provided with any tools listed here. Tools needed • Philips screwdriver • Hand or electric drill (for wall cabinet installtions) •... - Page 3 Cabinet Side View Electrical Connection To properly install your microwave oven, you must determine the type of electrical connection you will be using and follow the instructions provided for it here. • Microwave oven must be connected to the proper electrical voltage and frequency as specified on the model/serial number rating plate.
-
Page 4: Installation Instructions
INSTALLATION INSTRUCTIONS 5. Route the flexible cable conduit from the microwave oven to the junction box through a UL listed or CSA approved conduit connector. Locate existing wiring to avoid drilling into or severing wiring 6. Tighten screws on conduit connector. during installation. - Page 5 A. Two screws 4. Replace oven racks, turntable and support hub. 5. Reconnect power. 6. Display panel will light briefly, and "PF" should appear in the display. 7. If display panel does not light, please reference the "Assistance or Service" section of the Use and Care Guide or contact the dealer from whom you purchased your F.
- Page 6 SECURITE DU FOUR A MICRO-ONDES ENCASTRE Votre s_curit_ et celle des autres est tr_s importante. Nous donnons de nombreux messages de securite importants dans ce manuel et sur votre appareil menager. Assurez-vous toujours lire tousles messages de securite et de vous y conformer. Ce symbole d'alerte de securite vous signale les dangers potentiels de deces et de blessures graves &...
-
Page 7: Exigences D'installation
EXIGENCESD'INSTALLATION REMARQUE : Pour I'installation sous un plan de travail, on recommande que le boftier de connexion soit situe dans le placard adjacent, & droite ou & gauche. Dans le cas de Rassembler les outils et pieces necessaires avant de commencer I'installation du boftier de connexion sur le mur arriere, I'installation. - Page 8 Dimensions du placard Fours a micro-ondes de 27" (68,6 cm) et 30" (76,2 cm) INSTRUCTIONS DE LIAISON .& LA TERRE Pour un four a micro-ondee raccorde permanence Le four & micro-ondes dolt 6tre raccorde & un systeme de c&blage permanent en metal relie &...
-
Page 9: Instructions D'installation
• L'installateur dolt fournir un connecteur de conduit Lorsqu'une alimentation electrique par un circuit monophase • de 120/208 V ou 120/240 V CA seulement, 60 Hz a 4 ills ou 3 (homologation UL ou CSA). ills, est disponible, un circuit separ6 de 20 amperes •... - Page 10 5. Acheminer le conduit de c&ble flexible depuis le four jusqu'au 3. Detorsader le conducteur blanc du conducteur vert (ou nu) de boftier de connexion - utiliser un connecteur de conduit liaison a terre provenant du four a micro-ondes. (homologation UL ou CSA).
- Page 11 A I'aide de 2 personnes ou plus, soulever partiellement le four 1. Verifier que toutes les pieces sont maintenant installees. S'il micro-ondes dans I'ouverture du placard. reste une piece, passer en revue les differentes etapes pour decouvrir laquelle aurait ete oubliee. REMARQUE : Pousser le four a micro-ondes pour I'introduire...
- Page 12 8304424A 2/07 © 2007 Whirlpool Corporation. Printed in U.S.A. All rights reserved. Tous droits r_eerves, Imprime aux E.-U.


Need help?
Do you have a question about the KBHS109SSS04 and is the answer not in the manual?
Questions and answers