Advertisement
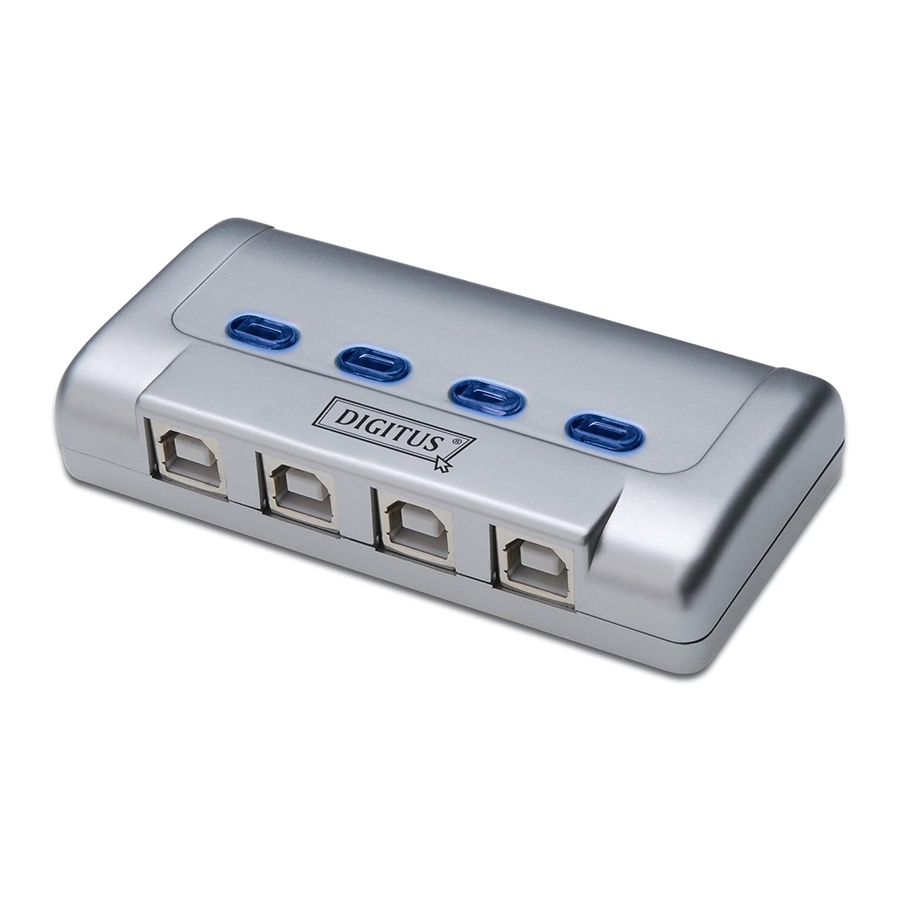
USB 2.0 Sharing Switch
User Manual
Model: DA-70135-1 & DA-70136-1
Getting started with USB 2.0 Sharing Switch
Thank you for choosing the USB 2.0 Sharing Switch.
Today, USB connections can be found in various devices, from PC cameras to
scanners, printers, Hubs, and KVM switches, As USB technology continues its
reign in the computer peripheral market, USB 2.0 Sharing Switches offer a
completely cost-effective solution for the small business and home user to
manage their network layout.
These sharing switches are ideal for multiple PCs to share one USB
device. The USB 2.0 sharing Switch has designed a user-friendly interface that
makes device sharing easier. No more extra complex driver download
procedures are necessary. Only a few clicks and you can start to explore the
USB adventures.
Advertisement
Table of Contents

Related Manuals for Digitus DA-70135-1


Summary of Contents for Digitus DA-70135-1
-
Page 1: User Manual
USB 2.0 Sharing Switch User Manual Model: DA-70135-1 & DA-70136-1 Getting started with USB 2.0 Sharing Switch Thank you for choosing the USB 2.0 Sharing Switch. Today, USB connections can be found in various devices, from PC cameras to scanners, printers, Hubs, and KVM switches, As USB technology continues its reign in the computer peripheral market, USB 2.0 Sharing Switches offer a... - Page 2 Installation DA-70135-1 2 x USB B Type connectors connect to each PC and 1 USB A Type connector attaches to the USB device(s). Installation DA-70136-1 4 x USB B Type connectors to each PC and 1 USB A Type connector attaches...
-
Page 3: Software Installation
Software Installation First insert the CD (AP Software) into your CD-ROM drive. The language dialog box will pop up. If installation does not start automatically, start Windows Explorer, navigate to your CD-ROM drive and double-click the setup.exe file. Confirm the English (or the required languages) is selected as the installed language, and then click OK. - Page 4 The default directory is C:\Program Files\USB Sharing. If the drive letter where you would like to install is different from C, browse the drive instead. Click “Next” to confirm the change. When the Installation successful, the dialog is display, click “Finish” to close all of the open windows, and then reboot your computer.
- Page 5 After your computer is rebooted, there will be as shortcut on your desktop and a icon on the lower right corner of your screen.
- Page 6 Operation...
- Page 7 It is important for end users to realize that storage devices such as, external hard drives, and printers, will continue to send signals back and forth to your computer when ever they are connected. While this is happening, USB auto sharing will be confused by this signal and an indication icon will appear red and blinking.
- Page 8 Software Un-installation 1. In order to completely remove the software application from your PC, please insert the CD-ROM into your CD-ROM drive. Confirm the default language in English and click OK. The file deletion dialog will appear and click OK to confirm. 2.
Need help?
Do you have a question about the DA-70135-1 and is the answer not in the manual?
Questions and answers