Sign In
Upload
Download
Table of Contents
Contents
Add to my manuals
Delete from my manuals
Share
URL of this page:
HTML Link:
Bookmark this page
Add
Manual will be automatically added to "My Manuals"
Print this page
×
Bookmark added
×
Added to my manuals
Manuals
Brands
Primera Manuals
Printer
DP-4100
User manual
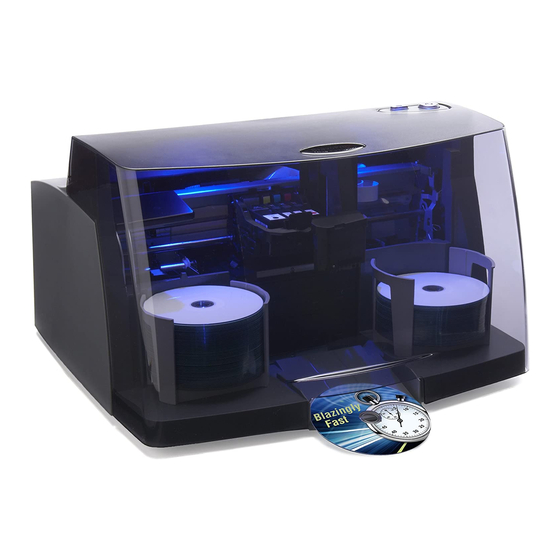
Primera DP-4100 User Manual
Dp-4100 series disc printers and publishers
Hide thumbs
1
2
Table Of Contents
3
4
5
6
7
8
9
10
11
12
13
14
15
16
17
18
19
20
21
22
23
24
25
26
27
28
29
30
31
32
33
34
35
36
37
38
39
40
41
42
43
44
45
46
47
48
49
50
51
52
53
54
55
56
57
page
of
57
Go
/
57
Contents
Table of Contents
Troubleshooting
Bookmarks
Table of Contents
Table of Contents
Section 1: Getting Started
Note on Model Differences
Choosing a Good Location
Unpacking and Inspection
Identifying the Parts
System Requirements
Loading Media
Installing Ink Cartridges
Setup the Kiosk bin
Section 2: Creating Discs
Tutorial: Copy a Disc (PRINT ONLY for DISC PRINTER USERS)
Using Ptpublisher
B1. Project Types
B2. Steps to any Project
Step 1 Add Data
Step 2 Add Print
Step 3 Start Project (Summary - Settings)
B3. Robot Options
B4. Publisher Status
B5. Backup Project (PC Disc Publisher Only)
B6. Rip Audio (PC Disc Publisher Only)
B7. Ptprotect (PC Disc Publisher Only)
B8. Project Sets (PC Disc Publisher Only)
Creating a Print Label Using Surething (PC)
Creating a Print Label Using Disc Cover (Mac)
Advanced Printer Settings
Using Other Graphics Programs
Section 3: Maintenance and Troubleshooting
Interpreting the Publisher's Indicator Lights
Internal Blue LED Lights
Transporting the Publisher
Cleaning the Print Head
Replacing the Print Head
Technical Support
Section 4: Technical Specifications
Index
Advertisement
Quick Links
1
Note on Model Differences
2
System Requirements
3
Installing Ink Cartridges
4
Tutorial: Copy a Disc (Print Only for Disc Printer Users)
5
Section 3: Maintenance and Troubleshooting
6
Cleaning the Print Head
7
Technical Support
8
Section 4: Technical Specifications
Download this manual
111912-511276
-- Series
Disc Printers and Publishers
*after registering your
product. See
www.primerawarranty.com
for terms and conditions.
© 2010 All rights reserved
For the most recent version of this manual please visit
http://primera.eu/europe/manuals.html
Table of
Contents
Previous
Page
Next
Page
1
2
3
4
5
Advertisement
Table of Contents
Need help?
Do you have a question about the DP-4100 and is the answer not in the manual?
Ask a question
Questions and answers
Related Manuals for Primera DP-4100
Printer Primera DP-XRn User Manual
Primera technology network disc duplication & printing system user's manual (53 pages)
Printer Primera Network Disc Duplication & Printing System DP=-XRn Quick Start Manual
Primera technology network disc duplication & printing system quick start guide (2 pages)
Printer Primera DP-4101 User Manual
Dp-4100 series disc printers and publishers (57 pages)
Printer Primera DP-4102 User Manual
Dp-4100 series disc printers and publishers (57 pages)
Printer Primera Automated Optical Disc Duplication & Printing System DP-XR Quick Start Manual
Primera technology automated optical disc duplication & printing system quickstart guide (2 pages)
Printer Primera DP-Series Specification Sheet
Primera technology cd/dvd/bd duplicators & printers specification sheet (2 pages)
Printer Primera DP-4051 BLU User Manual
Dp-4100 series disc printers and publishers (57 pages)
Printer Primera DP-4101 Blu User Manual
Dp-4100 series disc printers and publishers (57 pages)
Printer Primera DP-4102 Blu User Manual
Dp-4100 series disc printers and publishers (57 pages)
Printer Primera Primera Signature Z1 User Manual
Primera technology cd/dvd printer user's guide (32 pages)
Printer Primera trio User Manual
(58 pages)
Printer Primera eddie User Manual
Edible ink printer (116 pages)
Printer Primera Signature User Manual
Slide printer (32 pages)
Printer Primera Signature User Manual
Robotic feed (scp-r) (32 pages)
Printer Primera FX400e User Manual
Foil imprinting system (30 pages)
Printer Primera Signature Z6 User Manual
Cd/dvd printer 6 (36 pages)
This manual is also suitable for:
Dp-4101
Dp-4051
Dp-4102
Dp-4051 blu
Dp-4101 blu
Dp-4102 blu
Table of Contents
Print
Rename the bookmark
Delete bookmark?
Delete from my manuals?
Login
Sign In
OR
Sign in with Facebook
Sign in with Google
Upload manual
Upload from disk
Upload from URL


Need help?
Do you have a question about the DP-4100 and is the answer not in the manual?
Questions and answers