Table of Contents
Advertisement
SPLIT TYPE AIR CONDITIONER
INDOOR UNIT/OUTDOOR UNIT
OUTDOOR UNIT
RAC-D10EX2
RAC-D14EX2
Instruction manual
To obtain the best performance and ensure years of
trouble free use, please read this instruction manual
completely.
Bedienungsanleitung
Bitte lesen Sie diese Bedienungsanleitung aufmerksam
durch, um durch richtige Bedienung jahrelangen und
störungsfreien Betrieb zu gewährleisten.
Mode d'emploi
Des performances optimales et un fonctionnement à
long terme seront assurés en appliquant les présentes
instructions après avoir entièrement lu ce mode
d'emploi.
Manuale di istruzioni
Per garantire la migliore prestazione e la più lunga
durataleggere attentamente e al completo le seguanti
istruzioni.
MODEL
RAS-D10EX2 / RAC-D10EX2
RAS-D14EX2 / RAC-D14EX2
Page 1~36
Seite 37~72
Page 73~108
Pag. 109~144
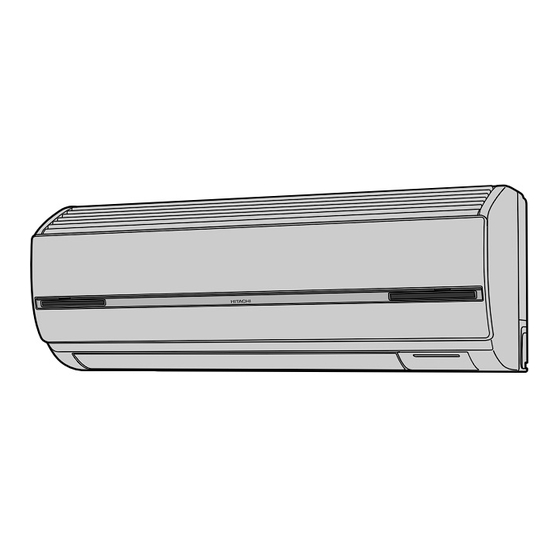
INDOOR UNIT
RAS-D10EX2
RAS-D14EX2
Manual de instrucciones
Para obtener el mejor funcionamiento y asegurar años
de uso libre de problemas, lea cuidadosamente este
manual de instrucciones.
Manual de instruções
A fim de obter um bom funcionamento e de garantir
uma utilização sem falhas durante muitos anos, é favor
ler este manual de instruções completamente.
O‰ËÁ›Â˜ ¯Ú‹Ûˆ˜
°È¿ Ó· Â›Ó·È ÂÁÁ˘Ë̤ÓË Ë Î·Ï‡ÙÂÚË ‰˘Ó·Ù‹ ÏÂÈÙÔ˘ÚÁ›·
Î·È Ë ¯ˆÚ›˜ ‚Ï¿‚˜ Ì·ÎÚÔÚfiıÂÛÌË ¯Ú‹ÛË Ù˘
Û˘Û΢‹˜, ‰È·‚¿ÛÙ fiϘ ÙȘ οوıÈ Ô‰ËÁ›Â˜.
Инструкция по эксплуатации
Для oбecпeчeния нaилyушиx экcплyaтaциoнныx
xapaктepиcтик и мнoгoлeтнeй бeзoткaзнoй paбoты
oбopyдoвaния нeoбxoдимo пoлнocтью oзнaкoмитьcя c
дaннoй Инcтpyкциeй пo экcплyaтaции.
Página 145~180
Página 181~216
ÛÂÏ›‰· 217~252
стр. 253~288
Advertisement
Table of Contents


Need help?
Do you have a question about the RAC-D10EX2 and is the answer not in the manual?
Questions and answers