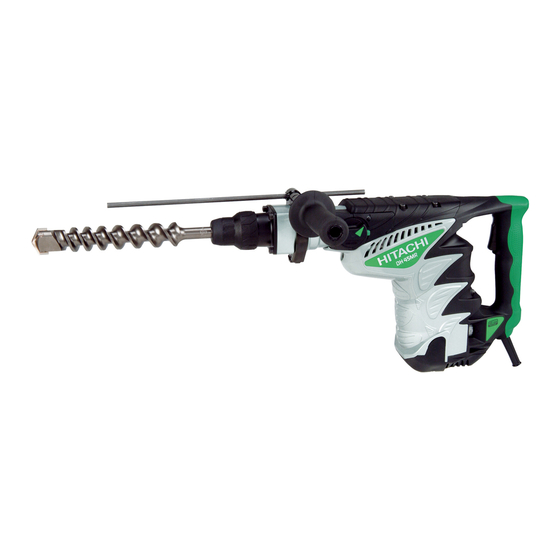
Hitachi DH 45MR Handling Instructions Manual
Hide thumbs
Also See for DH 45MR:
- Safety instructions and instruction manual (68 pages) ,
- Handling instructions manual (62 pages) ,
- Parts list (6 pages)
Table of Contents
Advertisement
Quick Links
Advertisement
Table of Contents

Summary of Contents for Hitachi DH 45MR
-
Page 1: Handling Instructions
Rotary Hammer MODEL DH 45MR HANDLING INSTRUCTIONS Note: Before using this Power Tool, carefully read through these HANDLING INSTRUCTIONS to ensure efficient, safe operation. It is recommended that these INSTRUCTIONS be kept readily available as an important reference when using this power tool. -
Page 2: General Power Tool Safety Warnings
Carrying power tools with your finger on the switch GENERAL POWER TOOL SAFETY WARNINGS or energising power tools that have the switch on invites accidents. WARNING d) Remove any adjusting key or wrench before turning Read all safety warnings and all instructions. the power tool on. -
Page 3: Rotary Hammer Safety Warnings
Do not touch the bit during or immediately after ROTARY HAMMER SAFETY WARNINGS operation. The bit becomes very hot during operation and could cause serious burns. 1. Wear ear protectors. Before starting to break, chip or drill into a wall, Exposure to noise can cause hearing loss. -
Page 4: Prior To Operation
NOTE: For tools such as a bull point and a cold chisel, 8. Asphalt cutting (Hammering) use only Hitachi genuine parts. (1) Clean, then smear the tool shank with the grease provided in the green tube (Fig. 1). (1) Cutter 9. - Page 5 (2) To attach the tool (SDS max shank), insert it into HOW TO USE THE ROTARY HAMMER the hole until it contacts the innermost end of the hole as illustrated in Fig. 2. 1. How to drill holes (Fig. 4) (1) Pull the switch trigger after applying the drill bit Front cap tip to the drilling position.
- Page 6 Button Lever holder Lever holder Selector lever Selector lever Fig. 8 Button Fig. 6 (b) Release the button to lock the selector lever. (c) Turn the grip as illustrated in Fig. 9 and fix the (c) Release the button to lock the selector lever. tool to the desired working direction.
- Page 7 English CAUTION: (a) Attach the chuck adapter to the drill chuck. When the warming up operation is performed, hold (b) The SDS max shank of the chuck adapter is the side handle and the main body securely with equivalent to the drill bit. Therefore, follow the both hands to maintain a secure grip and be careful same procedure as [How to install tool] for not to twist your body by the jammed drill bit.
-
Page 8: How To Replace Grease
Replace the grease as described below. 1. Grease replacement period After purchase, replace grease after every 6 months of usage. Ask for grease replacement at the nearest Hitachi Authorized Service Center. Proceed for replacement of grease. 2. Grease replenishment CAUTION: Fig. -
Page 9: Maintenance And Inspection
Fig. 21 (2) Supply 30 g of Hitachi Electric Hammer Grease A (Standard accessory, contained in tube) to the crank case. (3) After replenishing the grease, install the crank cover securely. - Page 11 321-306 325-230 321-305 324-944 318-590 324-947 321-304 ––––––– 321-303 324-938 321-302 313-078 981-942 M6×25 313-079 321-300 980-673 M5×40 956-996 1AS-60 313-093 321-301 938-307 325-229 324-948 315-868 301-653 D4×20 948-131 981-373 600-7DD 6007DDUAV2S 86-1 980-063 321-297 86-2 930-804 “ GBR (110V),” 313-421 D8×20 87-1...
- Page 12 Hitachi Koki Co., Ltd. Shinagawa Intercity Tower A, 15-1, Konan 2-chome, Minato-ku, Tokyo, Japan Code No. C99144811 N Printed in Japan...


Need help?
Do you have a question about the DH 45MR and is the answer not in the manual?
Questions and answers