Table of Contents
Advertisement
Advertisement
Table of Contents

Related Manuals for Iomega REV 35gb


Summary of Contents for Iomega REV 35gb
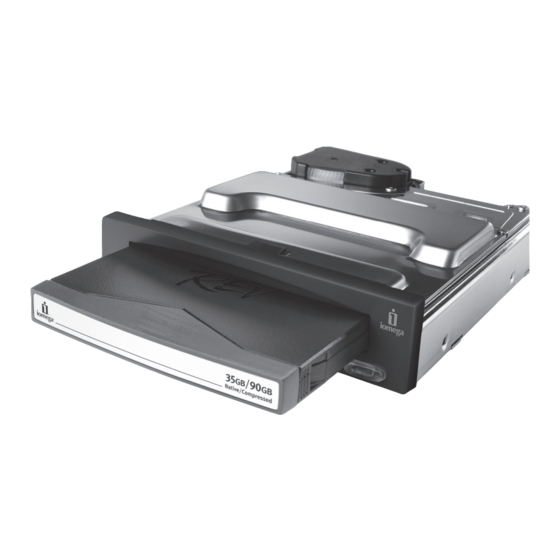
- Page 1 35gb ™ Removable Hard Disk Drive Integrator Guide...
-
Page 2: Table Of Contents
Iomega REV Internal ATAPI Drive Jumper Settings ....... . .8... -
Page 3: System Requirements
System Requirements The following are the minimum system requirements for using a REV drive. Supported Operating Systems • Windows XP (Home and Professional) • Windows Server 2003 (Standard and Small Business Editions) • Windows 2000 Professional (SP3 and SP4) • Windows 2000 Server (SP3 and SP4) •... -
Page 4: Atapi
Installing the Iomega REV Internal ATAPI Drive Install the REV System Software. NOTE: See the “About the REV System Software” section of this guide for more information. Disconnect the power cord, and remove the cover to your computer. Verify that the REV drive jumper settings are set to Cable Select as shown in the illustration. - Page 5 Locate a vacant drive bay (5.25 " or 3.5 " drive bay) and remove the panel cover. Slide the REV drive into the drive bay. NOTE: If you are installing into a 5.25 " drive bay, you will need a mounting bracket (available from your computer retailer).
- Page 6 Connect the blue connector of the IDE data cable to the secondary channel on the motherboard and the gray connector to another drive (optional). NOTE: If the secondary channel already has a cable attached, replace with the IDE data cable as shown here or see the User’s Manual for detailed instructions.
- Page 7 Replace the cover, connect the power cord and restart your computer. Confirm that your drive appears in the list by selecting Yes, and then select Close. NOTE: If the detection software does not startup or you do not see your drive listed, refer to the user’s manual on the CD for help.
-
Page 8: Iomega Rev Internal Atapi Drive Jumper Settings
Insert a disk and your drive is now ready to use. The REV drive icon will display in My Computer or Windows Explorer. NOTE: If this package did not include a REV disk, you will need to purchase one. Iomega REV Internal ATAPI Jumper Settings Cable Select (Default) Slave... -
Page 9: Scsi
NOTE: See the “About the REV System Software” section of this guide for more information. Select an appropriate SCSI ID. The Iomega REV comes preset at SCSI ID 4. You can use any SCSI ID that is not already in use by the computer or another device. - Page 10 Your SCSI chain must have a termination block (preinstalled on most cables) and at least one device that provides termination power. The Iomega REV drive provides termination power by default. If you do not want the REV drive to provide termination power, remove the Term Power jumper.
- Page 11 Locate a vacant drive bay and remove the panel cover. Slide the REV drive into the drive bay. The REV drive is designed to fit in a 5.25" drive bay. It may fit into some 3.5" bays when the mounting bracket is removed. ...
- Page 12 Connect the data cable to the REV drive. Connect the data cable to the SCSI adapter card.
- Page 13 Secure drive in drive bay. Replace the cover, reconnect the power cord, and power up the computer.
-
Page 14: Iomega Rev Internal Atapi Drive Jumper Settings
Insert a REV disk and the drive is ready to use. Iomega REV Internal SCSI Jumper Settings Term Power Jumper (Default) Unused Jumper SCSI ID Jumpers (ID 4 is default) SCSI ID Jumper Settings... -
Page 15: Tech Notes
REV drives. To verify that this software is installed on a Windows PC, click Start, All Programs, Iomega, and REV System Software. If the REV System Software folder is not in your start menu, the software is not installed. - Page 16 Copyright © 2004 Iomega Corporation. All rights reserved. Iomega, the stylized “i” logo, REV, and all Iomega brand blocks are either registered trademarks or trademarks of Iomega Corporation in the United States and/or other countries. Certain other product names, brand names, and company names may be trademarks or designations of their respective owners.
Need help?
Do you have a question about the REV 35gb and is the answer not in the manual?
Questions and answers