Table of Contents
Advertisement
Advertisement
Table of Contents

Subscribe to Our Youtube Channel
Related Manuals for Zoom H1


Summary of Contents for Zoom H1
- Page 1 Recorder Quick Start Guide Safety and Operation Precautions must be read before using the unit. ZOOM CORPORATION 4-4-3 Surugadai, Kanda, Chiyoda-ku, Tokyo 101-0062 Japan www.zoom.co.jp Copying or reproduction of this document in part or in whole without permission is prohibited.
-
Page 2: Turning Power On/Off
Turning the power on/off Prepare Turning the unit ON and OFF is easy. To turn the unit ON, slide the power switch down for about 1 second. To turn the unit OFF, slide the power switch down for about 1 second again. -
Page 3: Setting Date And Time
Setting the date and time Prepare Set the date and time on the unit. While pressing , turn the power on. to set the value, and press to move to the next item. • Press to return to the previous item. After setting the last item (seconds), press MEMO... -
Page 4: Adjusting Input And Output Levels
Adjusting the input level Prepare Adjust the level of the input signal. The unit can also be set to automatic adjustment. • Use the +/– INPUT LEVEL buttons to adjust the level. For automatic adjustment, set the AUTO level switch to ON. •... -
Page 5: Setting Recording Format
Setting the recording format Prepare Set the recording format and bit rate. Select MP3 or WAV format. to select the bit rate and press • The screen shows the remaining recording time for the current bit rate. Back MEMO Since the MP3 format uses data compres- sion, its sound quality is not as good as WAV format, but it uses less microSD card capac- ity. -
Page 6: Play And Delete
Play Operate Play back recorded audio. • Press to play the last • The remaining playback time appears on the screen. • Main button functions during playback . . . Press during playback to select files ..Press to pause/resume . -
Page 7: Adding Track Marks
Adding track marks Prepare You can add track marks to a recording. • During recording, press to add a mark at that time. • during playback to jump to mark positions. • Marks can only be added when the recording format is set to WAV. -
Page 8: Connecting With Computer
Connecting with a computer <Supplement> function Connect in Ver.2 With the power off, connect this unit to a Windows PC or a Macintosh us- ing a USB cable. <To use as a MicroSD card reader> Press while “CArd” is displayed. <To use as an audio interface>... -
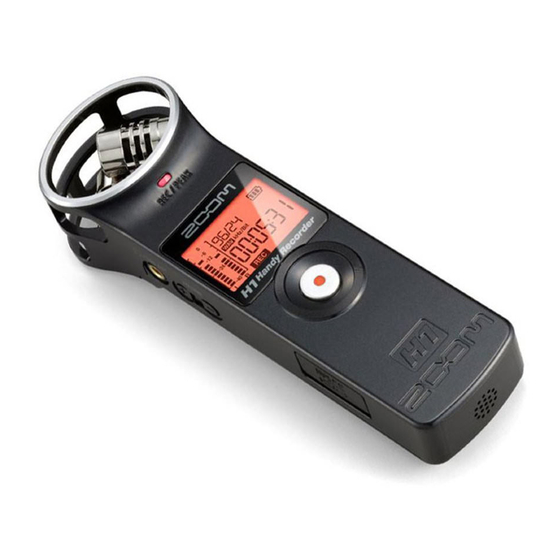
Page 9: Part Names And Functions
Part names and functions • Parts of the unit • Screen indications • Inserting the battery Open the case while pressing here and then in- sert the battery. Note: Use alkaline or NiMH batteries. - Page 10 • Parts of the unit Line/headphones output jack Outputs sound to headphones or external equipment. Volume adjustment buttons Use to adjust the output level. Insert a microSD or microSDHC card here for use with the unit. microSD card slot LO CUT switch Use to turn the low cut filter (noise reduction) ON or OFF.
-
Page 11: Declaration Of Conformity
FCC regulation warning (for the U.S.A.) This equipment has been tested and found to comply with the limits for a Class B digital device, pursuant to part 15 of the FCC Rules. These limits are designed to provide reasonable protection against harmful interference in a residential installation. - Page 12 MEMO unit is starting up. Version 1.00 is shown as “1/00,” for example. • from our web site (www.zoom.co.jp). While pressing , slide the power switch to start the unit in version upgrade mode. The version currently used by the unit and the upgrade ver- sion are shown on the screen alternately.
-
Page 13: Items Included With This Product
Items included with this product • H1 unit • One AA battery (to test the unit) Note: Use alkaline or NiMH batteries. • Quick Start Guide (this manual) • microSD card (2 GB) Connecting with a computer Connect With this unit’s power off, connect it to a computer running Windows or Macintosh OS using a USB cable. -
Page 14: Safety And Operation Precautions
Observe the following precautions to use this unit safely. • Power and batteries • Use only the ZOOM AD-17 (DC5V 1A) USB-connection type AC adapter (sold separately). • Unplug the AC adapter when the unit will not be used for a long time.
Need help?
Do you have a question about the H1 and is the answer not in the manual?
Questions and answers
how to move between and select tracks