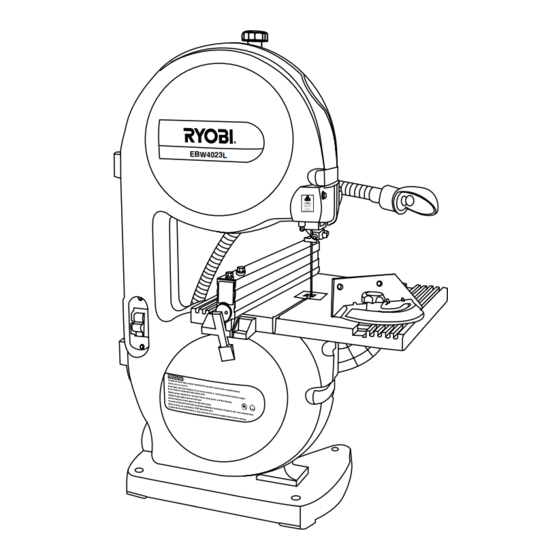
Summary of Contents for Ryobi EBW4023L
- Page 1 EBW4023L 230mm BAND SAW WITH LASER AND LIGHT OWNERʼS OPERATION MANUAL Laser Specification EN60875-1: 1994+ A11: 1996+A2:2001 Laser class 2 Wave lengths: 650 nm Output Power: <1mW...
- Page 2 Laser Specification EN60875-1: 1994+ A11: 1996+A2:2001 Laser class 2 Wave lengths: 650 nm Output Power: <1mW Laser Specification EN60875-1: 1994+ A11: 1996+A2:2001 Laser class 2 Wave lengths: 650 nm Output Power: <1mW Fig. 1 Fig. 2 Page 1...
- Page 3 Laser Specification EN60875-1: 1994+ A11: 1996+A2:2001 Laser class 2 Wave lengths: 650 nm Output Power: <1mW Laser Specification EN60875-1: 1994+ A11: 1996+A2:2001 Laser class 2 Wave lengths: 650 nm Output Power: <1mW Fig. 3 Fig. 4 Fig. 5 Fig. 7 Fig.
- Page 4 Laser Specification EN60875-1: 1994+ A11: 1996+A2:2001 Laser class 2 Wave lengths: 650 nm Output Power: <1mW Fig. 10 Fig. 9 Fig. 11 Fig. 12 Laser Specification EN60875-1: 1994+ A11: 1996+A2:2001 Laser class 2 Wave lengths: 650 nm Output Power: <1mW Fig.
- Page 5 Laser Specification Laser Specification EN60875-1: 1994+ EN60875-1: 1994+ Laser class 2 Laser class 2 A11: 1996+A2:2001 A11: 1996+A2:2001 Wave lengths: 650 nm Wave lengths: 650 nm Output Power: <1mW Output Power: <1mW Fig. 15 Fig. 16 Fig. 17 Fig. 18 Laser Specification EN60875-1: 1994+ A11: 1996+A2:2001...
- Page 6 Fig. 20(B) Fig. 20(C) Fig. 21 Page 5...
- Page 7 TABLE OF CONTENTS Table of Contents Product Specificatons Rules for Safe Operation Description Features Assembly Adjustments 9~11 Operation 12-13 Maintenance 13-14 Parts Ordering / Service PRODUCT SPECIFICATIONS Input 240 V~50 Hz Power 400W No load speed 1400 min Dust port Ø44.5 mm Throat capacity 230mm...
- Page 8 RULES FOR SAFE OPERATION Keep work area clear Remove adjusting keys and wrenches Cluttered areas and benches invite injuries. Form the habit of checking to see that keys and adjusting Consider work area environment wrenches are removed from the tool before turning it on. Do not expose tools to rain.
- Page 9 Use and correctly adjust the saw blade guard. When cutting round timber use a suitable holding device THANK YOU FOR BUYING A RYOBI PRODUCT. to prevent twisting of the workpiece. To ensure your safety and satisfaction, carefully read through...
- Page 10 FEATURES Switch and Switch Key be tilted at different angles.Tightening the table lock handle locks the saw table in place. Your band saw has an easy access power switch. To lock in the OFF position, remove the yellow switch key. Tracking Knob Place the key in a location inaccessible to children and Adjusts tracking to keep blade centered on the wheels.
- Page 11 ADJUSTMENTS Reattach the saw table and the aligning bolt, washer, and Always lock the blade guide assembly in place before wing nut. Tighten securely. turning on the band saw. Reattach the blade guard. WARNING: Close front cover. To avoid personal injury, maintain proper adjustment ADJUSTING BLADE TENSION (Fig.
- Page 12 ADJUSTMENTS Remove the blade guard by loosening the two set screws with Rotate the upper wheel by hand in a clockwise direction for a few more turns. Make sure the blade stays in the 4mm hex key. same location on the tires. Readjust, if necessary, until Turn the lever counterclockwise to unlock the blade guide blade is tracking properly.
-
Page 13: Relief Cuts
OPERATION Open front cover and turn the upper wheel by hand while WARNING: backing up the workpiece. RELIEF CUTS T o avoid blade contact, adjust the blade guide assembly to just clear the workpiece. Failure to do so could result Relief cuts are made when an intricate curve (too small a in serious personal injury. -
Page 14: Before Leaving The Saw
OPERATION Retighten the lock knob (43). WARNING: NOTE: For convenience, store the mitre gauge in the slot Do not allow familiarity with your saw make you care- provide on the back of the band saw. less. Remember that a careless fraction of a second is USING THE STRAIGHT FENCE (Fig. - Page 15 Switch on the laser beam and turn on the Band Saw for cut operation. To avoid fire or electrocution, reassemble electric parts with only identical Ryobi replacement parts. Reassemble WARNING: exactly as originally assembled. Use only correct batteries Button Cell. (see Fig. 21) ( Fig.
- Page 16 NOTE Page 15...
- Page 17 RYOBI NEW ZEALAND PTY. LTD. AUCKLAND: 27 Clemow Drive, Mt Wellington, N.Z. Tel: (09) 573 0230 - Free Call: 0800 279 624 - Fax: (09) 573 0231 - www.ryobi.co.nz Contact during normal business hours. This Guarantee Form Should Be Retained By The Customer At All Times For your record and to assist in establishing date of purchase (necessary for in-guarantee service) please keep your purchase docket and this form completed with the following particulars.


Need help?
Do you have a question about the EBW4023L and is the answer not in the manual?
Questions and answers