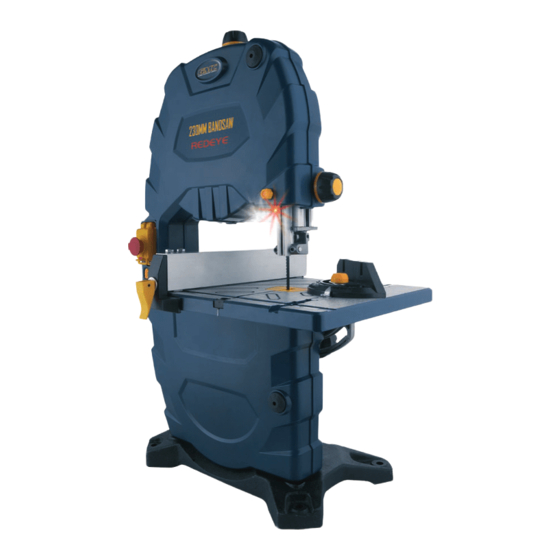
Summary of Contents for GMC BS230L
- Page 1 300W 230MM (9”) BAND SAW WITH BS230L INSTRUCTION MANUAL Black Magenta Code: BS230L IM Cyan Yellow Date: 070509 Edition: 05 Op: DCR...
-
Page 2: Table Of Contents
Adjusting the blade tracking Dust collector connection Turning on and off Turning the laser on and off Turning the LED lights on and off Removing and installing band saw blades Operation Using the REDEYE ® laser line generator Power cord maintenance... -
Page 3: Introduction
Introduction Your new GMC power tool will more than satisfy your expectations. It has been manufactured under stringent GMC Quality Standards to meet superior performance criteria. You will find your new tool easy and safe to operate, and, with proper care, it will give you many years of dependable service. -
Page 4: Safety Rules For Laser Lights
Safety rules for laser lights The laser light/laser radiation used in the GMC REDEYE system is Class 2 with maximum 1mW and 650nm wavelengths. These lasers do not normally present an optical hazard, although staring at the beam may cause flash blindness. -
Page 5: Additional Safety Rules For Band Saws
Ensure that the lighting is adequate. • Keep the area free of tripping hazards. • Do not let anyone under 18 years operate this saw. • Always stand to one side when operating the saw. • Never use a cracked or distorted saw blade. Only use sharp blades. -
Page 6: Unpacking
• 3mm & 5mm Hex Keys (Supplied) • 10mm Wrench (Supplied) Assembly time The BS230L band saw will take approximately 10 minutes to assemble. Know your product 1. Switch cover / emergency stop 2. On/off switch 3. Laser light on/off switch 4. -
Page 8: Components
Components The BS230L band saw is supplied with the following components: a. Band saw b. Band saw blade (fitted) c. Work table d. Table insert (fitted) e. Rip fence f. Mitre gauge g. Push stick h. Table bracket, washer and bolt i. -
Page 9: Mounting To A Workbench
5. Attach the mitre gauge (30) onto the table by sliding it into the mitre gauge slot. 6. Screw the push stick screw and nut into the hole at the rear of the saw (next to the push stick storage area). Mounting to a workbench 1. -
Page 10: Lower Blade Guide Adjustment
1. To adjust the guide pins loosen the 2 screws that hold the guide pins in place using the 3mm hex key supplied. 2. Press the guide pins together against the band saw blade. 3. Turn the band saw wheel by hand in a clockwise direction several times to bring the guide pins into the correct position. -
Page 11: Housing Doors
Note. When the mitre gauge is not in use it can be stored on the back of the band saw for greater convenience. Slide the mitre gauge into the mitre gauge storage slot (32) on the back of the band saw. -
Page 12: Adjusting The Saw Blade Tension
The blade tracking adjustment knob is used to adjust the upper band saw wheel to have the blade run centrally on the rubber tyres of the band saw wheels. 1. Loosen the blade tracking locking nut (23). -
Page 13: Turning On And Off
Removing and installing band saw blades WARNING. Always ensure that the saw is switched off and unplugged from the power supply before making any adjustments. This bandsaw is supplied with a general purpose woodcutting blade. -
Page 14: Operation
6. Remove the blade by guiding it through the slot in the work table and the upper and lower blade guides. 7. Fit the new saw blade ensuring that the teeth are pointing towards the front of the saw where the doors are. -
Page 15: Power Cord Maintenance
Tighten the laser adjustment knob. 6. To start the saw push the on/off switch to the ‘ON’ position. 7. To begin the cut guide the wood into the moving saw blade. -
Page 16: Troubleshooting
Turn the on/off switch to the off position and unplug the tool from the power supply before performing trouble shooting procedures. Trouble Problem Band saw will not Power cord not plugged in start Power fault, fuse or circuit breaker tripped... - Page 20 GMC customer assist If your product needs repairing, replacing, technical service or you simply need help or advice, please contact us on our Customer Assist Line 1300 880 001 (Australia) or 0800 445 721 (New Zealand). For prompt service we suggest you log your service request online at www.gmcservice.com.au.


