
Related Manuals for Belling BE814


Summary of Contents for Belling BE814
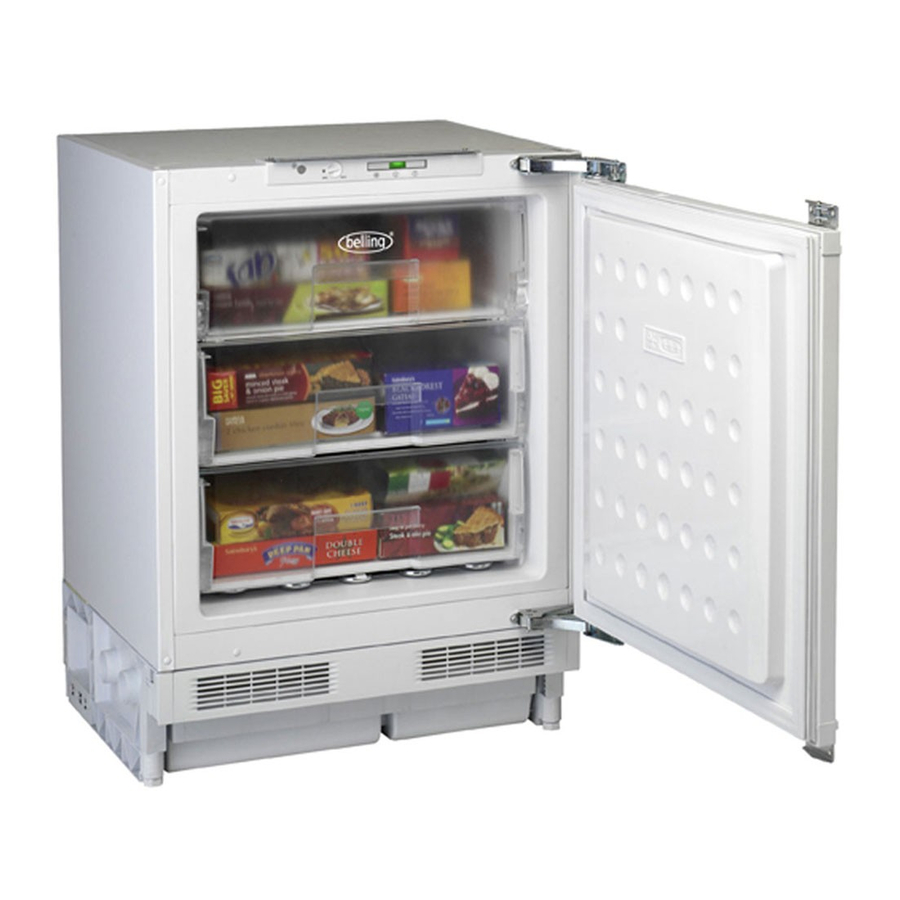
- Page 1 BE814 Fully Integrated Freezer INSTALLATION AND USER INSTRUCTIONS You must read these instructions prior to using the appliance and retain them for future reference.
-
Page 3: Table Of Contents
Contents Introduction & safety warnings...2 Electrical requirements ...3 Transportation instructions...4 Installation instructions...5 Repositioning the door ...6 Starting...8 Temperature control and adjustment ...9 Storing frozen food...9 Freezing fresh food ...10 Defrosting ...11 Cleaning and care...12 Do's and don'ts ...13 Problem solving ...13 Installation instructions - detailed step by step ...14 Guarantee details...20 How to obtain service...21... -
Page 4: Introduction & Safety Warnings
• This freezer must only be used for its intended purpose i.e the storing and freezing of edible foodstuff. • Do not dispose of the appliance on a fire. At Belling, the care and protection of our environment is an ongoing commitment. -
Page 5: Electrical Requirements
Rating label is on the left hand side of freezer inner liner. We recommend that this appliance is connected to the mains supply via a suitable switched and fused socket in a readily accessible position. -
Page 6: Transportation Instructions
Do not allow children to play with the appliance or tamper with the controls. Take care when installing your appliance and using it for the first time, during normal daily use, while defrosting and cleaning the interior freezer compartments not to damage cold panels and pipes and to avoid any injury. We recommend the use of a pair of gloves when cleaning the cold panels as you might injure your fingers and hands and/or damage the appliance beyond repair. -
Page 7: Installation Instructions
IMPORTANT INSTALLATION INSTRUCTIONS 1. To avoid a hazard due to instability of the appliance, it must be fixed in accordance with the instructions. 2. Do not operate this appliance unless installed to furniture. 3. The appliance should be located on a smooth surface. The four front and back feet can be adjusted as required. -
Page 8: Repositioning The Door
REPOSITIONING THE DOOR Follow the step by step instructions and the diagram below. Numbers in brackets refer to diagrams. - Page 9 1. Switch off at the socket outlet and pull out the mains plug. 2. Remove all food, loose items and fittings from inside the appliance and door shelves. 3. Unscrew the bolts and remove the upper and bottom hinges from the cabinet and door.
-
Page 10: Starting
2. If you find the freezer door difficult to open just after you have closed it, don't worry. This is due to the pressure difference which will equalise and allow the door to open normally after a few minutes. -
Page 11: Temperature Control And Adjustment
Illuminates when the appliance is connected to the mains and will glow as long as there is electricity present. The green light will not glow if the thermostat is set in the 'O' position. The green indicator does not give any indication of the temperature inside the freezer. Amber Indicator (2) This indicator will glow when the fast-freeze switch (4) is on and will continue to glow until the fast-freeze switch is turned off. -
Page 12: Freezing Fresh Food
FREEZING FRESH FOOD Freezing capacity of your appliance in a 24 hours period is 10 kg (22.1 lb). Never exceed this maximum capacity. Fast freeze compartment (3) is shown in diagram. Take special care not to mix already frozen food and fresh food. If the fast freeze compartment (3) is filled with fresh food, other compartments can also be used to freeze fresh food. -
Page 13: Defrosting
Turn the thermostat knob to mid point. Close the freezer door. Insert the plug into the wall socket and switch on the electricity supply. Don't forget to tape over the switch to avoid... -
Page 14: Cleaning And Care
Large accumulation of ice will impair the performance of the freezer. ** If the freezer is not going to be used for a long period of time switch it off, remove all food, clean it and leave the door ajar. -
Page 15: Do's And Don'ts
Wrap all foods in aluminium foil or freezer quality polythene bags and make sure any air is excluded. Wrap frozen food when you buy it and put it in to the freezer as soon as possible. Separate food in the compartments. This will enable you to find food quickly and avoid excessive door opening therefore save electricity. -
Page 16: Installation Instructions - Detailed Step By Step
INSTALLATION INSTRUCTIONS - DETAILED STEP BY STEP NOTE 1) Height of the product can be adjusted by the help of adjustable feet (front and back) to fit the furniture niche height (B). 2) Do not operate this appliance until it has been installed in the furniture. A (mm) 813 - 863 mm B (mm) - Page 17 C=100-150 mm D > 150 mm.
- Page 19 E = 1,5 mm is recommended. Top view B = 25 mm minimum. Front view Note: 1. These dimensions are valid for products,which are hinged on right hand side. 2. When door opening direction is reversed, mirror image of this instruction should be considered.
-
Page 22: Guarantee Details
GUARANTEE DETAILS Your new Belling product is guaranteed against the cost of breakdown repairs for twelve months from the date of the original purchase. What is covered? • Repairs necessary as a result of faulty materials, defective components or manufacturing defect. •... -
Page 23: How To Obtain Service
This product bears the selective sorting symbol for waste electrical and electronic Recycling equipment (WEEE). This means that this product must be handled pursuant to European Directive 2002/96/EC in order to be recycled or dismantled to minimize its impact on the environment. For further information, please contact your local or regional authorities. -
Page 24: Technical Data
Total net vol - ltrs (cu.ft.) Frozen food compartment rating Conservation time from failure Freezing capacity fresh food - kg /24 hrs. Climate class Operating noise level dB(A) Technical data Fully Integrated Freezer BE814 ----- 87 (3.1) 87 (3.1) 4 STAR 19 hrs. -
Page 25: Wiring Diagram
WIRING DIAGRAM... -
Page 28: Customer Care
BELLING CUSTOMER CARE In case of difficulty within the UK, please call Belling Customer Care Centre Helpline on When you dial this number you will hear a recorded message and be given a This indicates that your call has been accepted and is being held in a queue. Calls are answered in strict rotation as our Customer Care Representatives Enter appliance numbers here for future reference: Please ensure you have the above details (Model No and Serial No) to hand...
Need help?
Do you have a question about the BE814 and is the answer not in the manual?
Questions and answers