Advertisement
Quick Links
Advertisement

Related Manuals for DeDietrich DTi1049


Summary of Contents for DeDietrich DTi1049
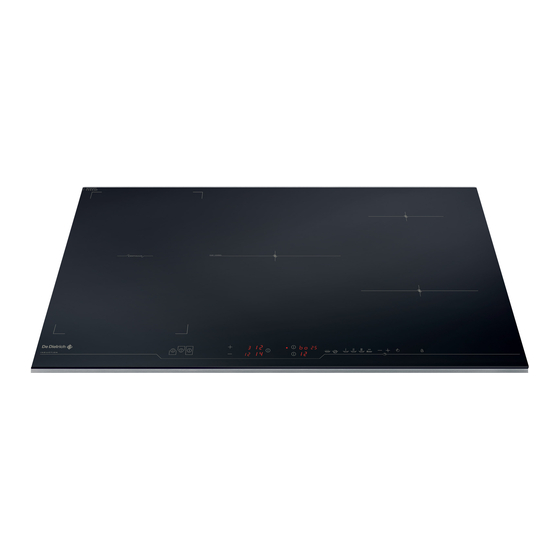
- Page 1 Induction Hob DTi1049...
- Page 2 You will find that the clean lines and modern look of your De Dietrich hob blends in per- fectly with your kitchen décor. It is easy to use and performs to a high standard.
- Page 3 Contents Description of your appliance Overview / working principle Quick start guide Product / Safety features explained Cleaning and maintaining your appliance Installation guide Help Guide...
- Page 4 Description DTi1049X Total dimensions (L x l)X DTi1049 : 93cm x 51cm Cutout Recess (L’ x l’) DTI1049X : 90cm X 49cm Power : DTI1053X :9200W DTI1053XE : 7200W As shown in this logo, the materials used to package this appliance are not recyclable. Please dispose of them by depositing them in municipal containers provided for this purpose and play a role in protecting the environment.
- Page 5 Working Principle Induction coils Glass insulating hob top Ferrous pan base The principle of induction is based on a magnetic effect. When you place your cookware on a cooking zone and you turn it on, the electronic circuits in your cooking hob produce “induced” currents in the bottom of the cookware which instantly raise its temperature.
- Page 6 Quick Start Guide Front Continuum Zone Boil Function Rear Continuum Zone Power Tracker Entire Continuum Zone Pre-set Power Levels Power settings display Boost Function Timer Settings Display Timer + and - controls Power + and - Controls Elapsed Time Function On / Off Controls for Zones Control Lock Function Prior to using you appliance you need to ensure the appliance has been installed in accordance with the installation...
- Page 7 Additional functions and safety Features . In case of overflow, or of a metallic object or wet cloth placed on the control areas, the hob turns itself off, the displays light up and a beep sounds. Clean the hob or remove the object, then begin cooking again. .
- Page 8 Additional Functions and Safety Features for added peace of mind, the child lock can be manually activated to prevent accidental start-up. To activate the lock pres the “I” key and hold until a beep is sounded and an indica- tor appears. To de-activate hold the “I”...
- Page 9 Additional Functions and Safety Features This Function will preheat the contents of the pan to boiling tempera- Pre Heat / ture before reducing to your selected power. Heat up To select the function turn on the required zone then press the “-“on the power selection keys, “HU”...
- Page 10 Cleaning and Maintaining your Appliance Preserve your appliance The vitroceramic glass surface is highly resistant, but not unbreakable. Here are some recommendations for increasing its lifetime: - Avoid banging or clattering the cookware. - Avoid putting heating covers on the hob. A suction effect may damage the vitroceramic surface. - Do not use cookware with bottoms that are rough or dented.
- Page 11 Installation Guide Your appliance should be positioned so that the mains switch is accessible. The distance between the edge of your appliance and the side and rear walls (or partitions) must be at least four centimetres (area A). Your appliance can be easily integrated above a cabinet, an oven or a build-in household appliance.
- Page 12 4mm air gap is main- tained. Most modern ovens including all De Dietrich models will not require any further insulation between the oven and hob.
- Page 13 Installation Guide Hook-up of 220-240V ~32 amp Hook-up of 220-240V ~16 amp •Hook-up of 2x230V 2L+2N ~ - 16A •Hook-up of 400V 2N ~ - 16A •Hook-up of 400V 3~ - 16A...
- Page 14 Help Guide Problems on installation Posssible Causes What should you do? A special code / display ap Working normally Nothing this code will turn off pears across the ccontrol panel after 30 seconds or if the zone is turned on Your installation blows a fuse / trip The hob produces an odour...
- Page 15 Help Guide Problems while in use You observe that. Possible causes What should you do The hob has stopped working The hob has detected an Ensure the controls are clean and “” is displayed also an aud overflow or object covering and dry and remove any ob...
Need help?
Do you have a question about the DTi1049 and is the answer not in the manual?
Questions and answers