
Subscribe to Our Youtube Channel
Related Manuals for Gaggenau AW 280120


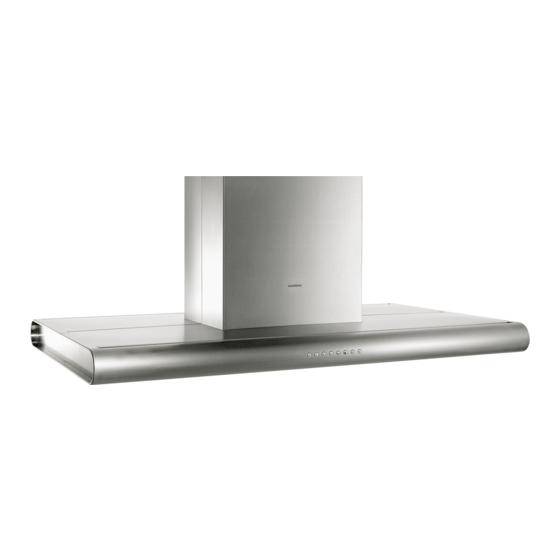
Summary of Contents for Gaggenau AW 280120
- Page 1 Gaggenau Operating and installation instruction Extractor hood AW 280190/280120 AW 281190/281120...
- Page 2 Fig. 1 Abb. 1 ELECTRIC...
-
Page 3: Table Of Contents
Table of Contents Operating Instructions Installation Instructions Operating modes Important information Exhaust-air mode Circulating-air mode Prior to installation Coanda effect Exhaust-air mode Circulating-air mode Operating for the First Time Preparing the wall If you encounter a problem Electrical connection Safety instructions Installation Operating procedure Intensive setting... -
Page 4: Operating Modes
Operating modes Exhaust-air mode Circulating-air mode • • Installation accessories for exhaust air Installation accessories for circulating air mode. mode. Ventilation duct Ventilation duct AD280/281-012 for ceiling heights of AD280/281-112 for ceiling heights of 2.25–2.62 m 2.36–2.62 m AD280/281-022 for ceiling heights of AD280/281-122 for ceiling heights of 2.62–3.01 m. -
Page 5: Coanda Effect
Coanda effect • You do not need to activate the Coanda effect. The Coanda air flow is always active at every fan level. Cooking vapours are extracted particularly well at the front of the cooking field. • The Coanda effect may allow you to operate the extractor hood at a lower, quieter level than you were previously accustomed to. -
Page 6: Operating For The First Time
Operating for the First Time If you encounter a problem The Instructions for Use apply to several versions of If an F appears in the display: this appliance. Accordingly, you may find • See "Filters and maintenance" Section. descriptions of individual features that do not apply to your specific appliance. -
Page 7: Safety Instructions
Safety instructions Do not flambé food directly under the extractor Do not let adults or children operate the appliance hood. unsupervised: Risk of grease filter catching fire due to flames. – if they are mentally or physically unable The hotplates must always be covered with a to use the appliance safely and correctly, utensil. -
Page 8: Operating Procedure
Operating procedure The most effective method of removing vapours produced during cooking is to: • Switch the ventilator ON as soon as you begin cooking. • Switch the ventilator OFF a few minutes after you have finished cooking. Fan OFF Saturation indicator Light Fam settings... -
Page 9: Intensive Setting
Switching the fan ON: Special functions • Press the 1, 2, 3 or Int button. Intensive time: Switching the fan OFF: • You can set the intensive level running time to 3, 5 or 10 minutes by simultaneously pressing • Press the 0 button. -
Page 10: Filters And Maintenance
Filters and maintenance Grease filters Removing and inserting the metal grease filters: IMPORTANT: The lighting must be switched OFF Metal filters are used to trap the greasy element and cool. of the vapours that develop during cooking. Press the catch on the grease filters inwards The filter mats are made from non-combustible and fold the filters down. -
Page 11: Activated Carbon Filter
Activated carbon filter For neutralizing odours in recirculating mode. Caution: As the filter becomes more and more saturated with grease, there is an increased risk of fire and the function of the extractor hood may be impaired. Important: Change the activated carbon filter promptly to prevent the risk of fire from the accumulation of heat when deep-fat frying or roasting. -
Page 12: Cleaning And Care
Cleaning and care Isolate the extractor hood by pulling out the Stainless steel surfaces: mains plug or switching off the fuse. • Use a mild non-abrasive stainless steel cleaner. Do not clean the extractor hood with abrasive • Clean the surface in the same direction as it sponges or with cleaning agents which contain has been ground and polished. -
Page 13: Replacing The Light Bulbs
Replacing the light bulbs Switch the extractor hood off and isolate it by removing the mains plug or by switching off the fuse. When operating, the fluorescent light bulbs get very hot. Even after a while, there is still a risk of being burnt. - Page 14 Insert the sockets for the fluorescent light bulbs. Carefully mount the glass panes. Tighten the screws for the mounting rails. 10 Insert the metal grease filters (see "Removing and inserting the metal grease filters"). 11 Restore the power by inserting the mains plug or switching on the fuse.
-
Page 15: Important Information
Important information Old appliances are not worthless rubbish. Valuable Additional information concerning gas cookers: raw materials can be reclaimed by recycling old When installing gas hotplates, comply with the appliances. Before disposing of your old appliance, relevant national statutory regulations (e.g. in render it unusable. -
Page 16: Prior To Installation
Prior to installation Exhaust-air mode • Installation accessories for exhaust air mode. Ventilation duct AD280/281-012 for ceiling heights of 2.25–2.62 m AD280/281-022 for ceiling heights of Exhaust-air 2.62–3.01 m. 650- 1410 The exhaust air is discharged upwards through a This can be achieved if combustion air can flow ventilation shaft or directly through the outside wall through non-lockable openings, e.g. -
Page 17: Circulating-Air Mode
For optimum extractor hood efficiency: Connecting a l 150 mm exhaust-air pipe: • • Short, smooth air exhaust pipe. Mount the pipe directly onto the air outlet on the • As few bends in the pipe as possible. hood. • Diameter of pipe to be as large as possible and no tight bends in pipe. -
Page 18: Preparing The Wall
Electrical connection Preparing the wall WARNING: THIS APPLIANCE MUST BE EARTHED • IMPORTANT: Fitting a Different Plug: The wall must be flat and perpendicular. • The wires in the mains lead are coloured in Make sure that the wall can bear the applied accordance with the following code: loads. -
Page 19: Electrical Data
Electrical data Are to be found on the name plate inside the appliance after removal of the filter frame. Before undertaking any repairs, always disconnect the extractor hood from the electricity supply. Length of the connecting cable: 1.30 m. This extractor hood corresponds to EC regulations concerning RF interference suppression.. -
Page 20: Installation
Installation This extractor hood is intended to be mounted onto the kitchen wall. Remove the grease filter (refer to Operating Instructions). Draw a line on the wall from the ceiling to the lower edge of the hood at the centre of the location where the hood is going to be mounted. - Page 21 Attach the extractor hood. Adjust the height and align horizontally with the adjusting screws. Check that the 4 lower fixing holes have been correctly marked. If required, mark again.. Remove the extractor hood. Drill the 4 lower 8 mm ø fixing holes and press in the wall plugs flush with the wall..
- Page 22 12 Carefully remove the protective foil. Avoid damage to the sensitive surface. Warning: The interior walls of the flue panelling can have sharp edges – Risk of injury –. We recommend that you wear gloves when installing. 13. Insert the upper flue duct into the lower flue duct.
- Page 23 KF001-010...
- Page 24 Gaggenau Hausgeräte GmbH Carl-Wery-Straße 34 D-81739 München www.gaggenau.com...
Need help?
Do you have a question about the AW 280120 and is the answer not in the manual?
Questions and answers