
Subscribe to Our Youtube Channel
Related Manuals for Campbell SC-USB


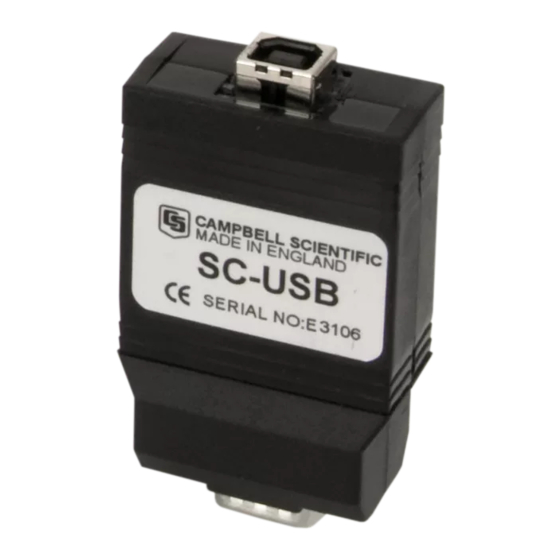
Summary of Contents for Campbell SC-USB
- Page 1 SC-USB USB to CS I/O Opto-isolated Interface Issued: 17.12.13 Copyright © 2003-2013 Campbell Scientific Ltd. CSL 514...
- Page 3 Quotations for repairs can be given on request. It is the policy of Campbell Scientific to protect the health of its employees and provide a safe working environment, in support of this policy a “Declaration of Hazardous Material and Decontamination”...
-
Page 5: About This Manual
Campbell Scientific Ltd can advise on the recycling of the equipment and in some cases arrange collection and the correct disposal of it, although charges may apply for some items or territories. -
Page 7: Table Of Contents
3.2 Fixing a failed installation/upgrading the drivers ........5 3.3 Uninstalling the SC-USB Drivers ............10 3.4 Determining which COM port the SC-USB has been assigned ....10 3.5 Using the SC-USB with Campbell Software ........... 11 4. Set-up Modes – the SC_USB Programming Utility. 12 4.1 Settings .................... -
Page 9: Introduction
SC32B interface. The SC-USB also has the potential for high-speed data transfer to the PC at up to 1MBit/second where the datalogger supports it. The SC-USB will appear to PC software as a new virtual serial port, allowing it to be used with many software packages. -
Page 10: Technical Specifications
SC-USB USB to CS I/O Opto-isolated Interface provided – see Section 4. This utility can also be used to upgrade the SC-USB’s own operating system. Refer to Section 4 if using a 21X, CR7, CR10X-TD or CR23X-TD datalogger, using call-back, or when upgrading a datalogger operating system using the CSOS or Device Configuration programs utility. -
Page 11: General Specifications
3. SC-USB Interface Driver Installation The installation procedure is straightforward. Whenever possible you should install the drivers for the SC-USB on the PC before plugging the SC-USB for the first time. The drivers need to be installed from the CD provided with the product or using the package downloaded from the internet. -
Page 12: Installing The Sc-Usb For The First Time
SC-USB to your computer. 3.1 Installing the SC-USB for the first time Connect the SC-USB to a spare USB port on your PC. If the drivers have been installed on the machine using the process above the PC should find the correct... -
Page 13: Fixing A Failed Installation/Upgrading The Drivers
In the latter case you can insert the SC-USB driver disk in the computer and then browse to the CD and let Windows install the drivers from the CD. Newer versions of Windows will not give this option before failing, so you need to follow the following steps. - Page 14 SC-USB USB to CS I/O Opto-isolated Interface You will then be prompted as to whether to search for the driver or browse the computer. If the driver installation as shown in Section 3 above worked OK, you can select the first option and the new drivers already installed on the machine should be found OK.
- Page 15 ...click ‘Close’ to return to the Device Manager. You will now see ‘SC-USB USB TO CS I/O ISOLATED INTERFACE’ displayed under Universal Serial Bus controllers (as shown below). You will now notice a new device ‘USB Serial Port’ displayed under ‘Ports (COM...
- Page 16 SC-USB USB to CS I/O Opto-isolated Interface Right click on ‘USB Serial Port’ and click on ‘Update Driver Software’ in the menu that appears... You will now be given the choice to search automatically or browse for driver software. If previously installed OK, click on Search... or if it was not OK browse to the CD to point to the drivers.
- Page 17 ...click ‘Close’ to return to the Device Manager. You will now see ‘SC-USB USB TO CS I/O ISOLATED INTERFACE (COMx)’ displayed under Ports (COM & LPT), where x is the number of the COM port assigned by Windows during the installation.
-
Page 18: Uninstalling The Sc-Usb Drivers
The above installation processes relies on parts of the Windows operating system to assign a com port number to SC-USB. Often this will be the next port number that is free. However, if other devices have been installed in the past (some of which may no longer be plugged in) it may be assigned a higher com port number. -
Page 19: Using The Sc-Usb With Campbell Software
User Guide In some cases a PC program may not offer the SC-USB COM port in its selection list of available COM ports. Recent versions of Campbell Scientific packages allow you to manually type the COM port into the selection window to overcome this. -
Page 20: Set-Up Modes - The Sc_Usb Programming Utility
In general the baud rate settings that are offered in the EZSetup or Setup screens can be left at the default settings as they do not apply to the SC-USB which determines the best speed to use by automatically negotiating this with datalogger (see below for exceptions). -
Page 21: Settings
Enable All Comms Modes is the Factory default. 4.1.4 Enable CSDC Address 7 Mode Selecting ‘Enable CSDC Address 7 Mode’ will force the SC-USB to only respond as the CSDC device with SDC address 7. This is useful when you have another SDC-Concurrent device connected on the CSI I/O port. -
Page 22: Enable Me Comms Mode
The Modem Enable line (pin 5) is not used and is free for other use. SDC mode allows the SC-USB to be connected in parallel with modem devices. This mode is only supported in CR510, CR10X and CR23X dataloggers with post-2002 standard (non-Pakbus) operating systems. -
Page 23: Troubleshooting
TD dataloggers do not support automatic baud rate detection. In these cases the SC-USB needs to be set to a fixed baud rate. This can either be done using the SC-USB utility program (see Section 4) or, if your software package supports it;... -
Page 24: Use With The Device Configurator Program
These emissions become apparent when a cable is plugged into the USB port, as the cable acts as an antenna. If any such PC emissions (coming from the SC-USB cable) cause problems with other equipment, you may be able to reduce such noise by adding a clip-on ferrite choke to the SC-USB cable. - Page 26 CAMPBELL SCIENTIFIC COMPANIES Campbell Scientific, Inc. (CSI) 815 West 1800 North Logan, Utah 84321 UNITED STATES • www.campbellsci.com info@campbellsci.com Campbell Scientific Africa Pty. Ltd. (CSAf) PO Box 2450 Somerset West 7129 SOUTH AFRICA • www.csafrica.co.za sales@csafrica.co.za Campbell Scientific Australia Pty. Ltd. (CSA)
Need help?
Do you have a question about the SC-USB and is the answer not in the manual?
Questions and answers