GE MONOGRAM ZCG3300 WW Installation Instructions Manual
Built-in compactors
Hide thumbs
Also See for MONOGRAM ZCG3300 WW:
- Owner's manual (13 pages) ,
- Owner's manual (13 pages) ,
- Owner's manual (13 pages)
Table of Contents
Advertisement
Quick Links
Download this manual
See also:
Owner's Manual
Advertisement
Table of Contents

Subscribe to Our Youtube Channel
Related Manuals for GE MONOGRAM ZCG3300 WW


Summary of Contents for GE MONOGRAM ZCG3300 WW
-
Page 1: Installation Instructions
Installation Instructions If you have questions, call 800.626.2000 or visit our website at: www.monogram.com Built-In Compactors Models: ZCG3500 ZCG3300 ZCG3100 Monogram. ®... -
Page 2: Table Of Contents
Before you begin—Read these instructions completely and carefully. IMPORTANT: Save these instructions for local inspector’s use. IMPORTANT: OBSERVE ALL GOVERNING CODES AND ORDINANCES. NOTE TO INSTALLER: Be sure to leave these instructions with the Consumer. NOTE TO CONSUMER: Keep these instructions with your Use and Care Book for future reference. -
Page 3: Design Information
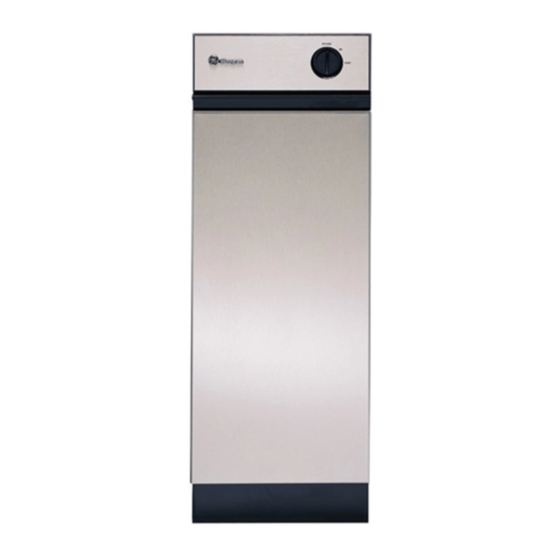
Models ZCG3500 SS available Stainless steel built-in compactor ZCG3300 WW White built-in compactor ZCG3100 BB Black built-in compactor This compactor is Note: designed for built-in applications only. An extra touch of convenience for the custom kitchen, the Monogram built-in compactor is a neat 12" wide. This compactor offers design flexibility not found in other models—an adjustable base allows the toekick depth to match surrounding cabinetry. -
Page 4: Installation Preparation
Standard The Monogram compactor models ZCG3300 Appearance and ZCG3100 come with a white/black reversible Panel aluminum front drawer panel. Model ZCG3300 is Options shipped with the white panel showing and model ZCG3100 with the black side showing. The panels on both models can be reversed to reveal the opposite color side. -
Page 5: Option 3: 3/4" Thick Wood Panel With Custom Handle
Option #3 3/4" Thick Wood Panel with custom handle • Cut panel 12" wide x 25-13/16" high. A custom handle, of your choice, can be installed onto the 3/4" wood panel, replacing the standard handle. The cut edges of the custom panel can be seen and must be finished for best appearance. -
Page 6: Technical Data
Tools required: •#2 Phillips head screwdriver • Flat blade screwdriver •Tape measure •Spirit level •10" long 2x4 •Adjustable wrench or slip joint pliers •Drill and 1/8" drill bit Parts List: •4 leveling feet caps •4 Phillips head screws • 2 Slotted head screws •2 Tip-over brackets •2 90°... -
Page 7: Installation In A Corner
Installation If compactor is to be located in or near a corner of in a base cabinets, a minimum of 2" clearance from the corner corner is recommended. This is necessary to prevent adjacent cabinet door handles from interfering with the compactor drawer. -
Page 8: Step 1 Determine Toekick Depth
Step 1 Place a section of the carton on the floor for Determine protection. Lay the compactor on its back, supporting toekick it with a piece of wood to prevent pressure on the depth power cord. Measure the toekick of an adjacent cabinet, from the front of the cabinet door to the front of the toekick (Dimension A). -
Page 9: Step 3 Positioning The Compactor Backstop
Step 3 A backstop should be installed to prevent the Positioning compactor from “walking” back when the drawer the compactor is closed. backstop Measure and mark 16" back from the front edge of the cabinet toekick. Cut a 2x4, 10" long and anchor to the floor. -
Page 10: Step 5 Attach Tip-Over Brackets
Step 5 Position tip-over brackets on the top of the Attach compactor. Match hole #3 of the bracket to the screw tip-over hole on the compactor (the 3rd hole on the bracket brackets is the standard location). Attach tip-over bracket to compactor with one slotted head screw on each side. -
Page 11: Installation
Step 5 If the countertop cannot be drilled into, slip the 90° (continued) clips over the short leg of the bracket and screw into the face of the cabinet. Step 6 To install custom toekick (not supplied) measure the Optional front of the compactor’s adjustable base and use those custom dimensions to cut out your custom toekick. -
Page 12: Step 7 Changing Front Panel
Step 7 Remove compactor drawer by pulling it out until it Changing stops. Then lift the drawer to clear second stop and front panel remove drawer. Place drawer on its back. (ZCG3300 and 3100 only) Procedure A Reverse color panel Remove the two screws in the bottom edge of the trim. -
Page 13: Optional Custom Panels
Procedure C (continued) • Lay drawer front face down on a flat surface. • Remove 9 screws which retain the front panel and handle. – Save handle and galvanized inner door. – Discard front panel with side trim. • Place galvanized inner door onto the back side of the finished panel. - Page 14 Procedure D 3/4" thick wood panel with custom handle • Pull the drawer out to stop position. • Unlatch the drawer front by opening the clasp on the right side. • While supporting the weight of the drawer front, remove the hinge pins on the left side. •...
- Page 15 Procedure D (continued) • Turn the panel over, appearance side up. Use wood blocks to support the inner door and prevent damage to the hinge and lock tabs. • Drill pilot holes through the front of the custom panel and through the metal panel to match the chosen handles.
- Page 16 Pub. No. 49-5778-4 Dwg. No. 165D4700P196 93042835C 10-03 JR Note: While performing installations described in this book, safety glasses or goggles should be worn. For Monogram local service in your area, call ® 800.444.1845. Note: Product improvement is a continuing endeavor at General Electric.
Need help?
Do you have a question about the MONOGRAM ZCG3300 WW and is the answer not in the manual?
Questions and answers